Imagine a printing job is stuck on your Mac, and you need to submit or share an important document. This can turn into a nightmare. To help you avoid such a situation, we share the best fixes for Microsoft Word not printing on Mac.
1. Check if the Printer and Mac Are Connected to the Same Wi-Fi
If you use a Wireless Printer with your Mac, ensure that both are connected to the same Wi-Fi network. Your Mac utilizes the AirPrint feature for wireless printing. Also, sit closer to the printer without thick walls or massive obstructions. After you connect your Mac and the printer to the same Wi-Fi network, the prints will happen easily. If not, refer to the next solution.
2. Check if the Print Function Is Paused
Next, you’ll need to check whether the Print function is paused on your Mac. While printing a document, you can click the X icon next to the progress bar to pause the function. This is useful in case you are printing the wrong document. But for Microsoft Word not printing on your Mac, here’s how you can resume the Print function. Step 1: Open your Microsoft Word document on your Mac.
Step 2: Press Command + P to open the Print window. Step 3: Click on Print at the bottom-right corner.
Step 4: Click on Resume and see if the document gets printed.
3. Delete and Add the Printer Again
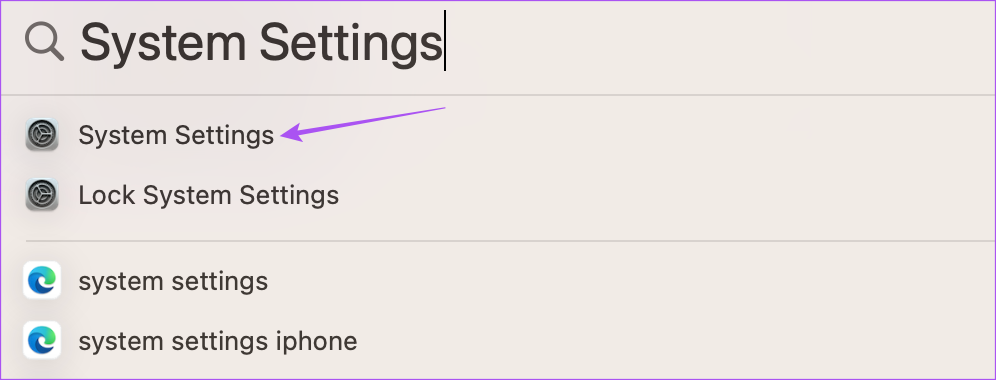
Another way to fix this problem is that you can delete and add your printer again. It’s similar to removing an app running in the background to give it a fresh start. Adding the Printer again will also download all the Printer Driver files again to your Mac. Step 1: Press Command + Spacebar to open Spotlight Search, type System Settings, and press Return.
Step 2: Scroll down the left menu and click on Printers and Scanners at the bottom.
Step 3: Click on your Printer name on the right side.
Step 4: Click on Remove Printer at the bottom-left corner.
Step 5: Click on Remove to confirm your choice.
Step 6: After removing, click on Add Printer, Scanner or Fax. You may wait a few seconds or a minute in between.
Step 7: In the Add Printer window, click the name of your Printer.
Step 8: Wait for some time and click on Add at the bottom-right corner.
Step 9: When your Mac adds the printer, close the window and try printing your Word document.
4. Reinstall Your Printer Driver Files
Adding the printer to your Mac again will reset its settings on your Mac. If it still doesn’t work, you may reinstall the driver files for your printer. The old files may still reside on your Mac. Here’s how to do it. Step 1: Press Command + Spacebar to open Spotlight Search, type System Settings, and press Return.
Step 2: Scroll down the left menu and click on Printers and Scanners at the bottom.
Step 3: Right-click on your printer name and select Reset Printing System.
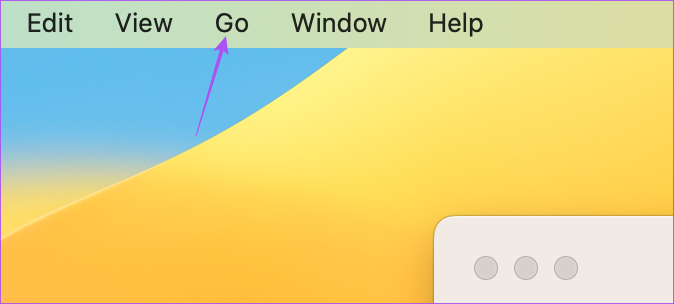
Step 4: Close the window and click on Go at the top Menu Bar.
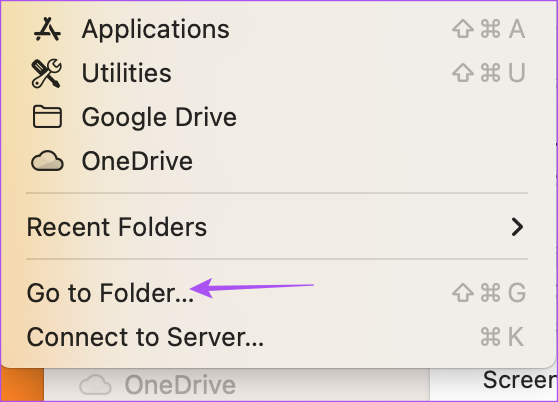
Step 5: Select Go To Folder from the list of options.
Step 6: Enter the following file path in the Search Bar.
Step 7: In the Printer folder, press Command + A to select all the files inside the folder.
Step 8: Click on File in the top-left corner.
Step 9: Select New Folder With Selection.
A new folder with the name New Folder With Items will get created.
Step 10: Close the window and reinstall your Printer again by following the steps mentioned in the previous solution.
Your Mac will also install new Printer Driver files. Step 11: After you install those driver files, delete the New Folder With Items. Step 12: Open Microsoft Word and try printing your document.
5. Replace Printer Preference Files
The Printer Preference files may have got corrupt or messed up on your Mac. Here’s how you can try replacing the Printer Preference files. Step 1: On your Mac desktop, create a new folder and name it Print Preferences.
Step 2: Click on Go in the top Menu Bar on the desktop.
Step 3: Press Option and click on Library in the list of options.
Step 4: Open the Preferences folder.
Step 5: Click the Search icon at the top-right corner and type com.apple.print.
Step 6: Select all the files ending with ‘.plist’ in the Preferences folder.
Step 7: Drag and drop all the files to the Print Preferences folder on the desktop. Step 8: Close the window and click the Apple icon at the top-left corner.
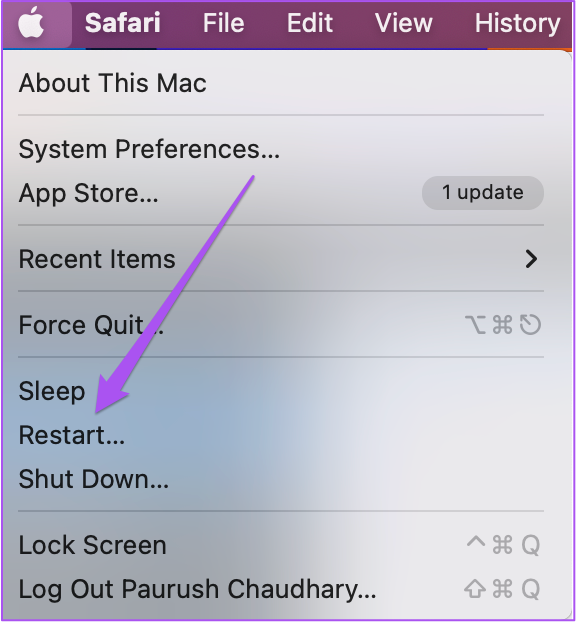
Step 9: Click on Restart.
Step 10: After your Mac restarts, open Microsoft Word and check if the problem is solved.
6. Boot Your Mac in Safe Mode
Safe Mode checks and removes any third-party app interference that is preventing macOS to function properly. Since the Print function is part of macOS, you can try booting your Mac in Safe Mode to check if it solves the problem.
For Macs With Apple Silicon
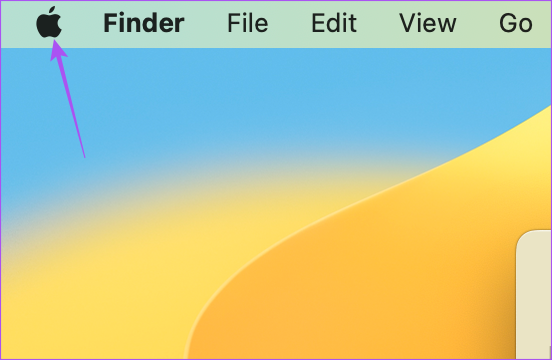
Step 1: Click the Apple icon in the top-left corner.
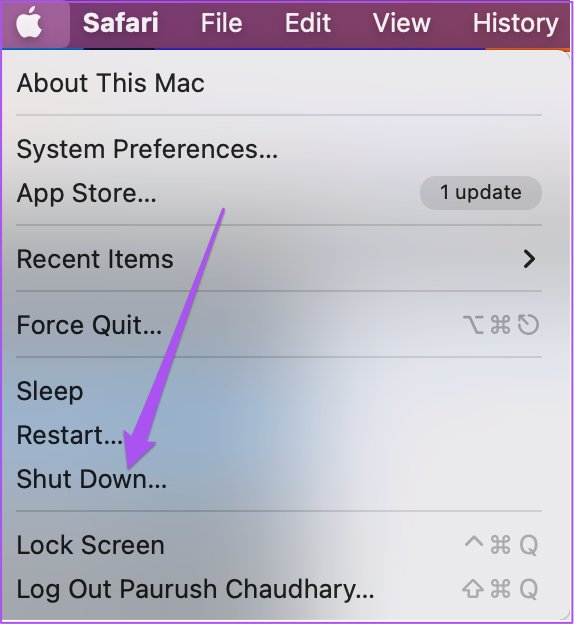
Step 2: Click on Shut Down.
Step 3: After your Mac shuts down, press and hold the Power Button till you see the two startup options – Macintosh HD and Options. Step 4: Select Macintosh HD while holding the Shift key and select Continue In Safe Mode.
Step 5: After your Mac boots up, open Microsoft Word and check if the problem is solved.
For Macs With Intel Chip
Step 1: Click the Apple icon in the top-left corner.
Step 2: Click on Restart.
Step 3: When your Mac restarts, press and hold the Shift key. Step 4: Release the Shift key when you see the login window. Step 5: Open Microsoft Word and check if the problem is solved.
7. Update macOS
The last resort for fixing this problem is checking for any pendingmacOS. This will squish off any bugs or glitches with the Print function that are causing this issue on your Mac. Step 1: Press Command + Spacebar to open Spotlight Search, type System Settings, and press Return.
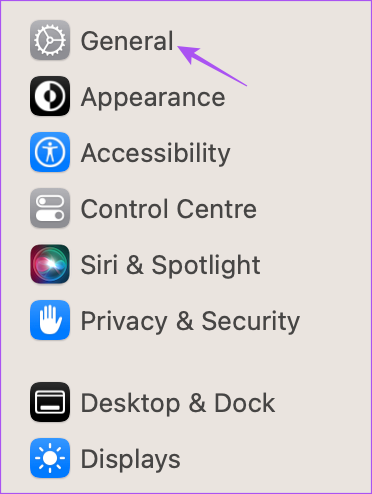
Step 2: Click on General from the left menu.
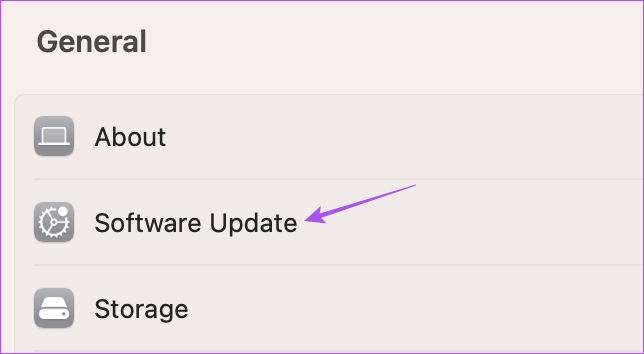
Step 3: Click on Software Update.
Step 4: If an update is available, download and install it. After installing the update and restarting your Mac, check if the problem is solved.
Print Word Docs on Mac
These solutions will prevent you from facing issues with printing your Microsoft Word documents on Mac. To secure your documents, refer to our guide on adding a password to Microsoft Word documents on Mac and Windows.
