Besides, several iPhone users across various models have been constantly experiencing a pop-up that says ‘SIM not supported’ while using the phone. This can get annoying especially if the error pops up repeatedly. If you are facing this problem on your device, here are some of the best ways to fix the SIM not supported error on your iPhone.
1. Remove and Re-insert Your SIM Card
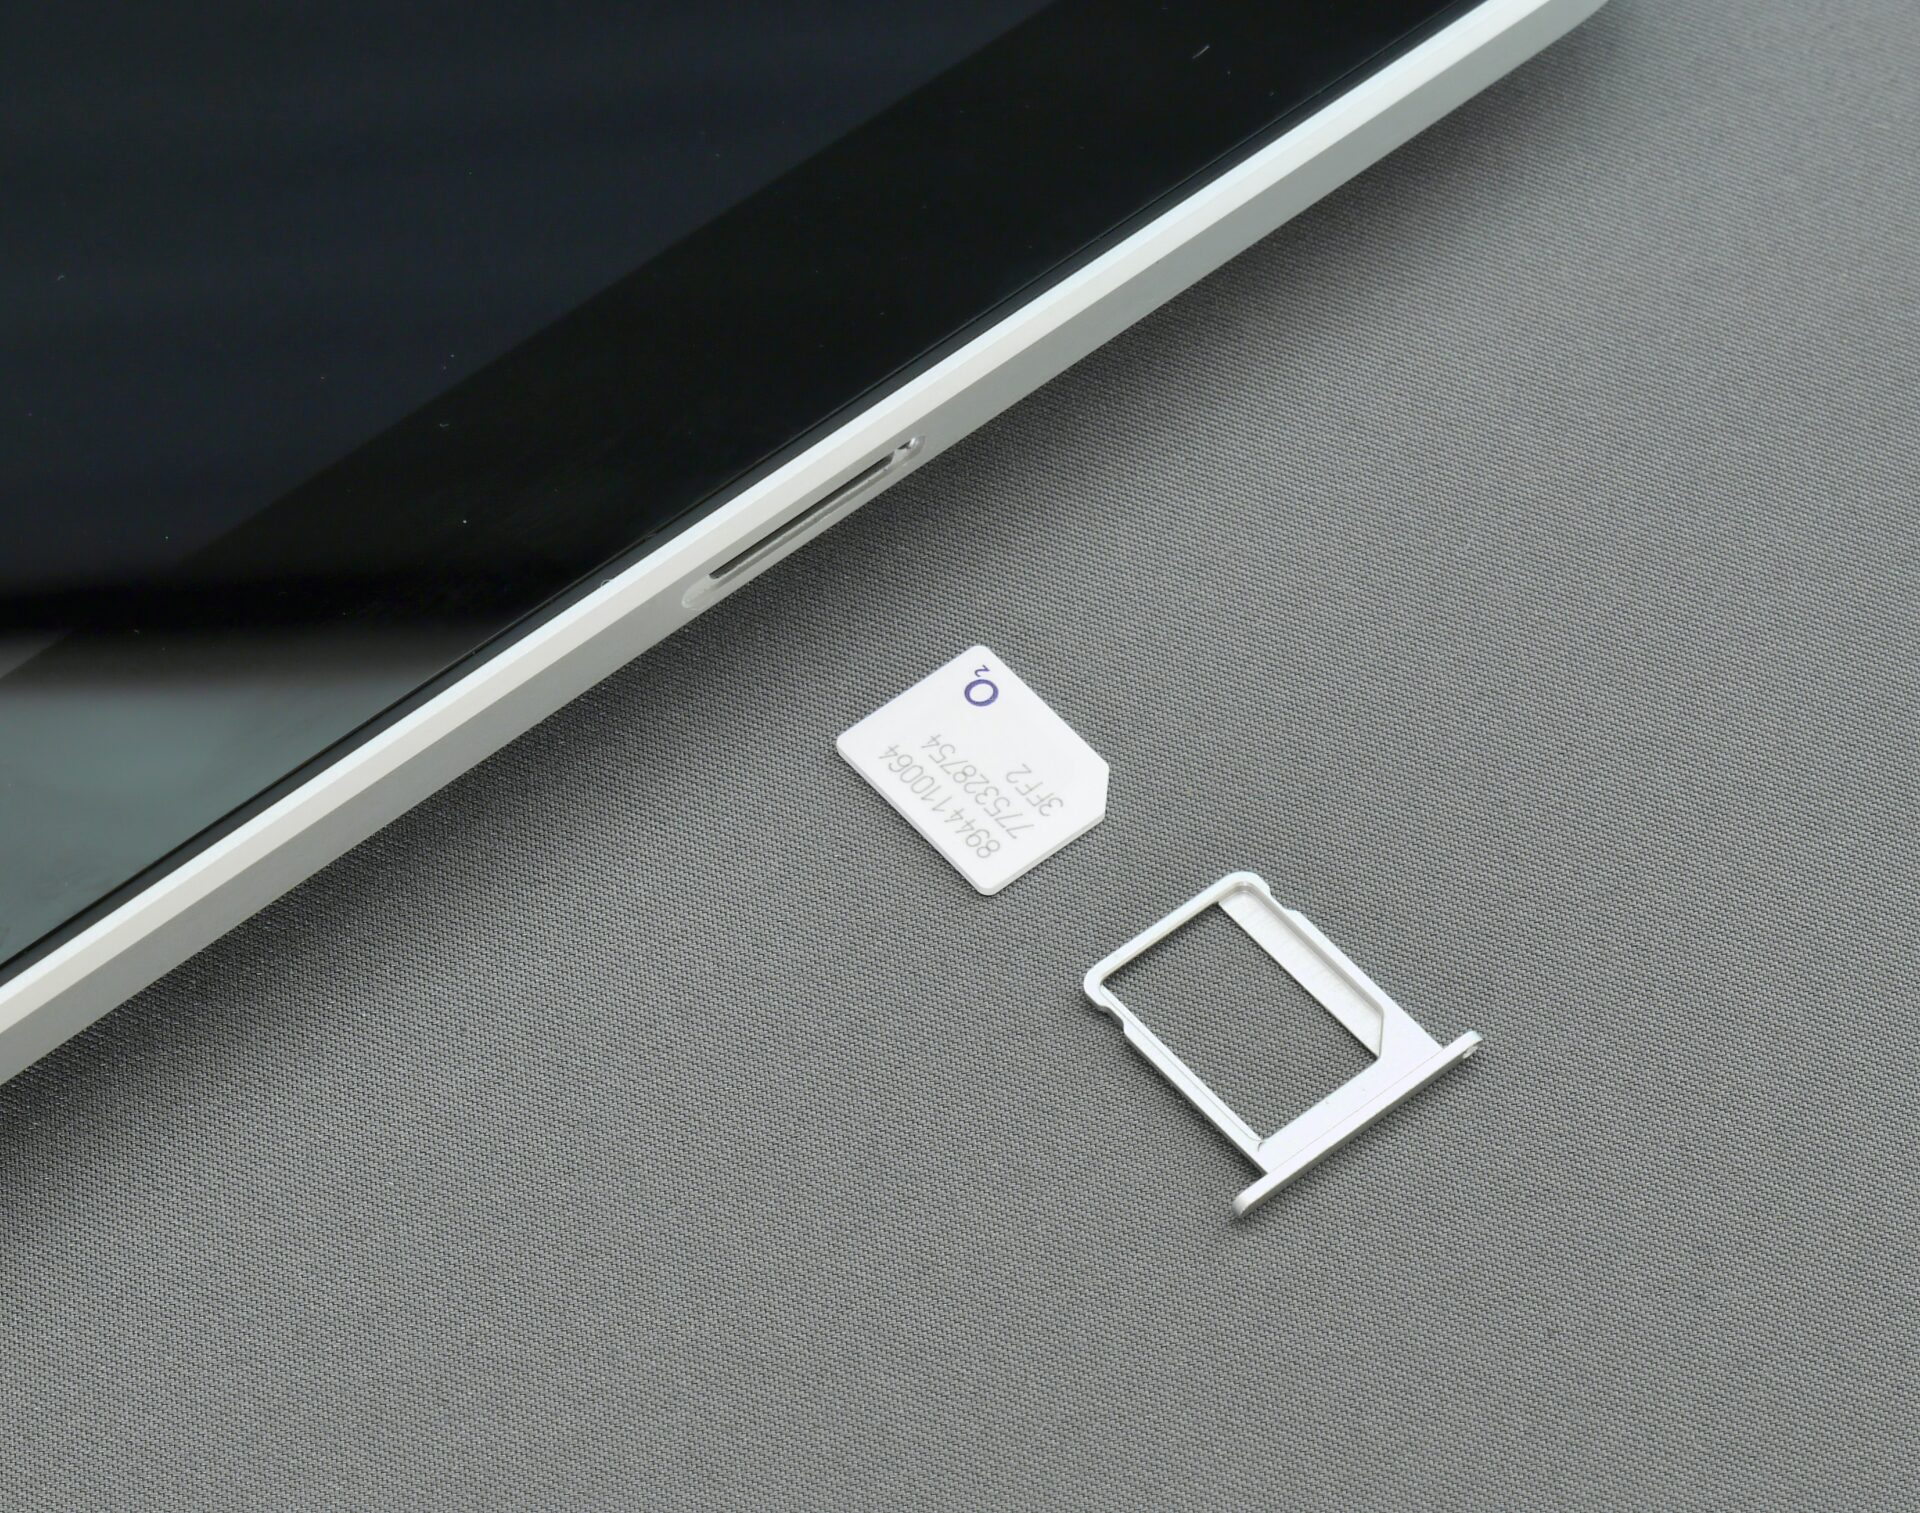
Of course, this solution is only applicable to iPhones that have a physical SIM slot. Sometimes, you may not insert the SIM card properly. This can lead to no network connection on your iPhone since the modem wouldn’t be able to read the SIM card. As a result, you may be seeing the SIM card not supported error. If your SIM card won’t work with your new iPhone, eject the SIM tray on your iPhone using the SIM ejection tool. Then, remove the SIM card and place it correctly on the tray. Now, insert the SIM tray back into the iPhone and wait for it to latch onto a network.
2. Force Restart Your iPhone
A lot of times, a simple solution like this can go a long way in solving issues that you’ve been experiencing on your iPhone. Just follow these steps to force restart your iPhone and see if that gets rid of the error. For iPhone 6s or lower: Press and hold the Home button and Power button at the same time. Release them when you see the Apple logo on the screen. For iPhone 7 and 7 Plus: Press and hold the Volume down key and the Power button. Release them when you see the Apple logo on the screen. For iPhone 8 and higher: Press and release the Volume up key, press and release the Volume down key, and then press and hold the Side/Power button till you see the Apple logo on the screen.
3. Ensure the eSIM Is Activated Properly
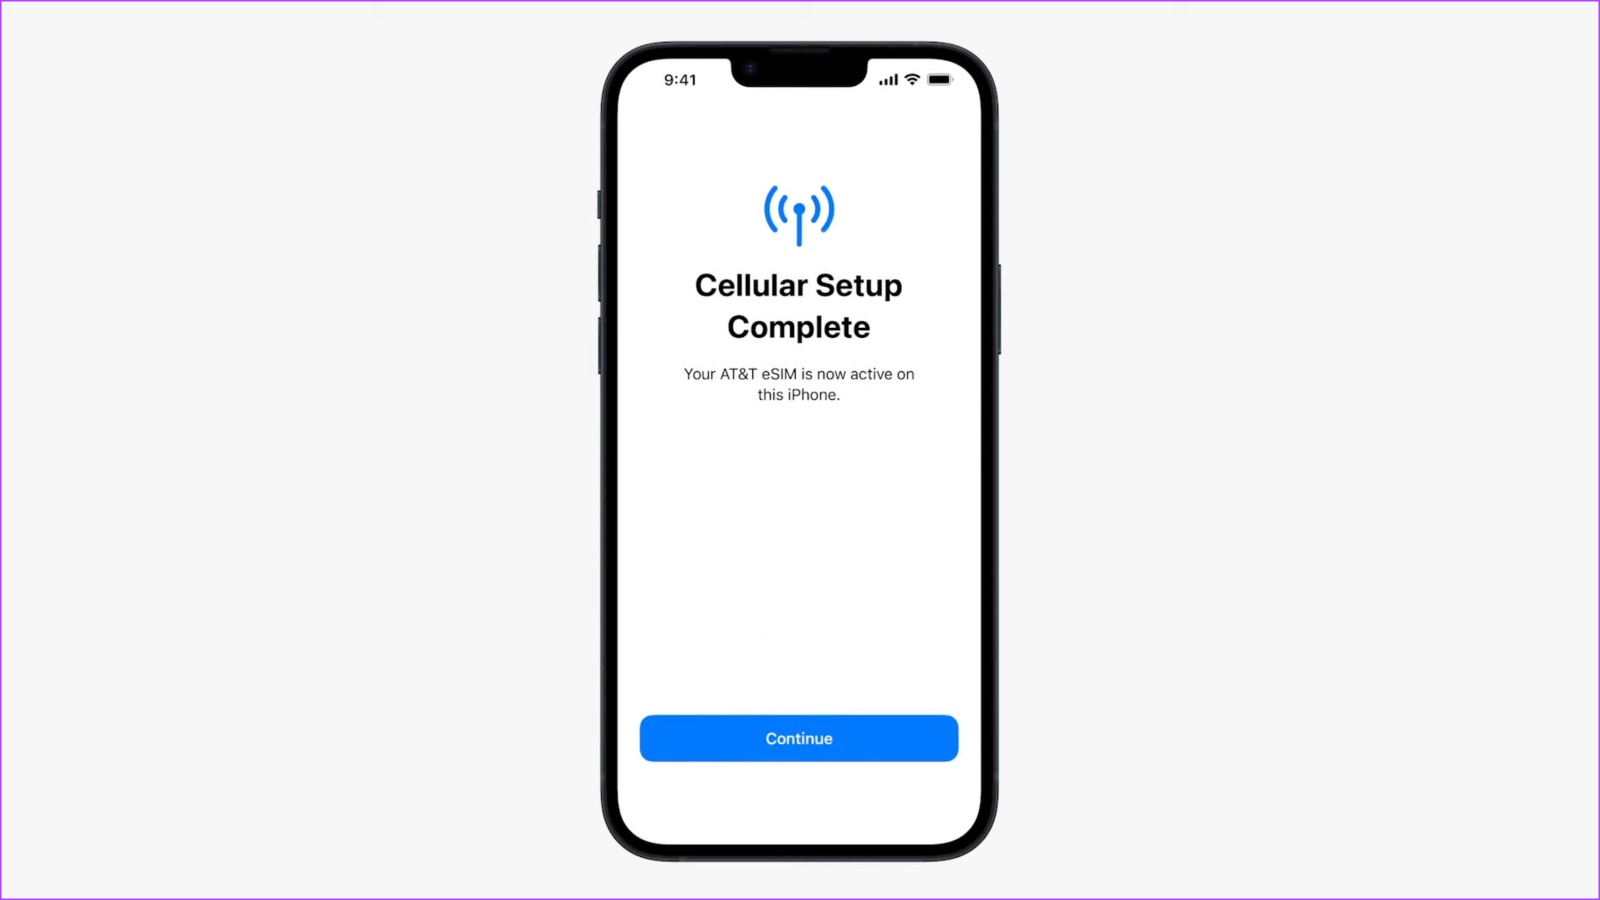
If you’re using an eSIM with your iPhone, you will need to ensure you have activated it correctly to register to the network and use your iPhone as you would with a physical SIM. If you haven’t used an eSIM before and aren’t sure about the activation process, you can take a look at how to activate eSIM on your iPhone for step-by-step instructions. This applies to both – iPhone 14 series and 14 Pro Series where even the primary SIM is an eSIM, and to older models of the iPhone too where you’re trying to use dual SIM. Once your eSIM is properly activated, the SIM card not supported on the iPhone bug should go away.
4. Update to the Latest Version of iOS
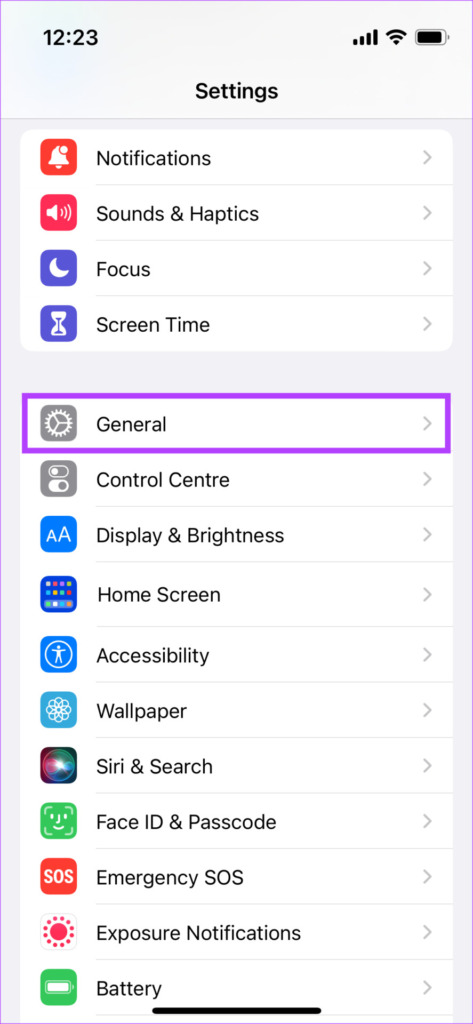
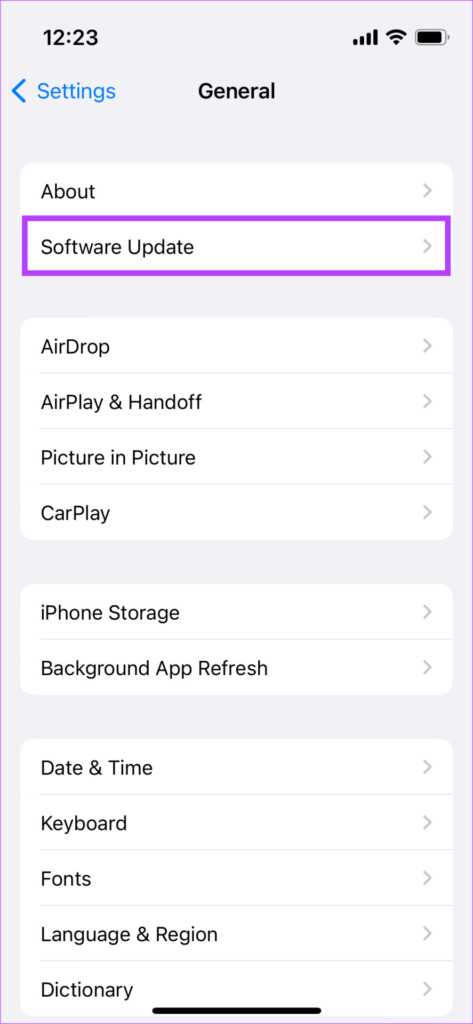
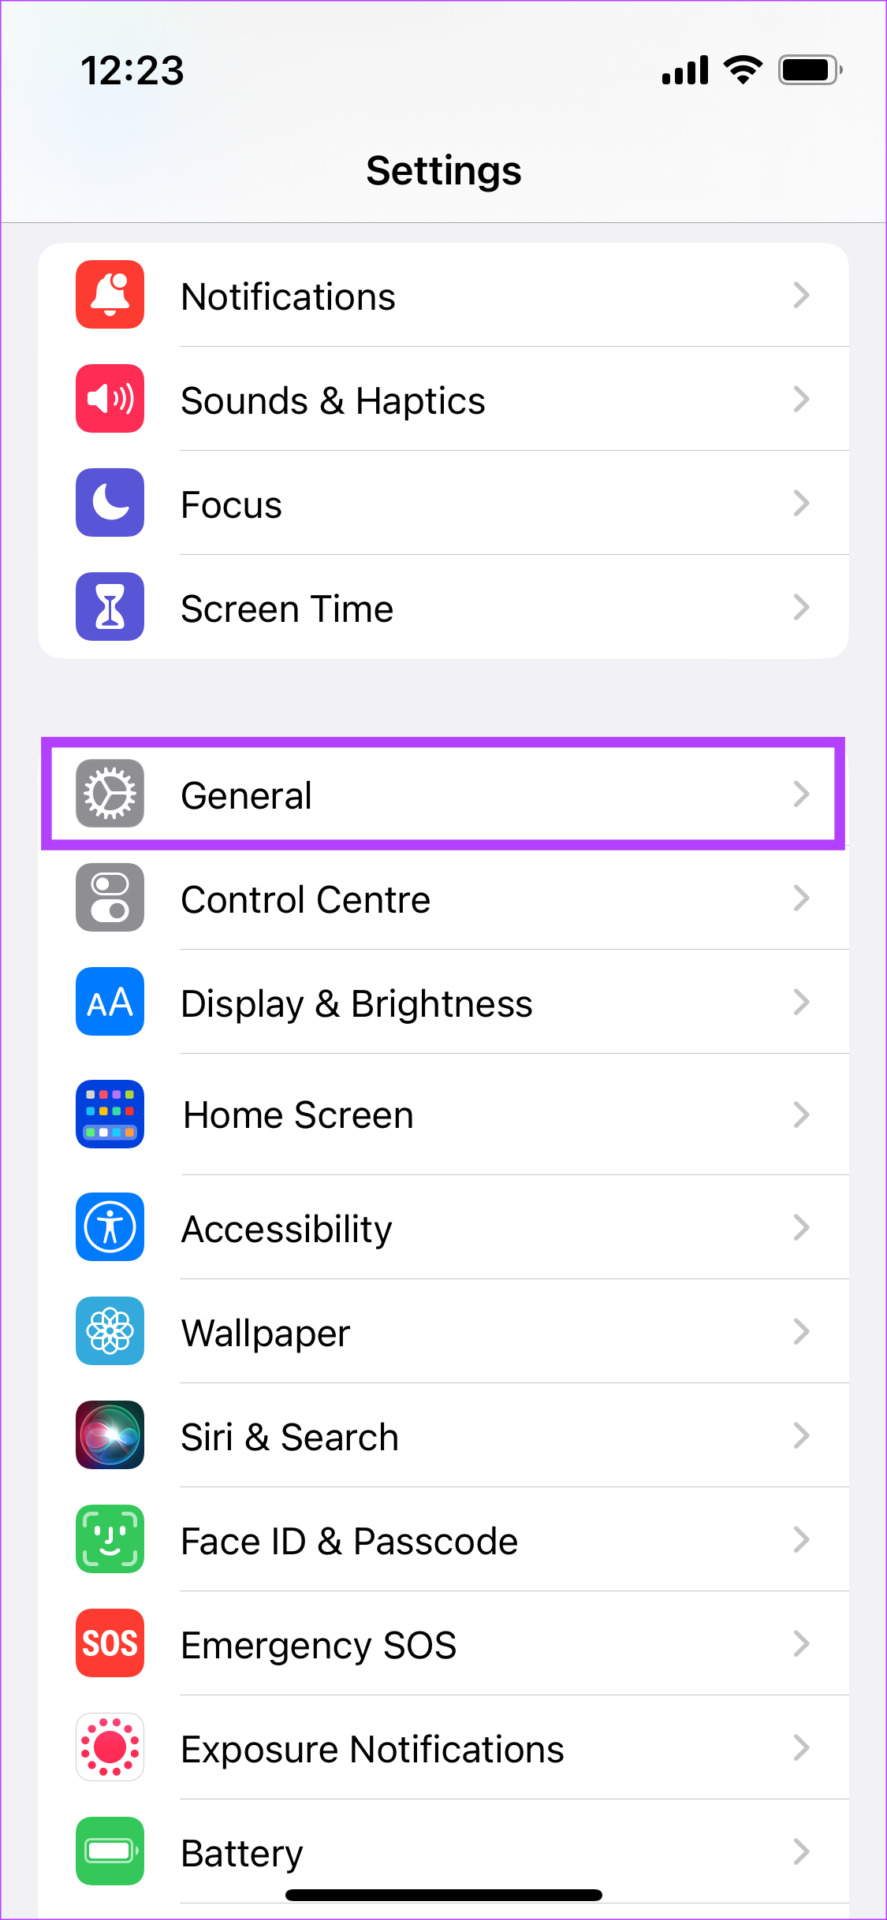
iOS 16 has been plagued with several bugs right from the start and it could be that you have no real issues with your SIM but your iPhone is still throwing the error. So, try updating your iPhone to the latest iOS version to see if this fixes it. Step 1: Open the Settings app on your iPhone. Navigate to the General section. Step 2: Tap on Software Update. Step 3: If a new update is available, you will see it here. Select Install and wait for the installation to complete.
5. Switch to the iOS Beta Version
This might sound quite ironic since beta versions generally have more bugs and glitches. However, in this case, the beta builds are more recent and this issue has been addressed. So, if the error is constantly bothering you, switch to the iOS public beta. Once the issue gets fixed on the stable version, you can switch back. Here’s how to install the iOS beta. Step 1: Sign up for the iOS public beta via Apple’s beta program page. Ensure you use the same Apple ID that’s logged in on your iPhone. Sign up for iOS Beta Step 2: You will now receive a beta profile on your iPhone. Tap on Install. Step 3: Then, head over to the Software Update page in the General section of the Settings app. Step 4: You will see the public beta update here. Tap on Download and Install. Once the installation is complete, your iPhone will be on the iOS beta version.
6. Reset Network Settings
If your SIM card still won’t work on your iPhone even after following the above solutions, resetting the network settings could come in handy. When you reset the network settings, all parameters related to your network are restored to factory settings. So, this might help you get rid of the error. Here’s how to reset network settings on your iPhone. Step 1: Open the Settings app on your iPhone. Navigate to the General section. Step 2: Scroll down and tap on ‘Transfer or Reset iPhone’. Step 3: Select the Reset option here. Step 4: Now, select ‘Reset Network Settings’.
7. Contact Your Carrier’s Customer Support
There’s a good chance that your SIM isn’t functioning the way it should which is why your iPhone says the SIM is not supported. The best way to deal with any type of issues with your SIM is to contact your carrier. The customer support team can help you resolve any issue with your SIM card which should ideally get rid of this error.
8. Visit an Apple Store
If your carrier said they couldn’t do anything about it, it’s time to adopt the last resort. Head over to an Apple store and let them have a look at the issue. Ideally, they should help you solve the SIM not supported on iPhone issue by performing a few checks and applying a fix via software.
Say Goodbye to Simple Issues
It’s surely frustrating to see a pop-up every now and then when using your phone, especially if you’re watching content or doing something important. So, follow these simple steps to get rid of the SIM not supported error on your iPhone and enjoy an uninterrupted experience.

