While creating new an elaborate document that loads with text, you might want to include page numbers for easy navigation. This post will show you how to add page numbers in the Apple Pages app on iPhone, iPad, and Mac.
Add Page Numbers in Pages App on iPhone and iPad
Adding page numbers in a document in Apple Pages using your iPhone or iPad is quite straightforward. You might want to add numbers to the pages in documents like assignments, contracts, and others. That’s helpful when you don’t have your Mac around and you’re carrying an iPad or iPhone. Before we proceed, ensure that your iPhone or iPad runs the latest version of the Pages app. You’ll need to update the app if you have not done the same since a long time. Download Pages App for iPhone Download Pages App for iPad Follow these steps. We are using an iPhone. But these steps apply to iPad too. Step 1: Open the Pages app on your iPhone or iPad.
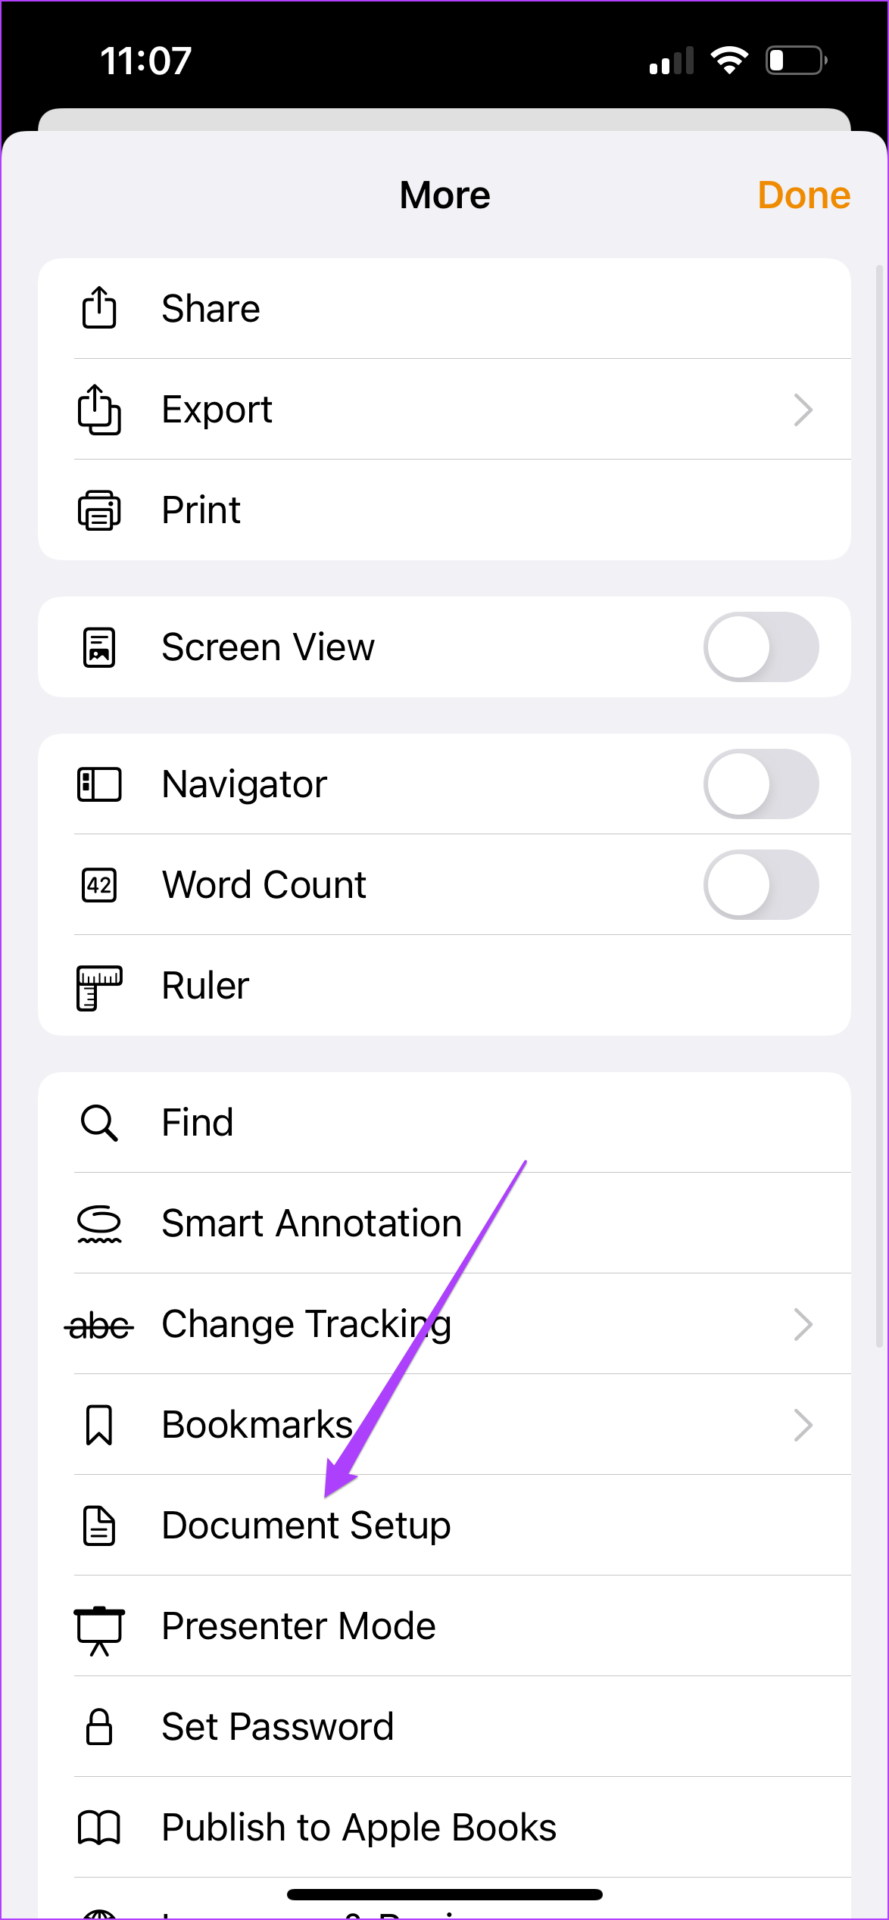
Step 2: Open a blank document or the one in which you want to add page numbers. Step 3: Tap the three dots at the top menu bar.
Step 4: Scroll down and tap on Document Setup.
The Document Setup tab will appear at the bottom of the page. Step 5: In the Document Setup tab, scroll down to check if Headers and Footers options are enabled.
Step 6: Scroll down again and tap on More Options.
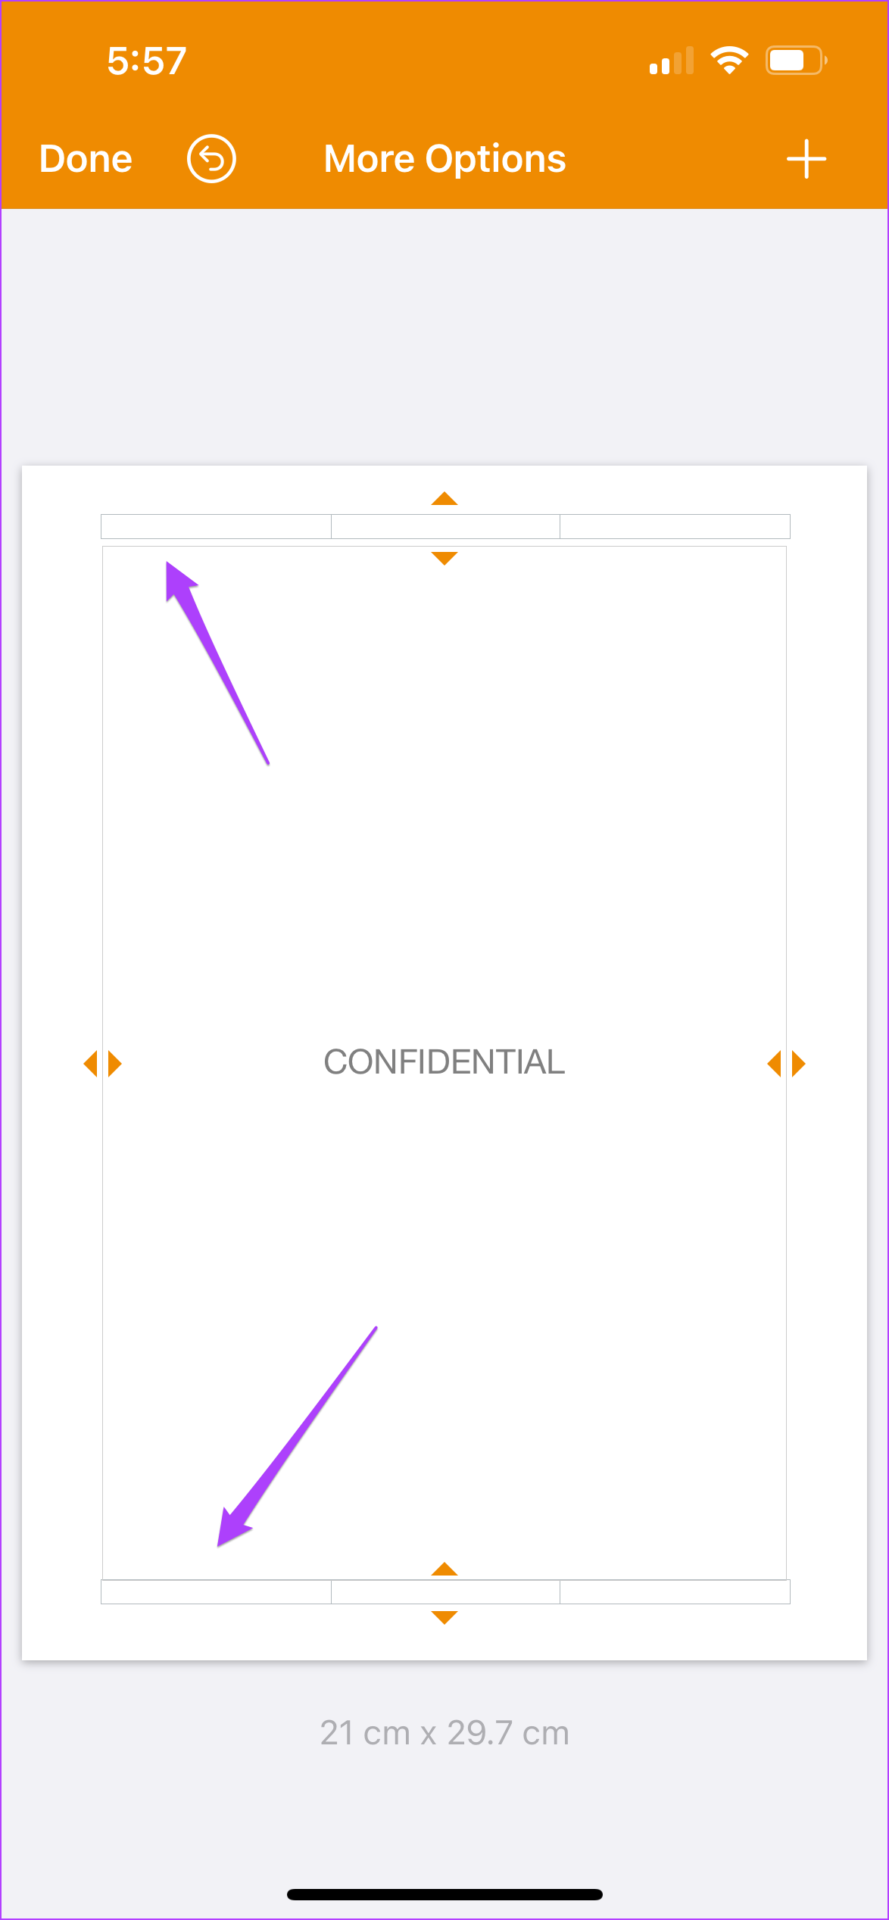
A new window will open on your screen. You will see the header and footer boxes in your page.
Step 7: Zoom in towards the header or footer box, depending on where you want to add the page number. Step 8: Tap on the header or footer to reveal the cursor. Step 9: Tap on Page Numbers.
Step 10: Select the Page Number format that you want to use.
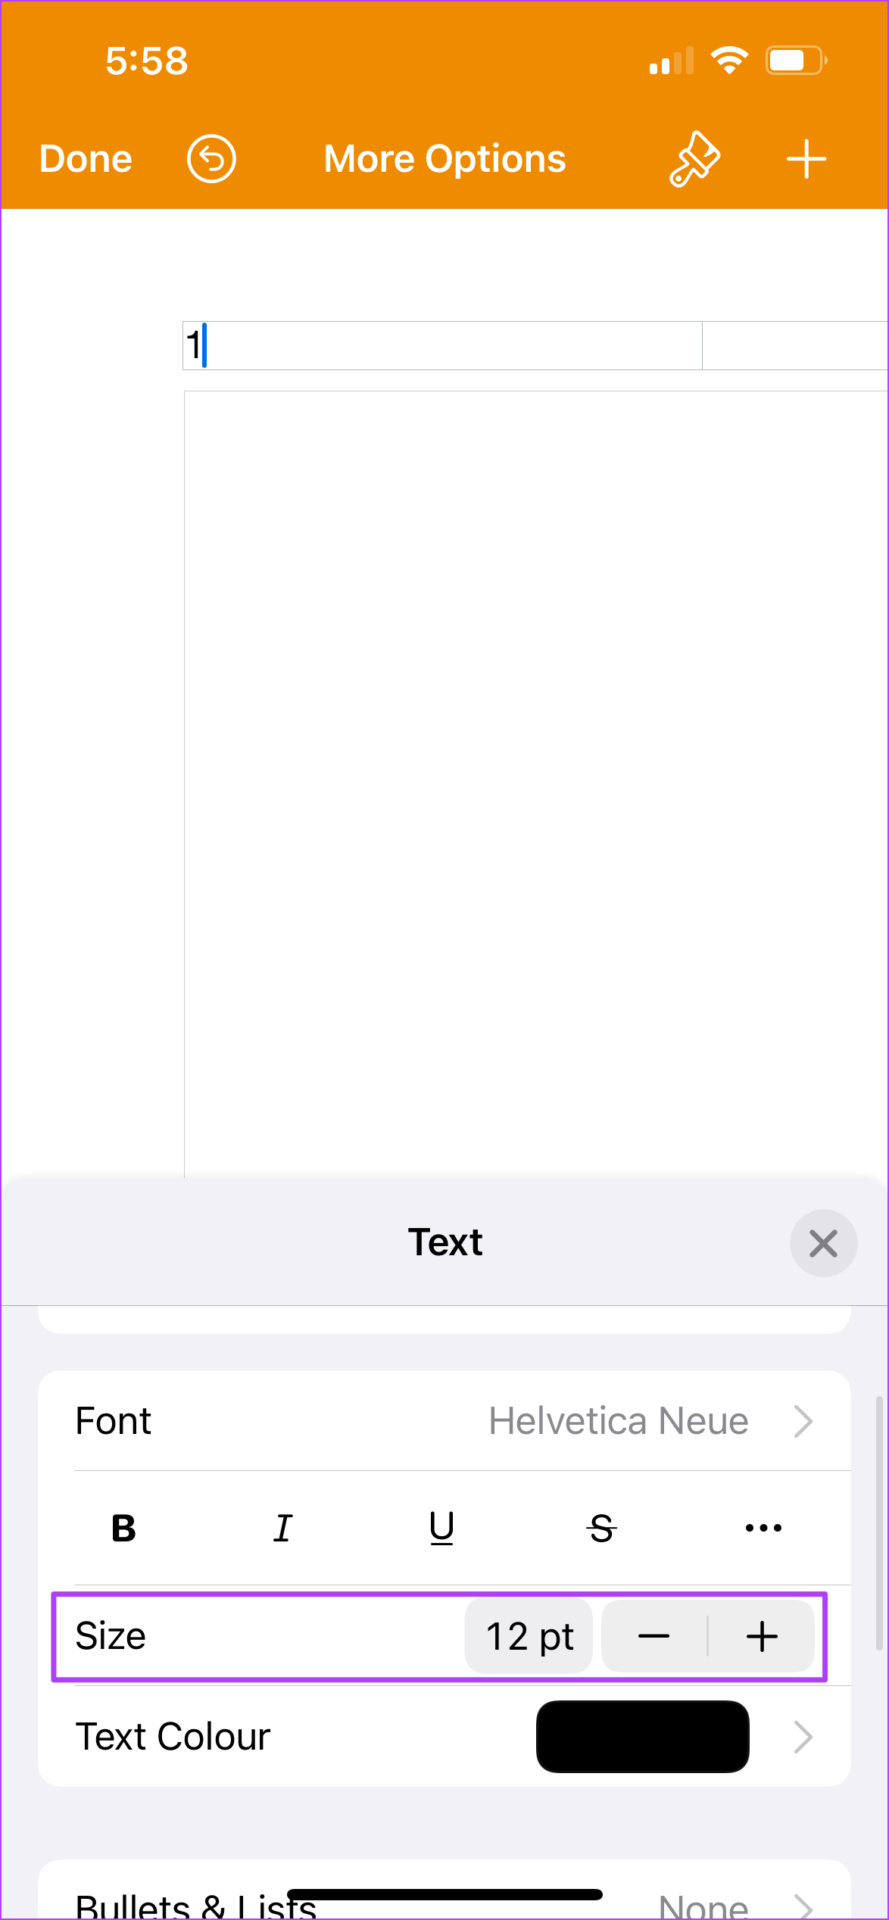
Step 11: After you add the number, tap on the brush icon to open the Style menu.
Step 12: Scroll down, and you will see the option to increase page number size.
Step 13: After making the changes, close the Style menu and tap on Done at the top left.
You will see that the page number appear at the bottom. The Pages app will add in ascending order when you add more pages to the document.
Add Page Numbers in Pages App on Mac
Let us now show how to add page numbers while creating your documents in the Pages app on Mac. While handling multipage documents at your office, you can use this feature on your Mac to organize your documents. Many companies create guidelines for adding page numbers for various official documentation. In that case, this feature will quickly help to add the page numbers as per the rules of your company. Like your iPhone and iPad, you need to keep the Pages app updated on your Mac. Download Pages App for Mac Follow these steps. Step 1: Press Command + Spacebar to reveal Spotlight Search, type Pages, and press Return. Step 2: Open a blank document or the one in which you want to add page numbers Step 3: Hover the mouse pointer at the top or bottom of the page till you see three header or footer fields.
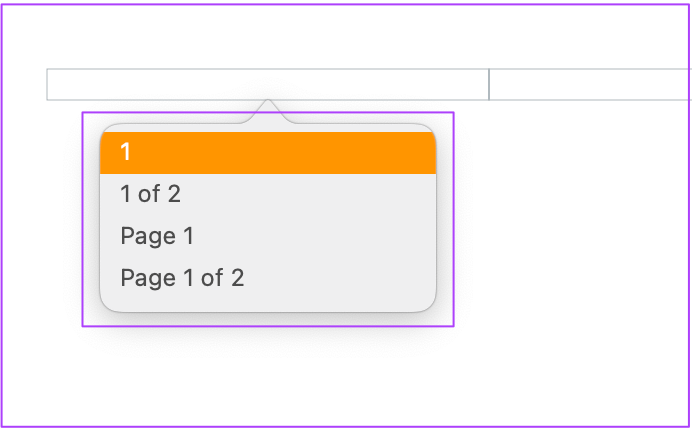
Step 4: Click the field where you want to add the page number. Step 5: Click on Insert Page Number pop-up.
Step 6: Select your Page Number style from the list.
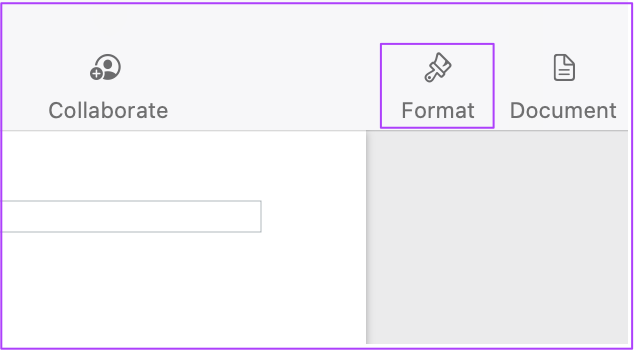
Step 7: After the page number appears, select it and click on Format in the top-right corner.
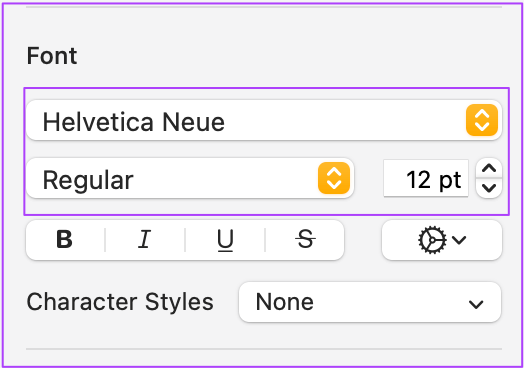
Step 8: You can change the font size and style of the page number as per your choice.
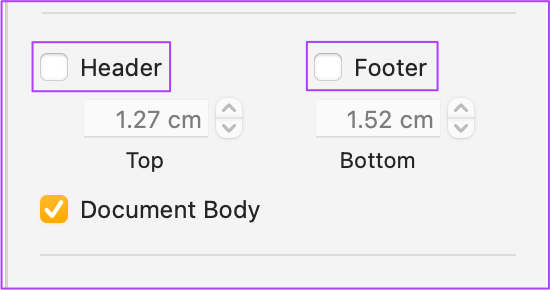
Step 9: Press Command + S to save changes. Bonus Tip – Enable Header and Footer in Pages App If you cannot see the header and footer fields, here’s how to enable that. Step 1: After opening your file, click the Document tab at the top right.
Step 2: Under the Document tab, click on Header and Footer to enable it on every page of your document file.
Use Page Number in Pages App
Adding page numbers is an easy way to organize your documents in the Pages app. This feature adds a lot of convenience and ease of access to your large multipage documents. Whenever you share those documents with page numbers with your colleagues, they can quickly navigate and find what you want them to know or explain.


