Gmail on web comes with a rich text editor to help you customize the font style and look as per your preference. The options are limited on Gmail apps for mobile, but they are still good enough to draft a long email on the go. Let us show you how to change font style in Gmail on web and Gmail apps on mobile without further ado.
Gmail on Web
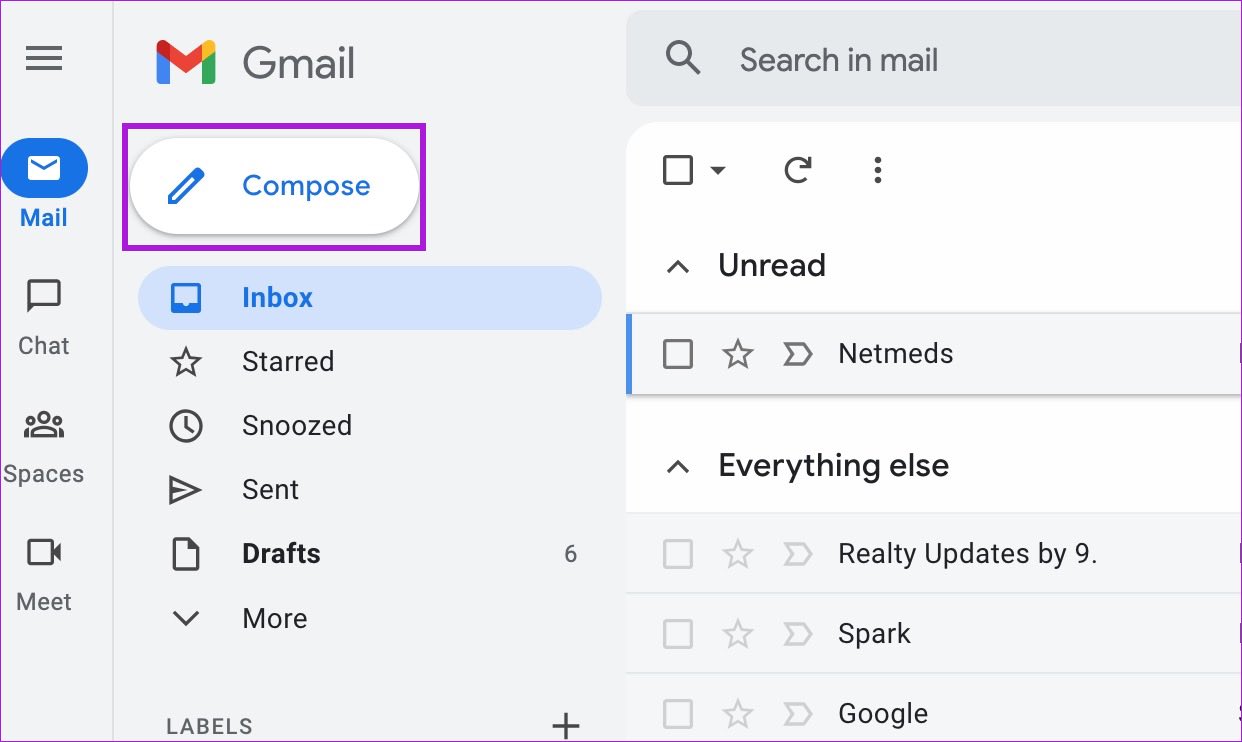
The compose menu in Gmail on Web offers several formatting tools to change an email’s text look and style. These options are on par with a dedicated word processing software and cover everything for a user to customize the text. Step 1: Open Gmail in a web browser. Visit Gmail Step 2: Click on the Compose button in the top-left corner.
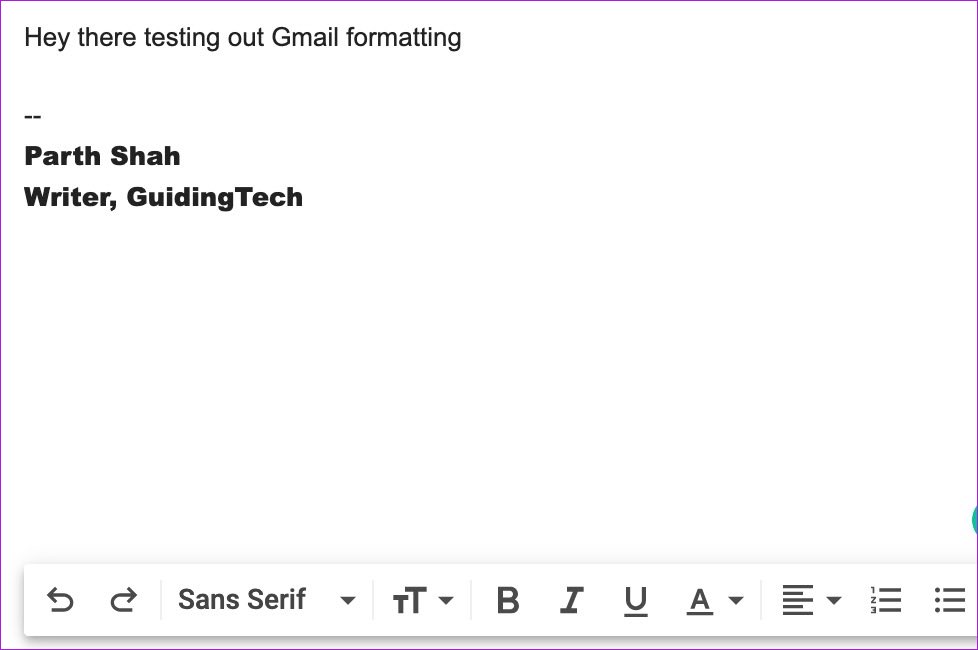
Step 3: Add the recipient’s email address, and email subject, and start typing your message. Step 4: Use the formatting bar below to change the text look and style.
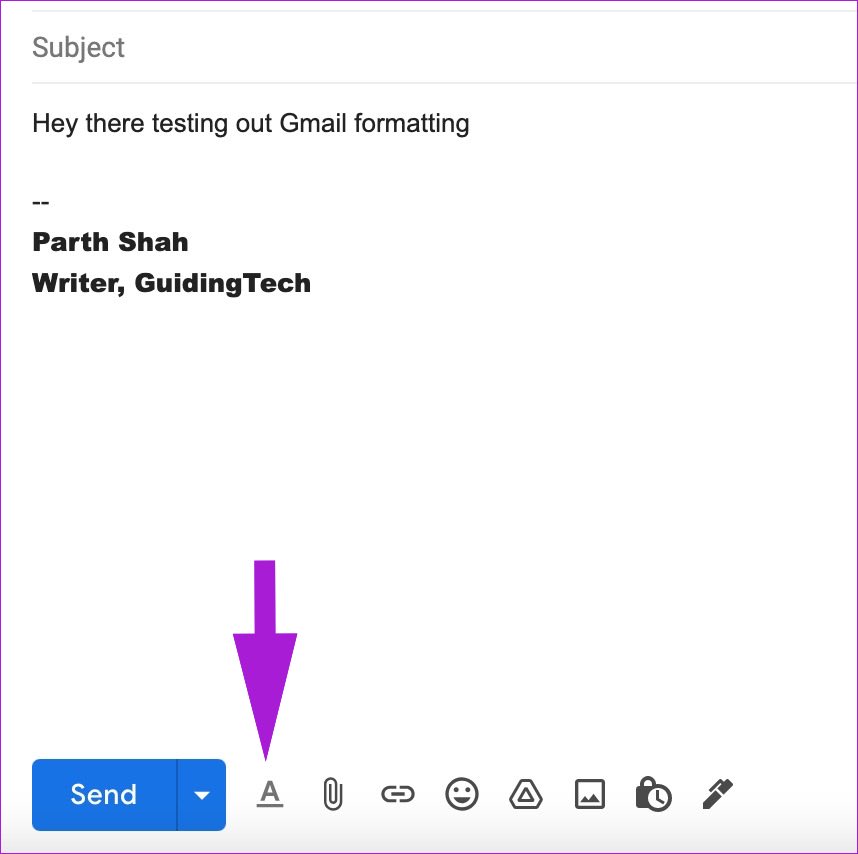
Step 5: If the formatting options aren’t appearing for you, click on the ‘A’ button at the bottom.
Here are the formatting options on offer for Gmail on web:
Change text type and size Play with bold, italic, and underline text effects Change text and background color (highlight text) Change text alignment Quote Numbered and bullet list Strikethrough
Change Default Text Style in Gmail on Web
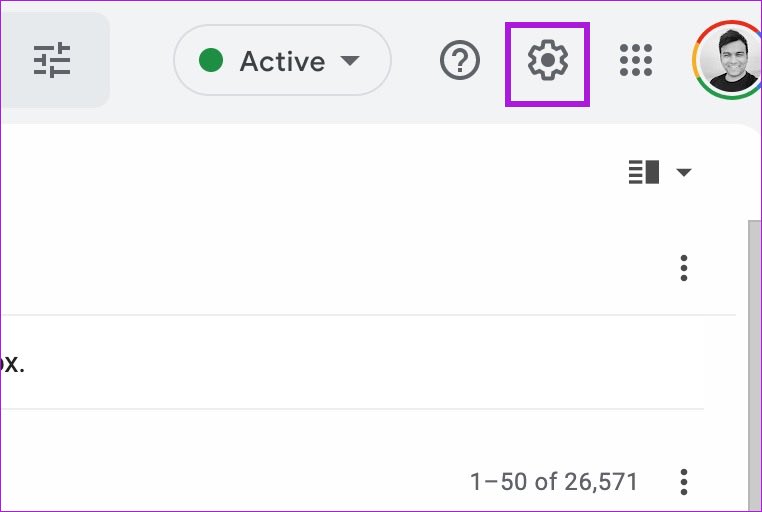
Gmail uses Sans Serif text type by default and keeps the size to normal. The default settings might not be everyone’s cup of tea, and you may find yourself tweaking text style and size for every email from the formatting options. Instead, you can head to Gmail settings and change the default text style. Step 1: From Gmail home page, click on the Settings icon in the top-right corner.
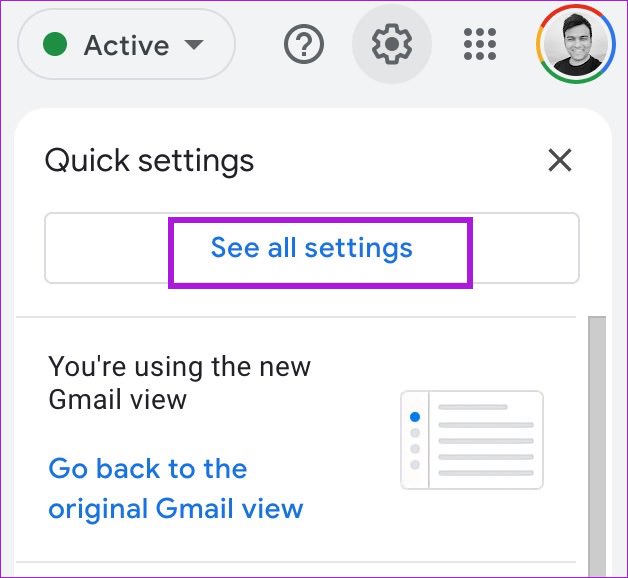
Step 2: Select and See all settings.
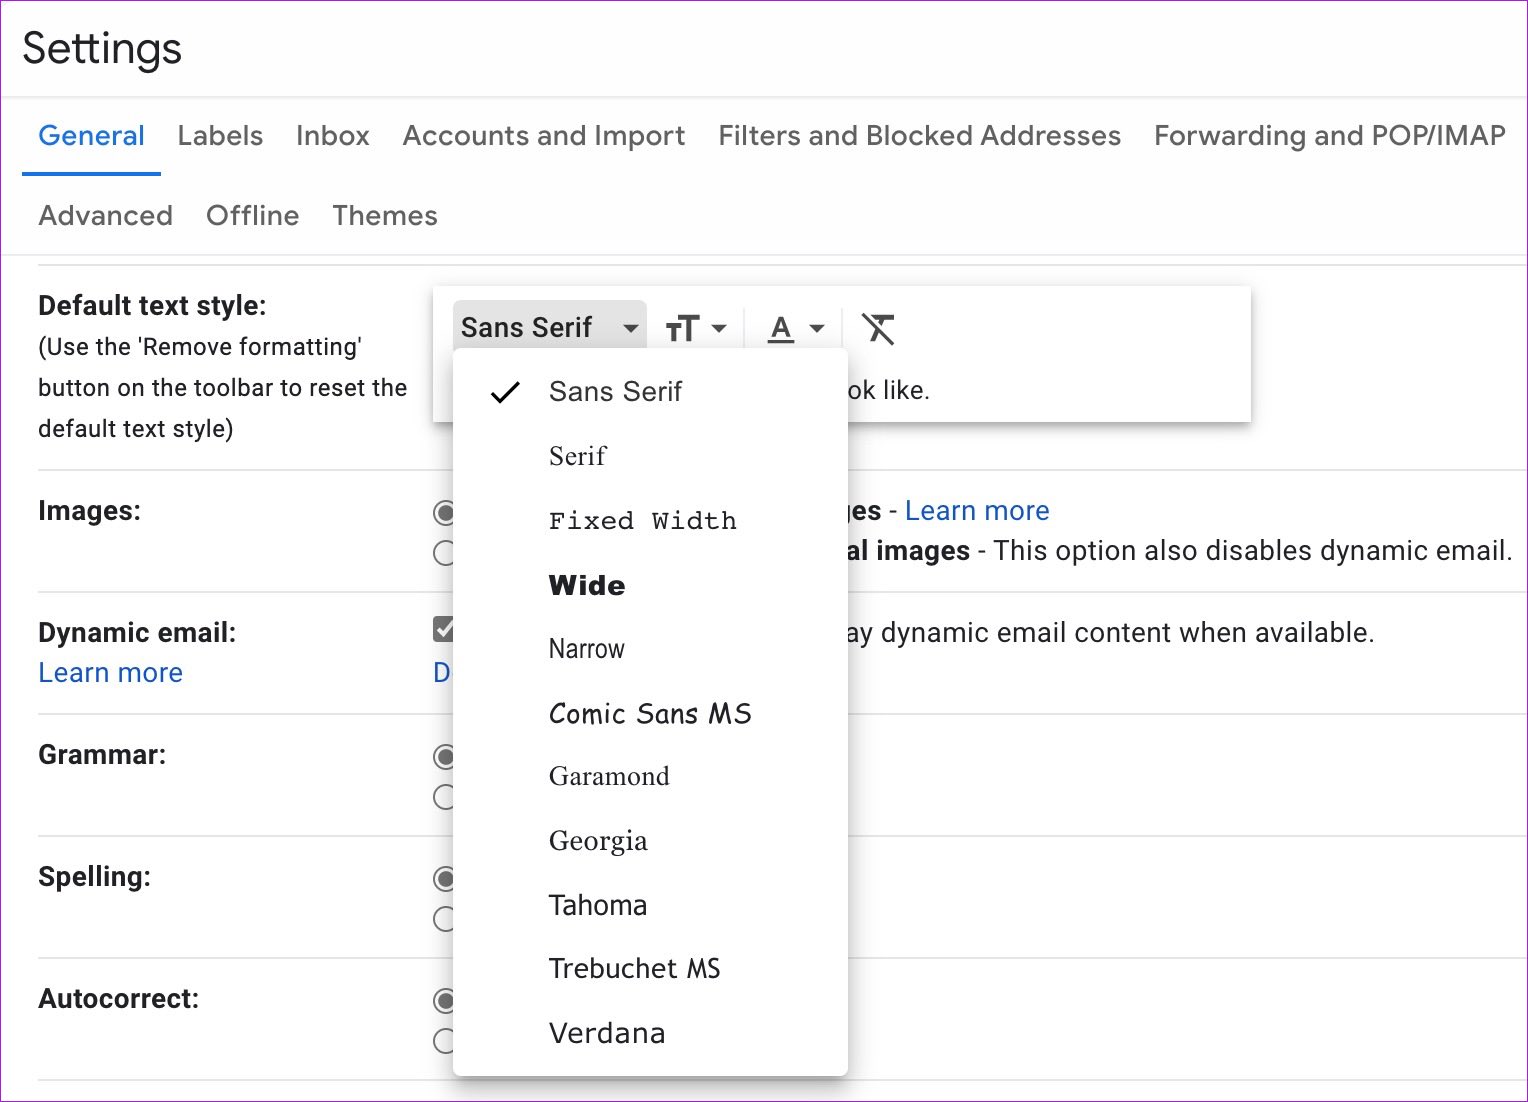
Step 3: Go to the General tab. Step 4: Scroll down to the default text style.
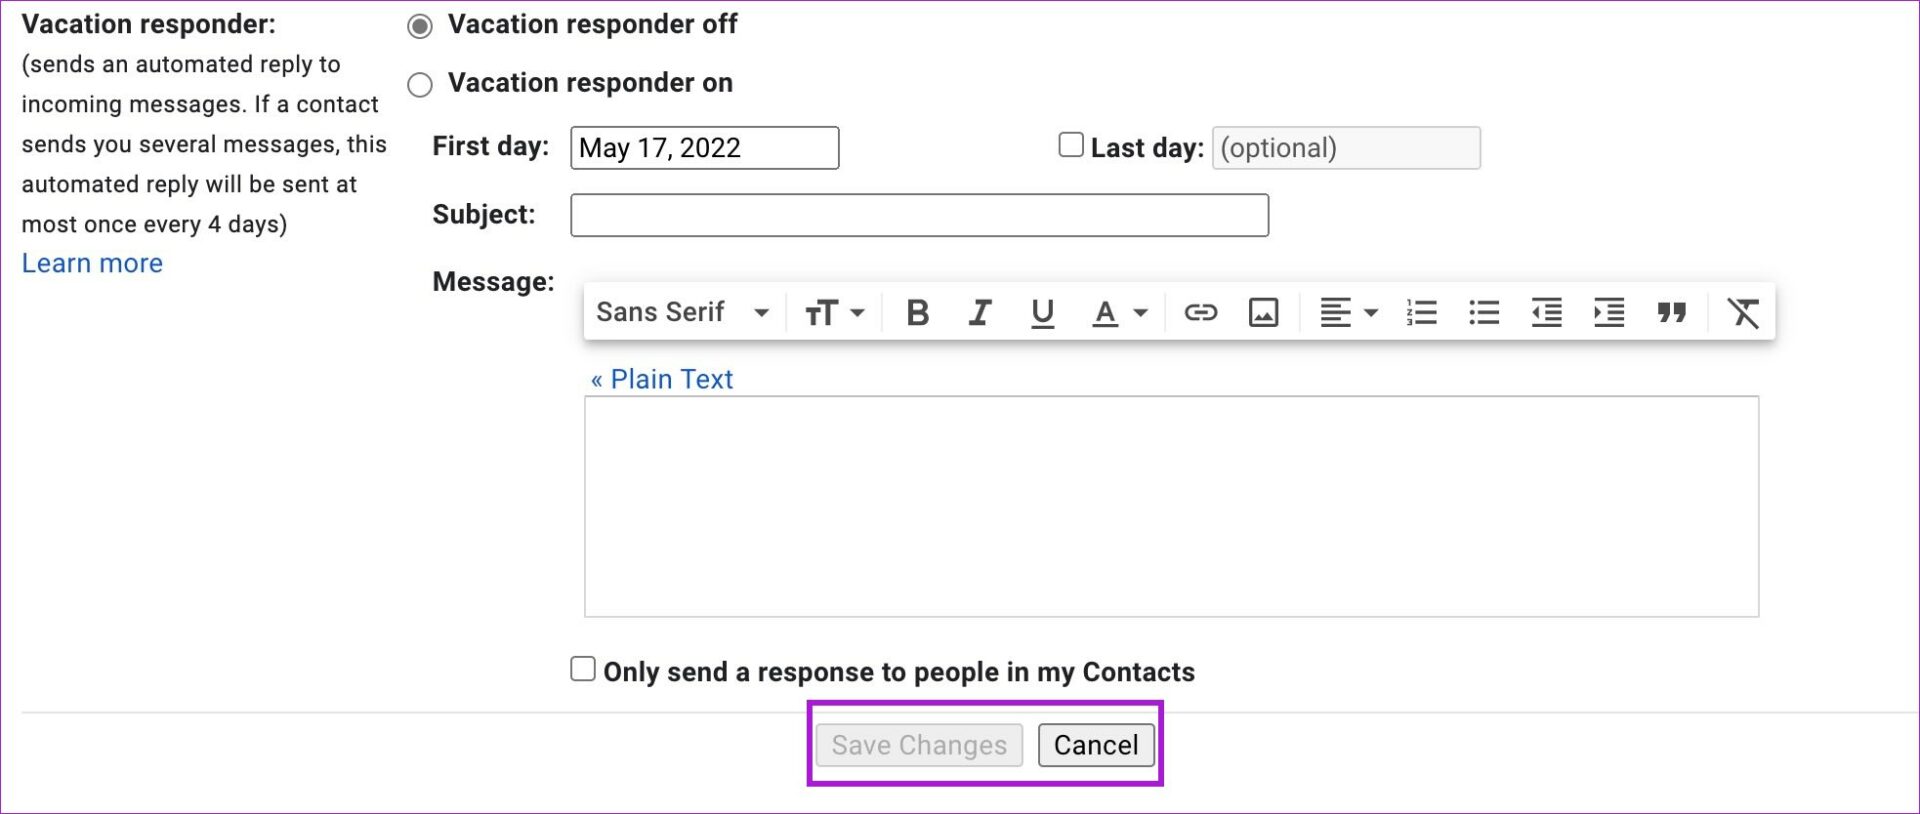
Step 5: Change text style, size, and color to your preference. Step 6: Scroll down to the bottom and select the Save Changes button.
After this, whenever you try to compose an email in Gmail, the compose window will show up with your chosen prefences for text style.
Go Back to Default Text Style in Gmail on Web
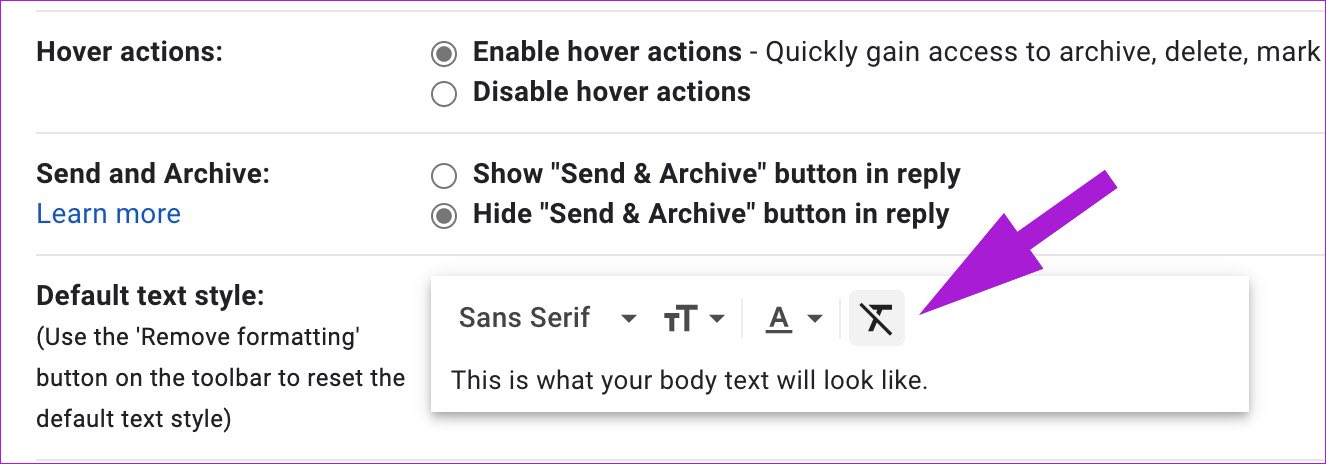
If you want to go back to the default Gmail text style, you can easily do so from the Gmail settings. For the sake of consistency, we would advise sticking with the default text style. Step 1: Go to Gmail settings on the web (refer to the steps above). Step 2: From the General tab, scroll down to text style. Step 3: Tap on remove formatting icon as shown in the screenshot below.
Scroll down and click on the Save Changes button.
Change Text Style in Gmail for Android
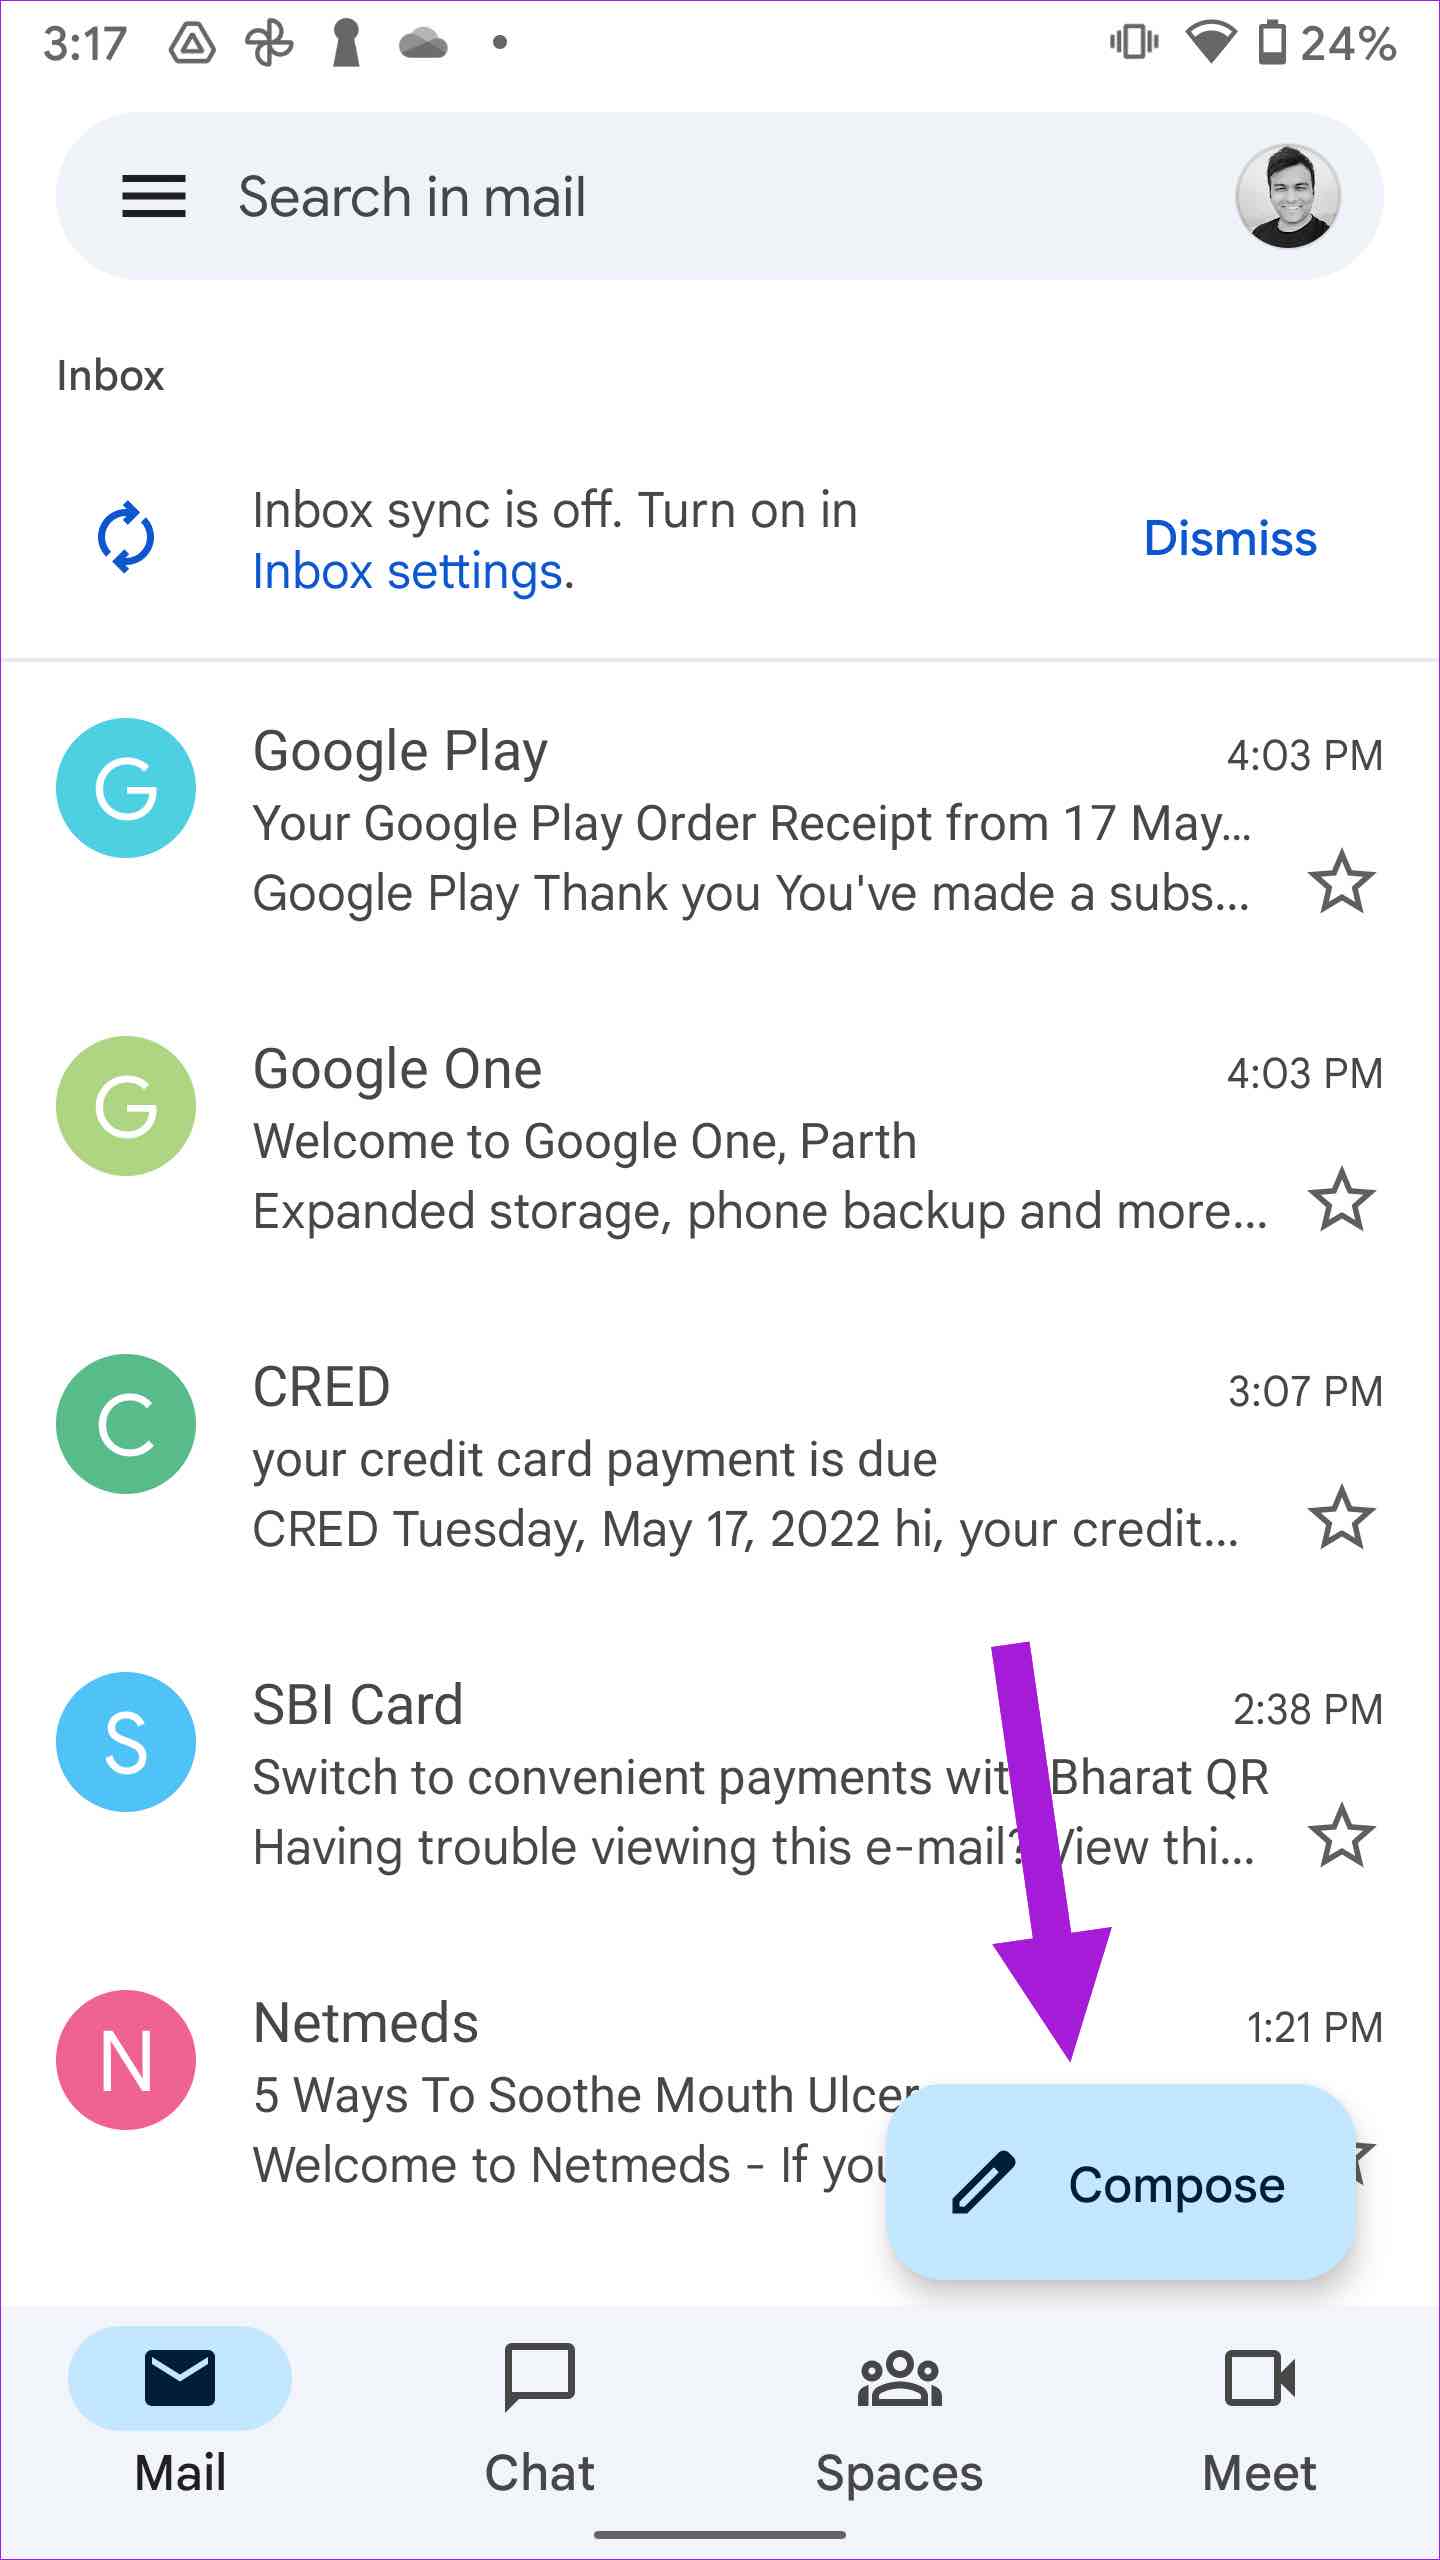
While not visible upfront, Gmail for Android does offer formatting options to tweak text style. It can be helpful while responding to an email or composing a new one. Follow the steps below to learn it. Step 1: Open Gmail app on Android. Step 2: Tap on the Compose button at the bottom-right corner.
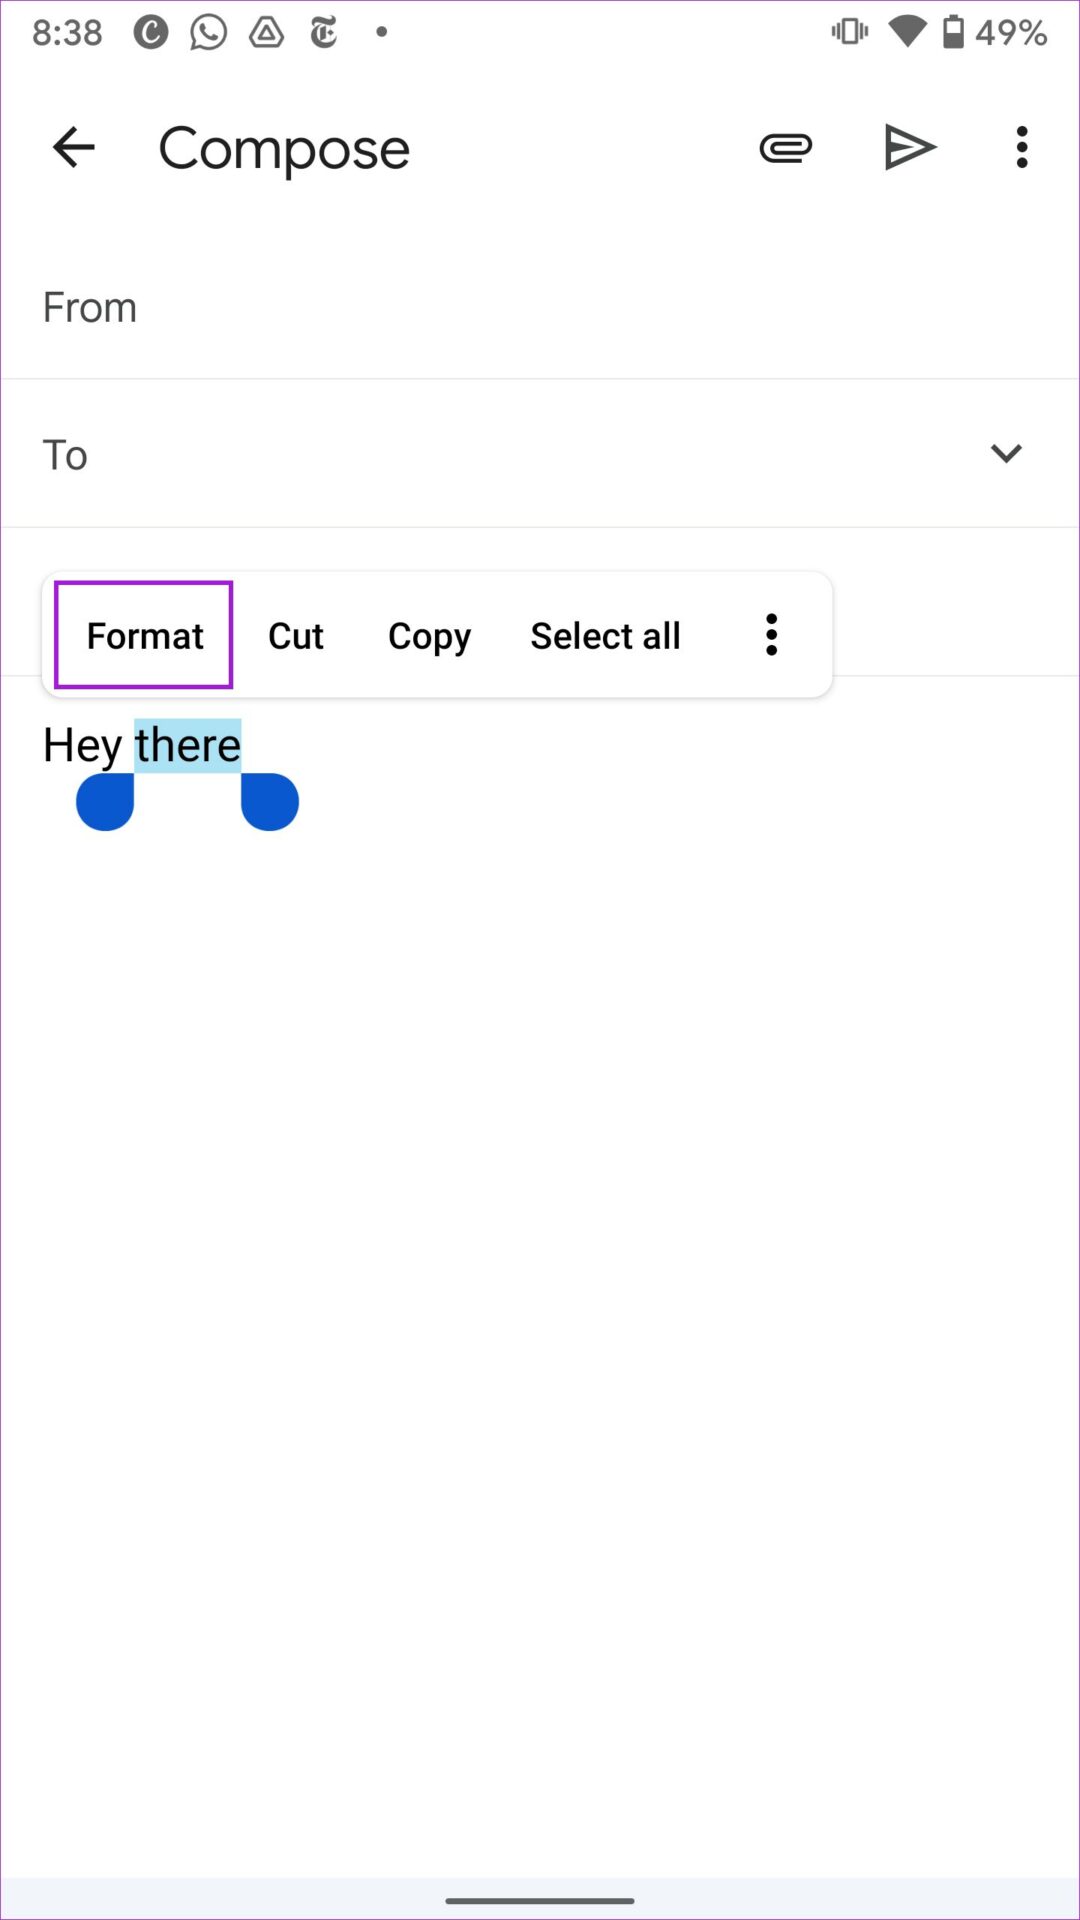
Step 3: Compose your email and start typing your message. Step 4: Select the text and tap on Format from the context menu when you want to highlight something.
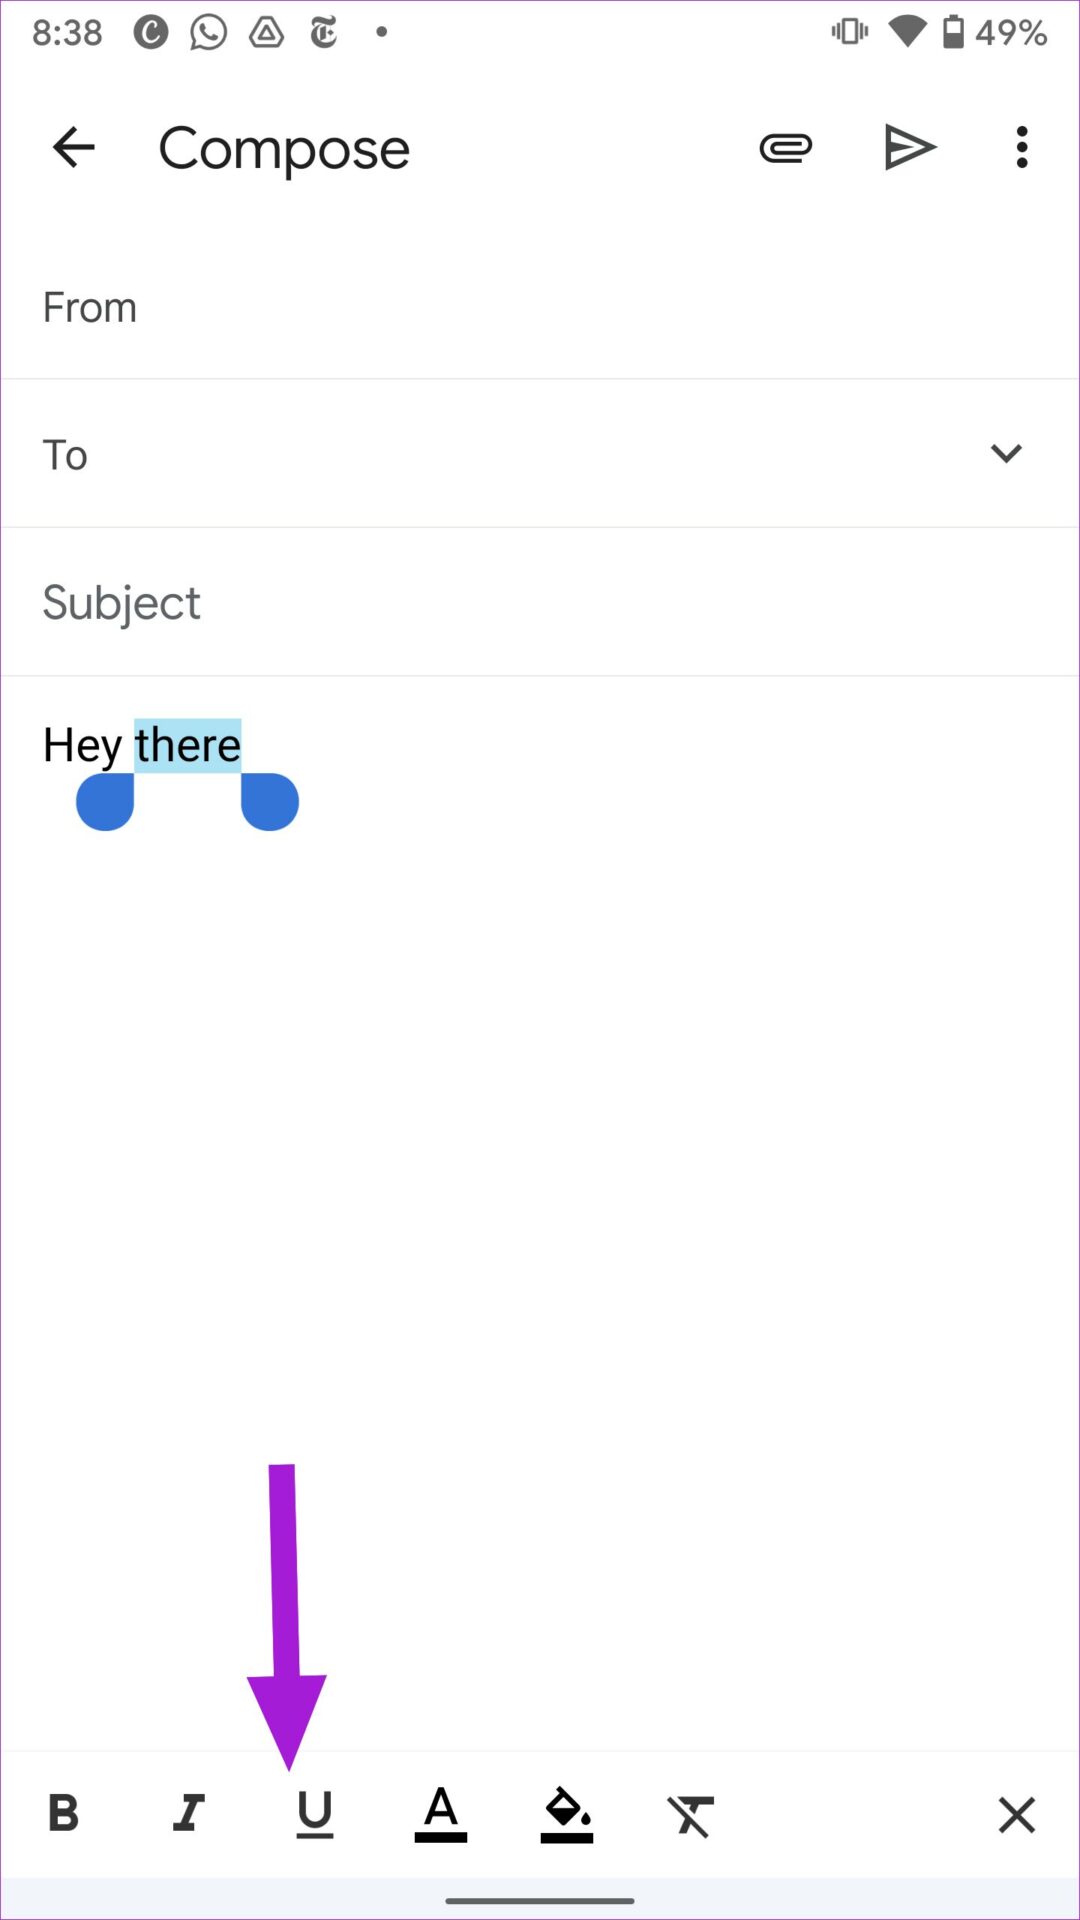
Step 5: You can add bold, italic, underline effects, and change text style and color.
Tap on the cross mark in the bottom-right corner to hide the formatting bar. There is no way to change the default text style in the Gmail app for Android.
Text Formatting in Gmail App for iPhone
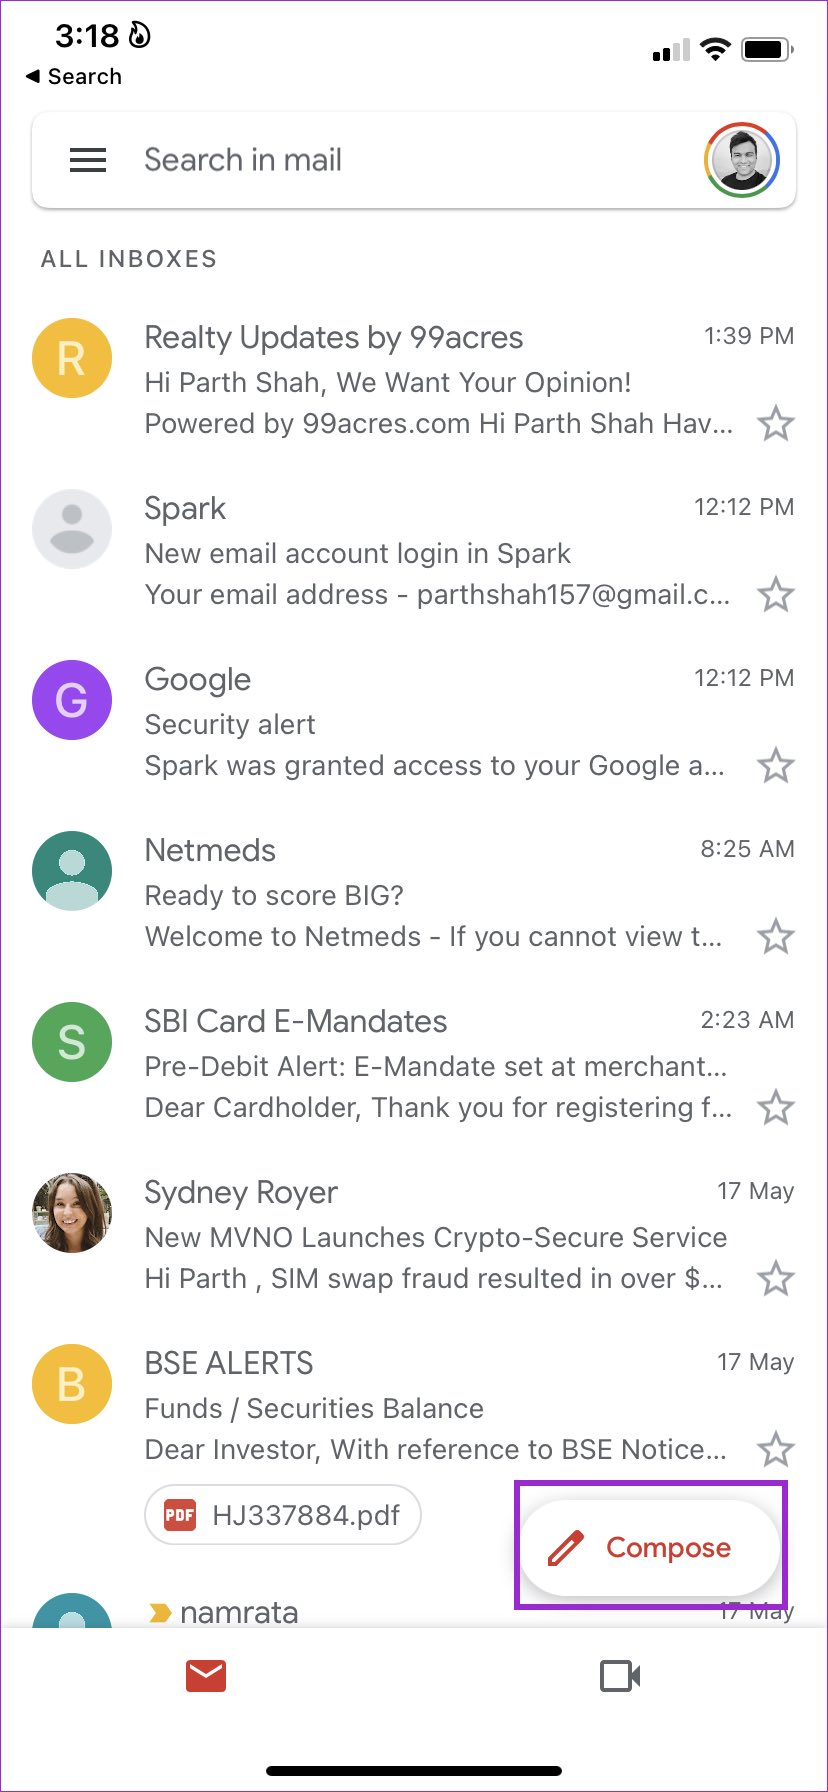
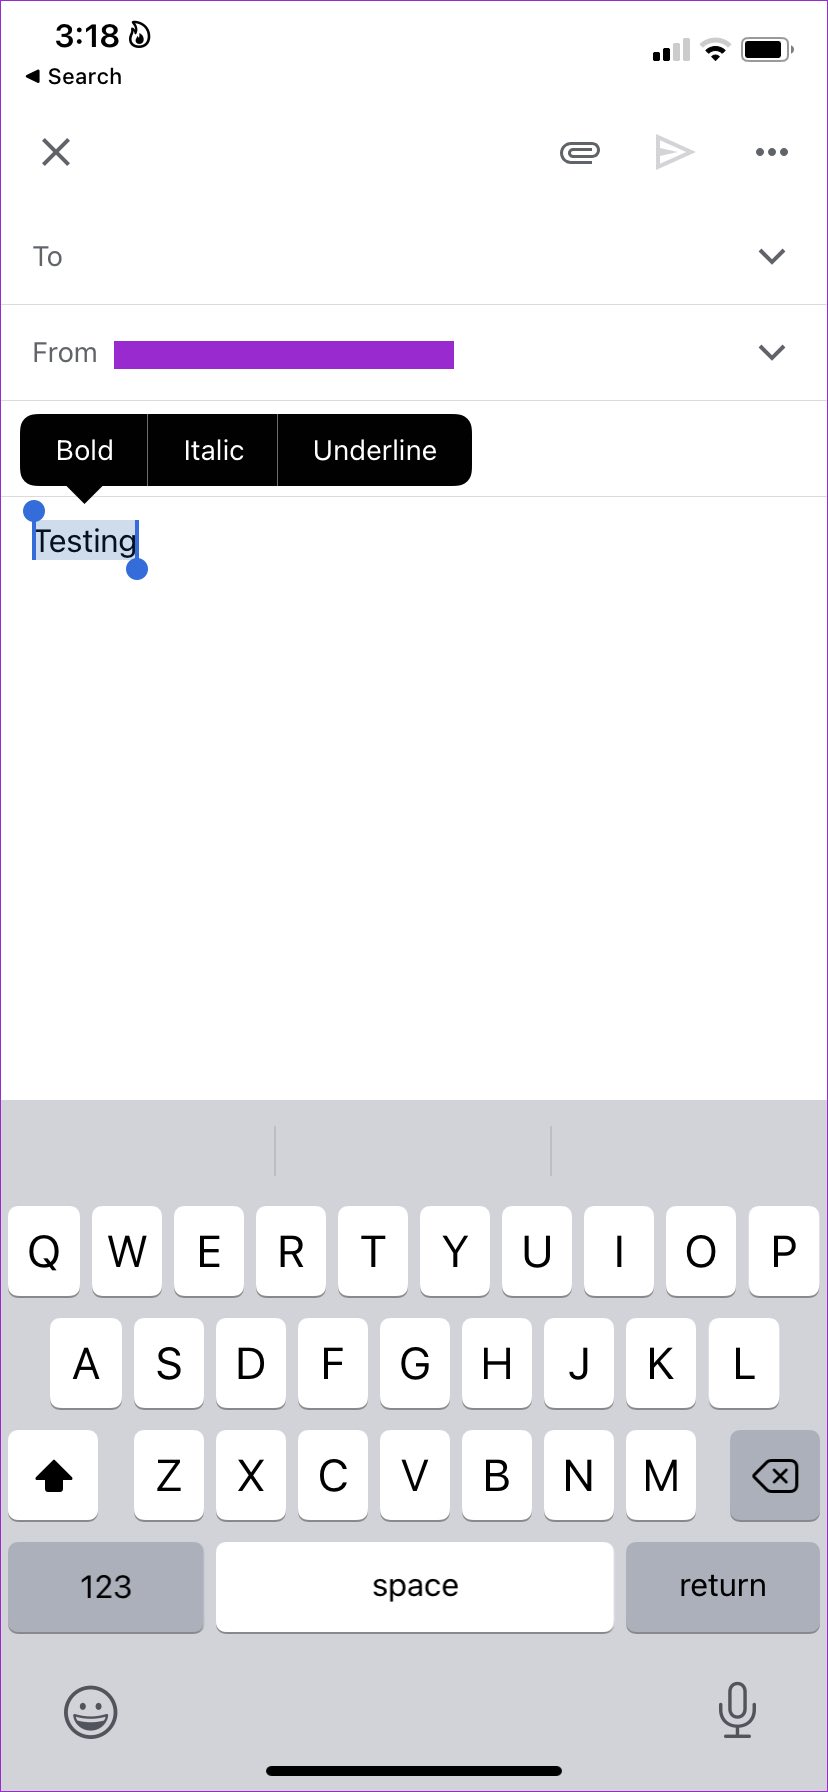
Gmail’s text formatting options are limited in its official app for iPhone than its Android app. You can only play with bold, italic, and underline effects. Here’s how. Step 1: Open Gmail app on iPhone. Step 2: Compose an email and type a body message.
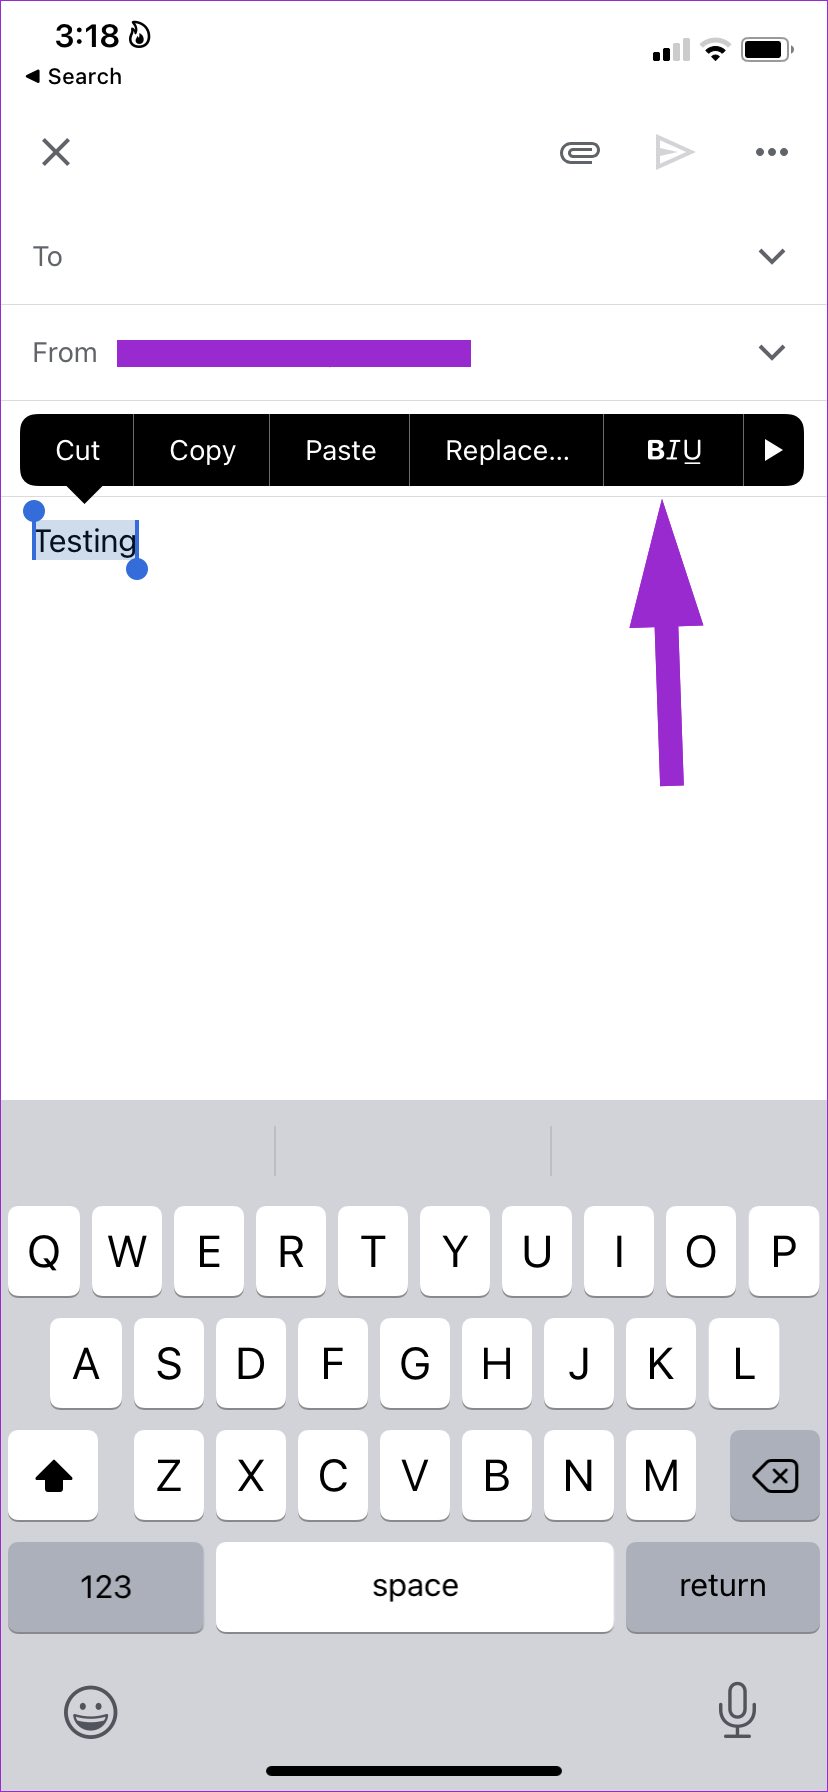
Step 3: Long-tap on the text that you want to format.
Step 4: Tap on formatting options and select bold, italic, or underline style.
We aren’t sure why Google doesn’t offer the same rich text formatting options (as Android ones) on iOS.
Craft the Perfect Email in Gmail
Whether writing a business letter, sending an invoice, or drafting a sales proposal, you need to use Gmail’s default text formatting options and highlight important details in an email. Don’t forget to implement an email signature to add a personal touch.
