If you use iMessage on your iPhone, iCloud syncs all your conversations across devices. Sometimes, you may face an issue with syncing iMessage on your iPhone. It’s mostly when the iCloud account is different from your iMessage account. That’s why iPhone throws the ‘iCloud and iMessage Accounts Do Not Match’ error. If you face this issue, here’s how you can fix it.
Why Is iMessage Not Syncing on Your iPhone
For iMessage to sync to iCloud, you’ll need to use the iCloud account as the default iMessages account. Without this basic requirement, your iMessage chats will not sync across all your devices. Most common reason for the issue is using two different accounts on your iPhone – one for iCloud and one for iMessage. It often happens when you’ve ever used more than one Apple ID on your iPhone. The only solution to the problem is to use the same account for iCloud and iMessage. Only after that your messages will seamlessly sync across all your Apple devices. Here’s how you can ensure using the same account for iCloud and iMessage.
How to Sign Into the Same Account for iCloud and iMessage
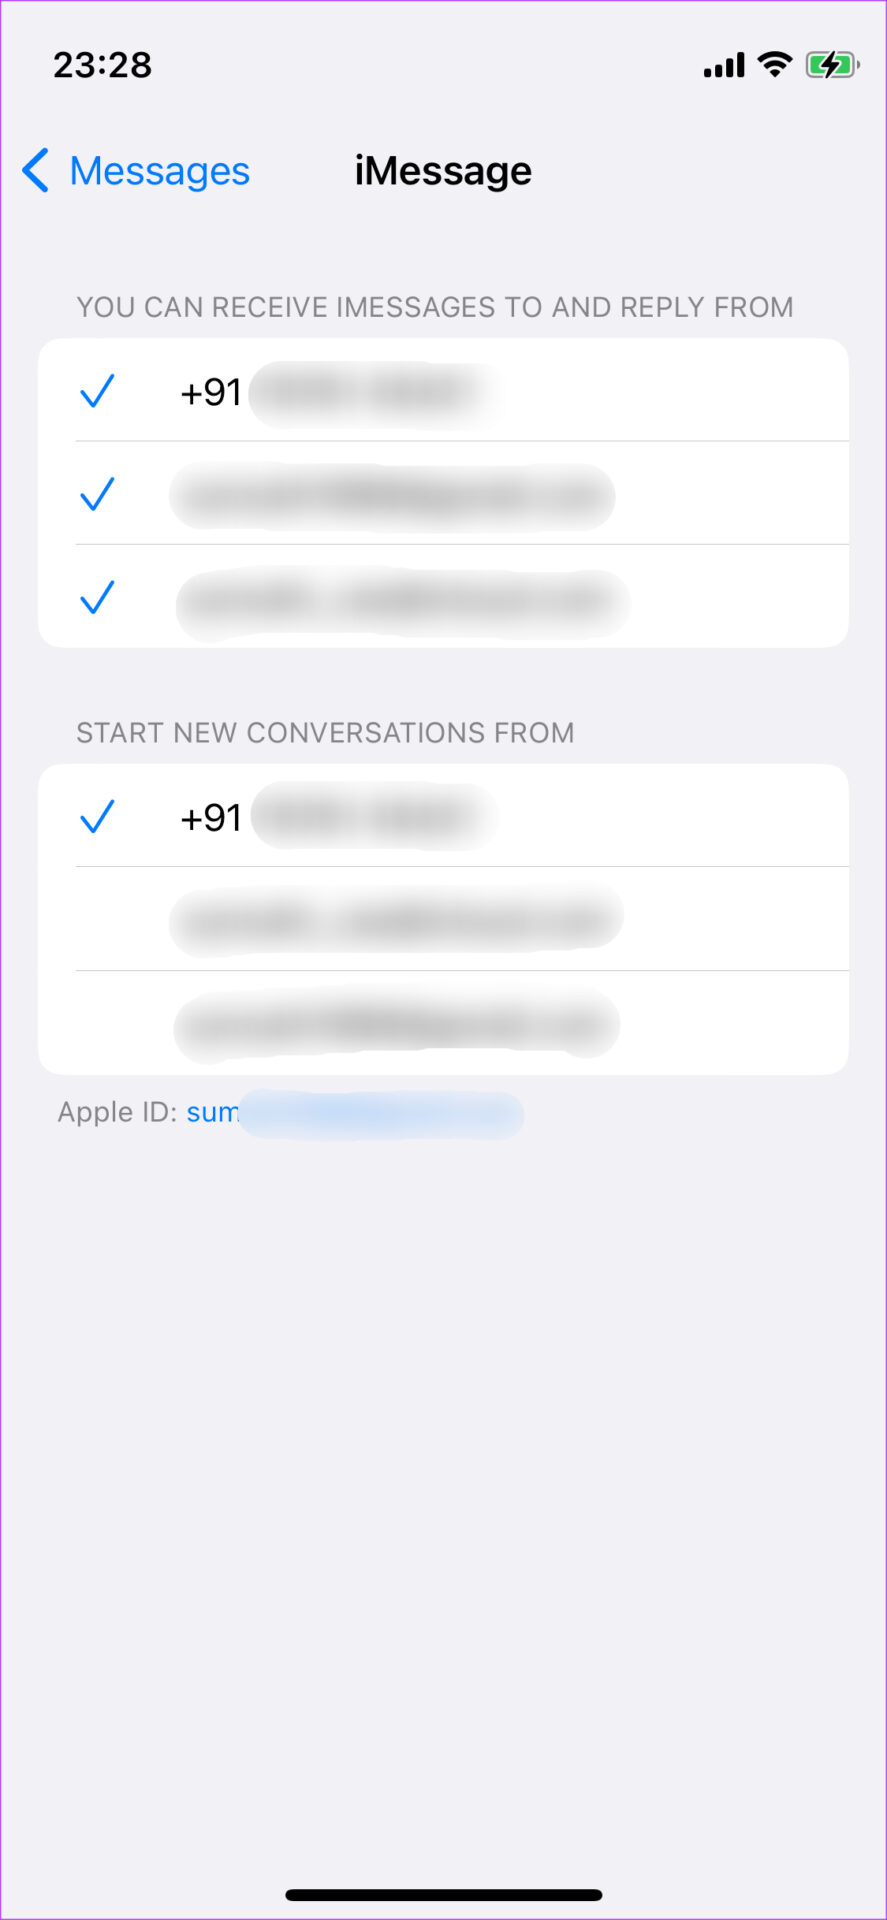
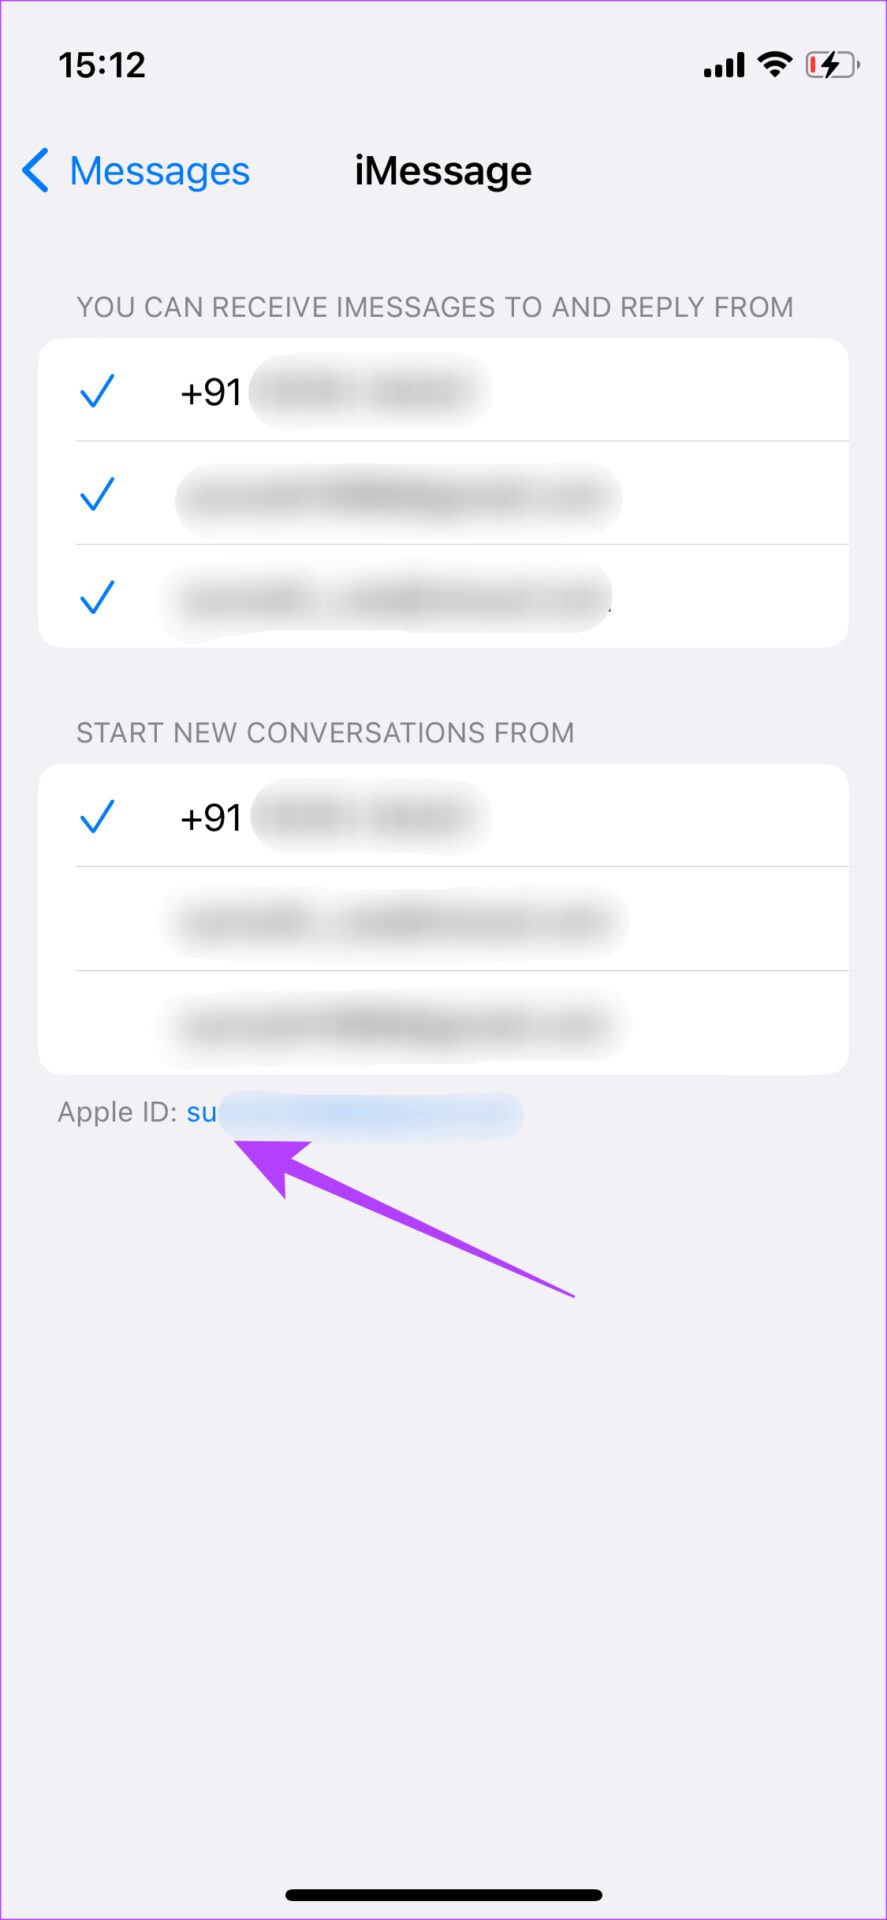
Since the cause of the problem is different accounts logged into iCloud and iMessage, fixing that discrepancy should solve the issue. Here’s how to do it. Step 1: Open the Settings app on your iPhone and scroll down till you find the Messages option. Tap on it. Step 2: Below the iMessage toggle, you will see an option that says Send & Receive. Select it to view the account via which you can send and receive messages. Step 3: You will see a list of all the phone numbers and email IDs that you can use to send and receive messages via iMessage. However, apart from these addresses, you will see your Apple ID listed at the bottom. This is the Apple ID you’ll need to use for sending and receiving messages over iMessages. If you aren’t using this account, iCloud will not take copy of your messages and sync across devices. . Step 4: Tap on the email ID mentioned next to the Apple ID at the bottom of the list. Step 5: Select the Sign Out option.
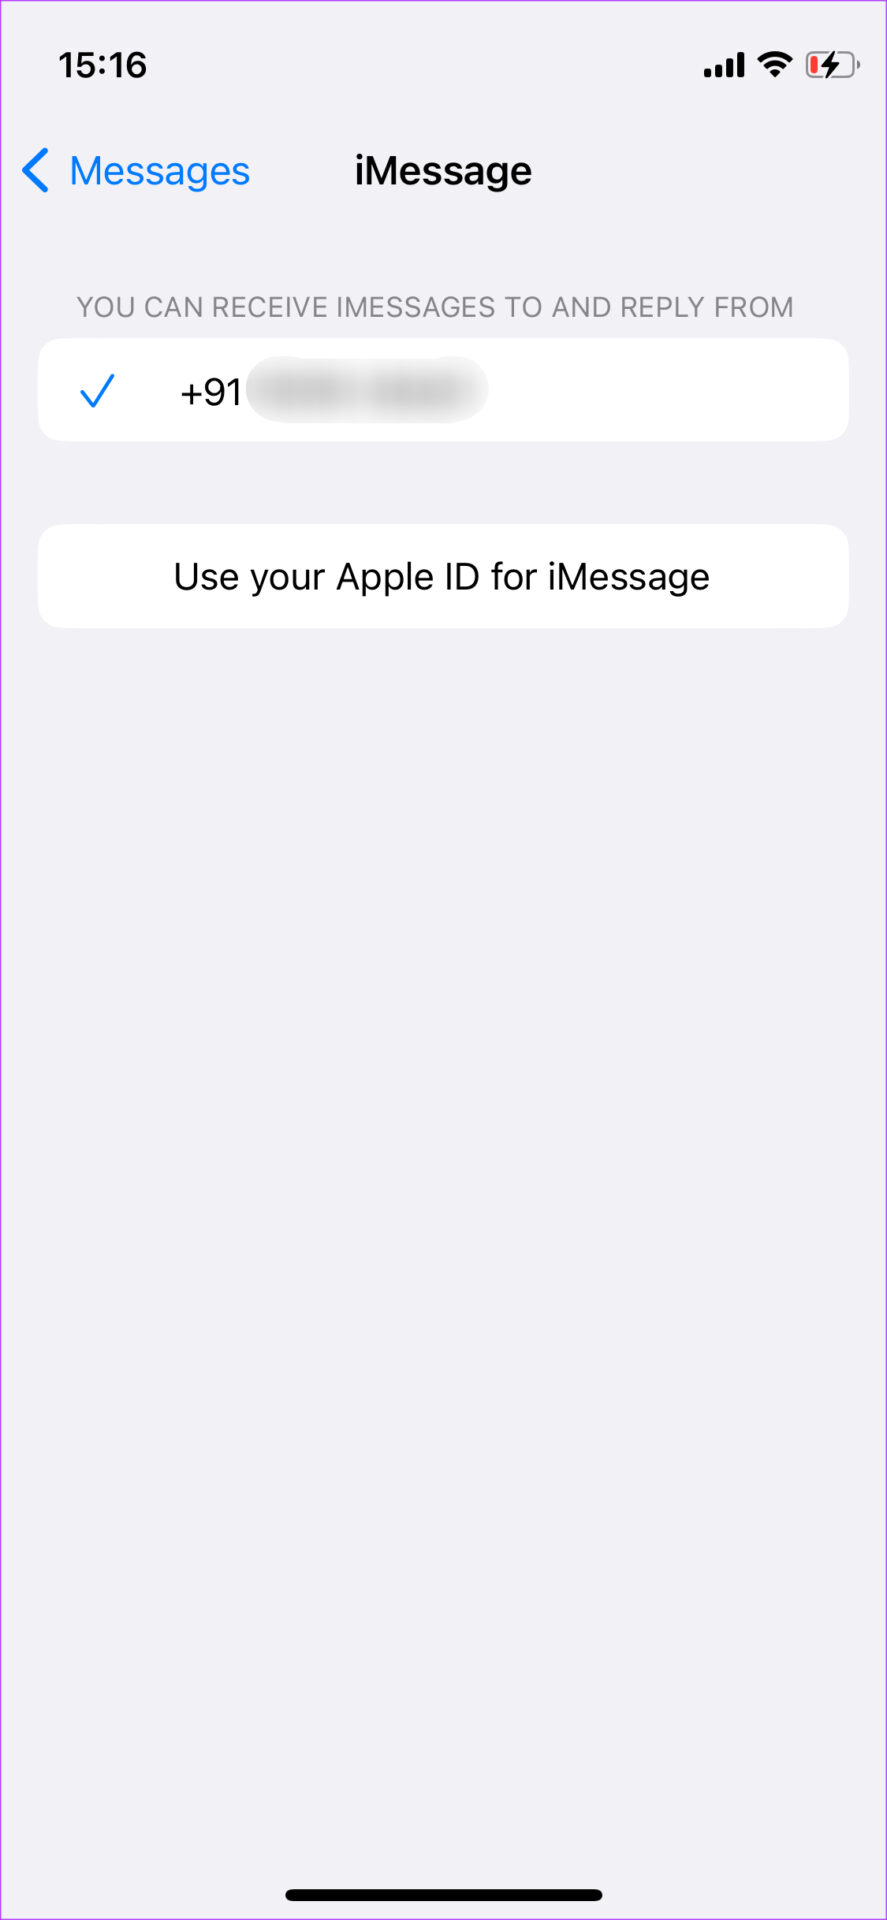
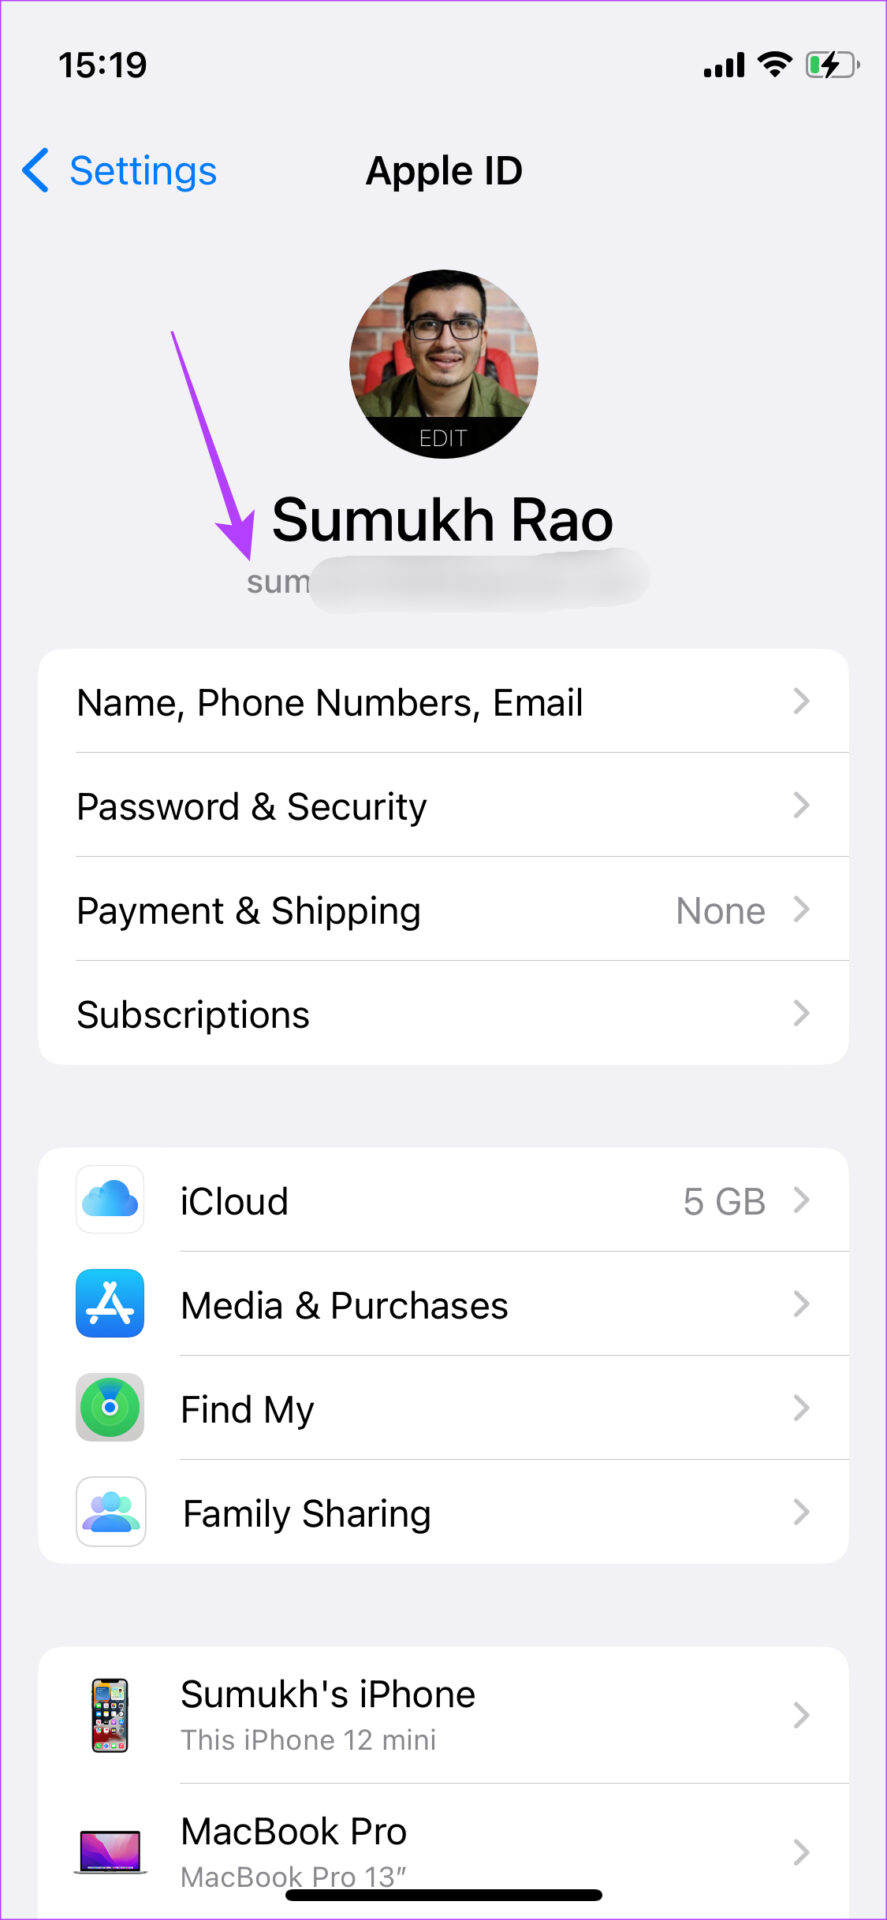
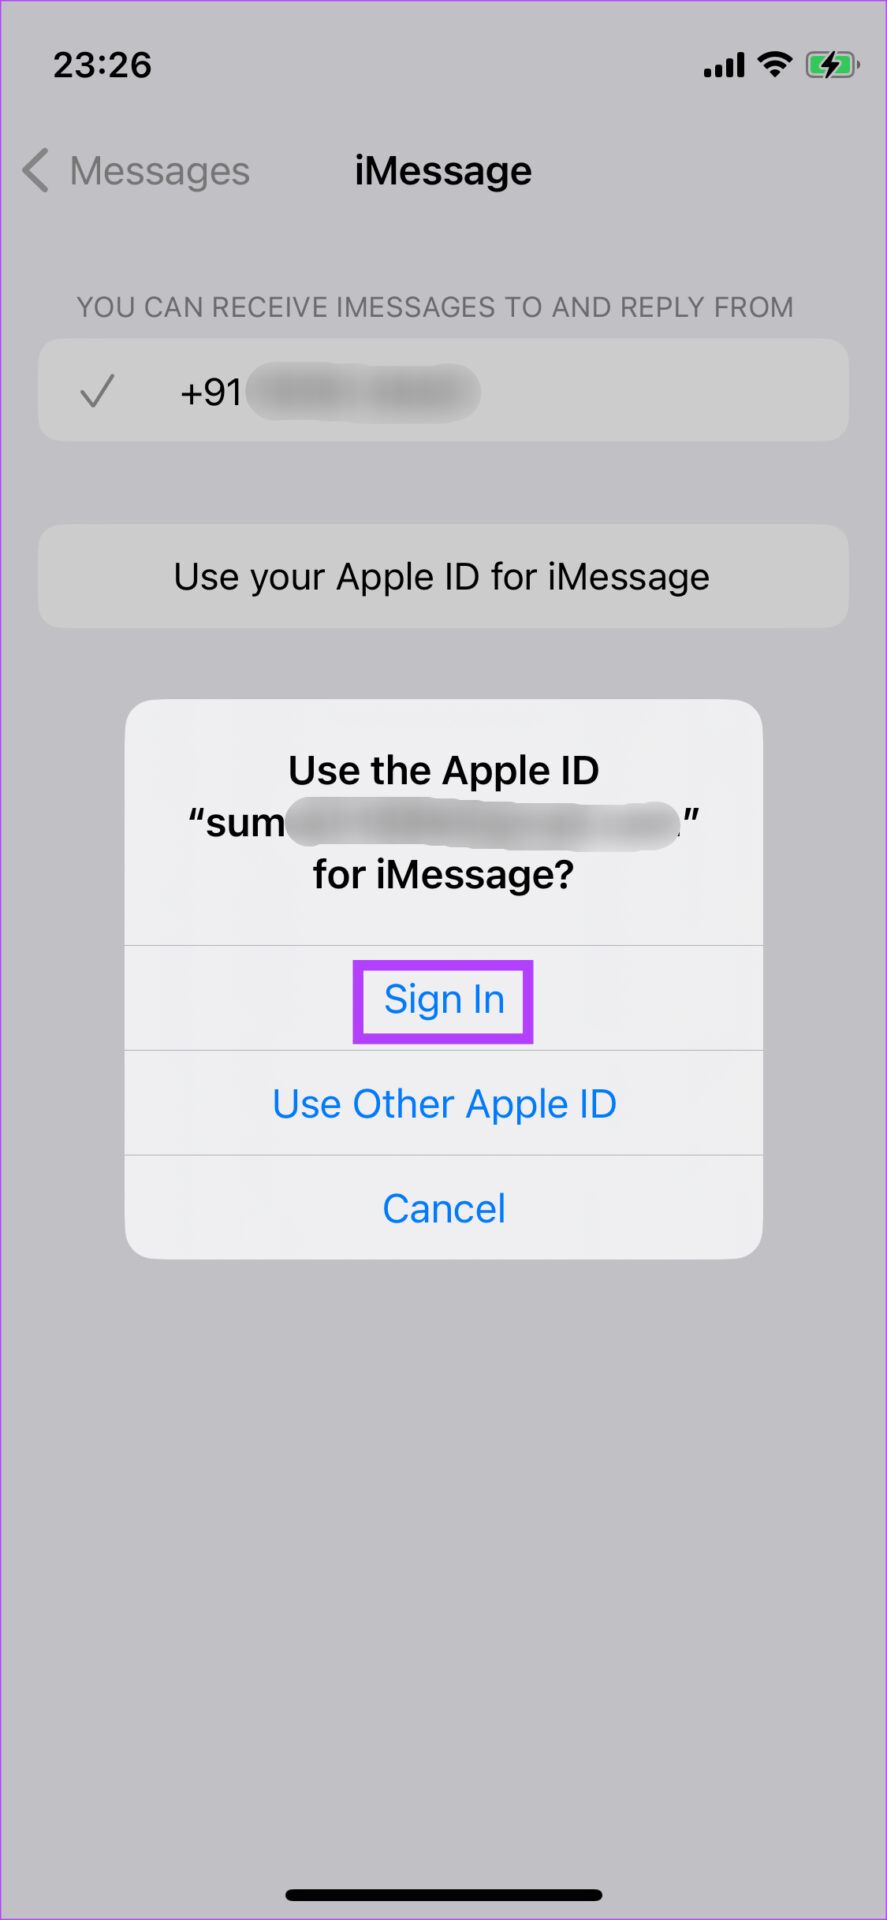
Step 6: Once done, all the previous email IDs will disappear from the list. Your phone number will be the only one present since you can still use iMessage via just your phone number. Sign in with your iCloud account into iMessages. That’ll enable iMessages to use the same accounts. Step 7: Return to the main Settings page on your iPhone and tap on your profile at the top to access iCloud settings. Step 8: The email ID listed under your name is the Apple ID that you use to access iCloud services. Note down this email address. Step 9: Once you’ve noted the email ID, head back to the Settings page and tap on Messages. Step 10: Select Send & Recieve. Step 11: Now, tap on ‘Use your Apple ID for iMessage’. Step 12: You will now be asked if you want to sign in with the Apple ID shown on the screen. If the email address matches the one you noted down earlier, select Sign In. In case the email ID displayed is different (if you’ve ever used more than one Apple ID on your iPhone), select ‘Use Other Apple ID’ and enter the email address you noted down. Step 13: Wait for a while and allow your iPhone to sync to the iCloud servers. The iMessage will show your Apple ID.
How to Sync iMessage Conversations to iCloud
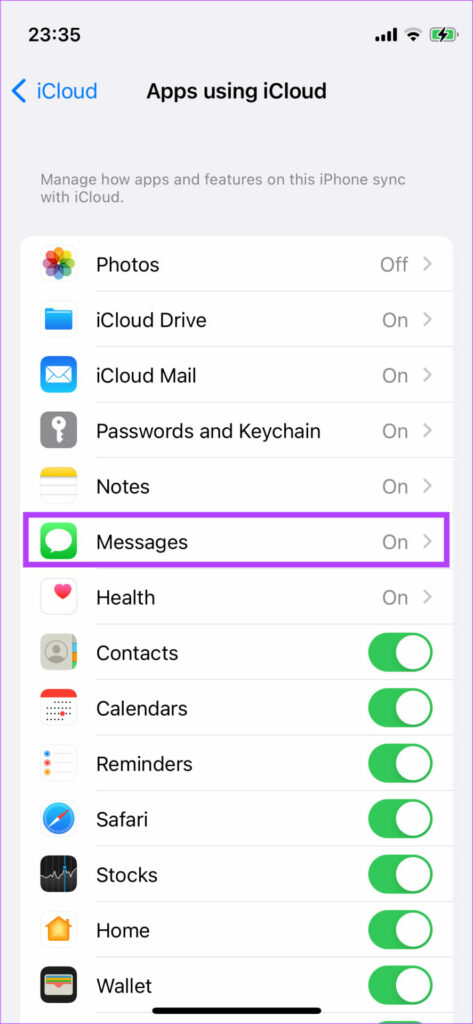
After using the Apple ID for iMessage and iCloud, it’s time to sync your messages to iCloud. Here’s how you can do it. Step 1: Open the Settings app on your iPhone and tap on your profile right at the top to access iCloud preferences. Step 2: Now, tap on the iCloud option. Step 3: Under Sync with iCloud, select Show All. Step 4: Select Messages.
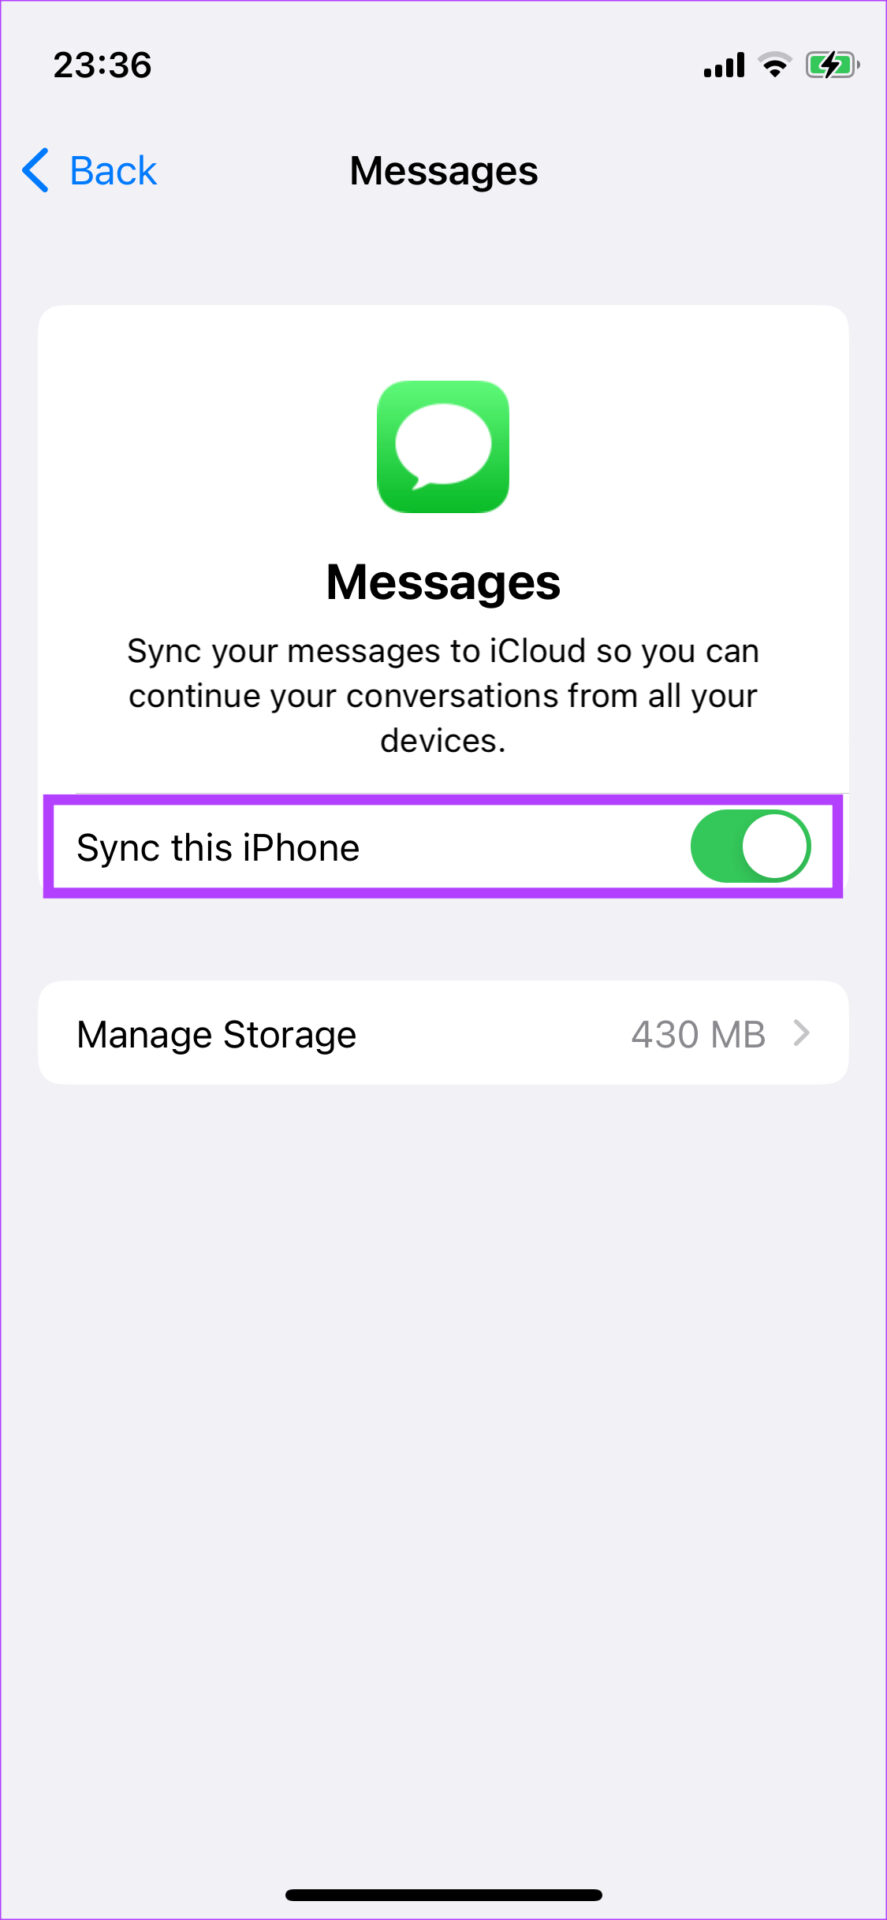
Step 5: Enable the toggle next to Sync this iPhone. Connect your iPhone to a Wi-Fi network and your messages will be synced to iCloud.
Access Your Messages From Everywhere
Syncing your iMessage conversations to iCloud means that you can access all your chats from any Apple device that you own. This way, you can also start a conversation on one device and take it forward on another.


