The iPhone camera is regarded as one the easiest to use for recording videos. Also, the iPhone’s Photos app packs the basic video editing tools like trimming it. Besides that, if you have captured in a landscape orientation but if you think it’ll look better in portrait mode, you can consider rotating the video. And it’s not too difficult. Here’s how to rotate videos on your iPhone.
Types of Rotations
Before we get to how you can rotate videos on your iPhone, it’s important to discuss aspect ratios. If your recorded video is in the portrait orientation, the aspect ratio would be 9:16. On the other hand, if your recorded video is in landscape orientation, the aspect ratio would be 16:9.
The reason this is important is that you can either rotate the video completely while changing the aspect ratio or rotate the contents of the video while maintaining the same aspect ratio. The first form of rotation – rotating the video and the aspect ratio – is more common. You can use it to upload your video over specific platforms that show vertical videos like Tik Tok or Instagram Reels.
How to Rotate Videos on Your iPhone
This is where things get real while rotating a video. Remember that you always have a choice of rolling back all the changes you made. However, we hope you haven’t hit the Done button before that.
Rotating Videos Along With Aspect Ratio
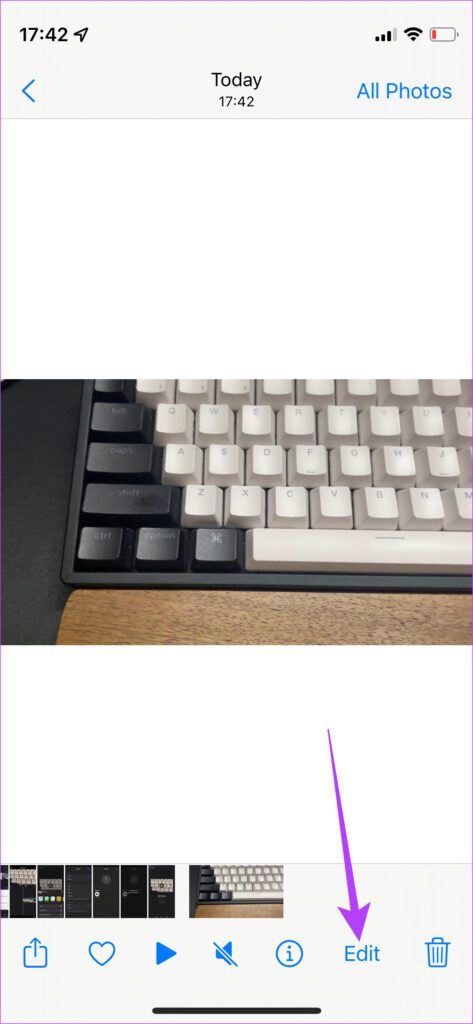
Rotating videos and changing the aspect ratio accordingly is quite simple and straightforward. It can be done straight from the Photos app on iOS. Here’s how to do it. Step 1: Open the Photos app on your iPhone and navigate to the video that you want to rotate. Step 2: Tap on the Edit button in the bottom-right side.
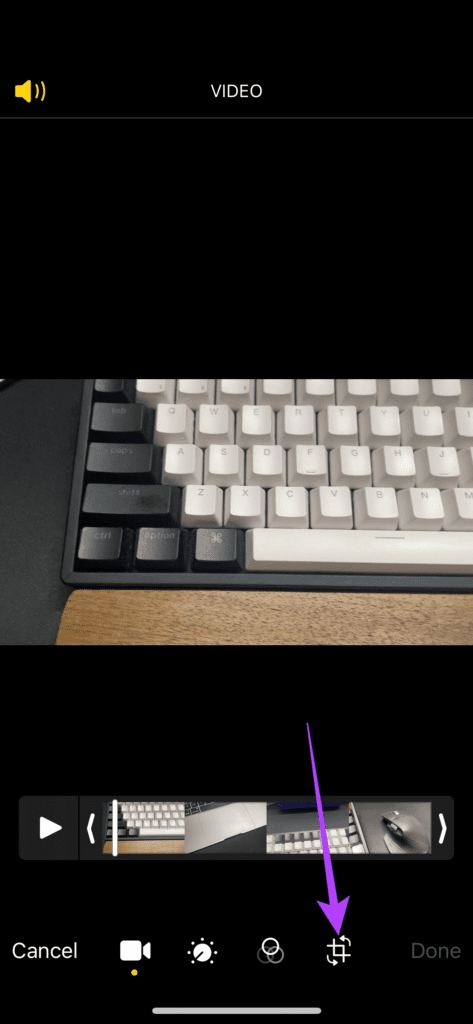
Step 3: Select the crop icon in the bottom-right corner.
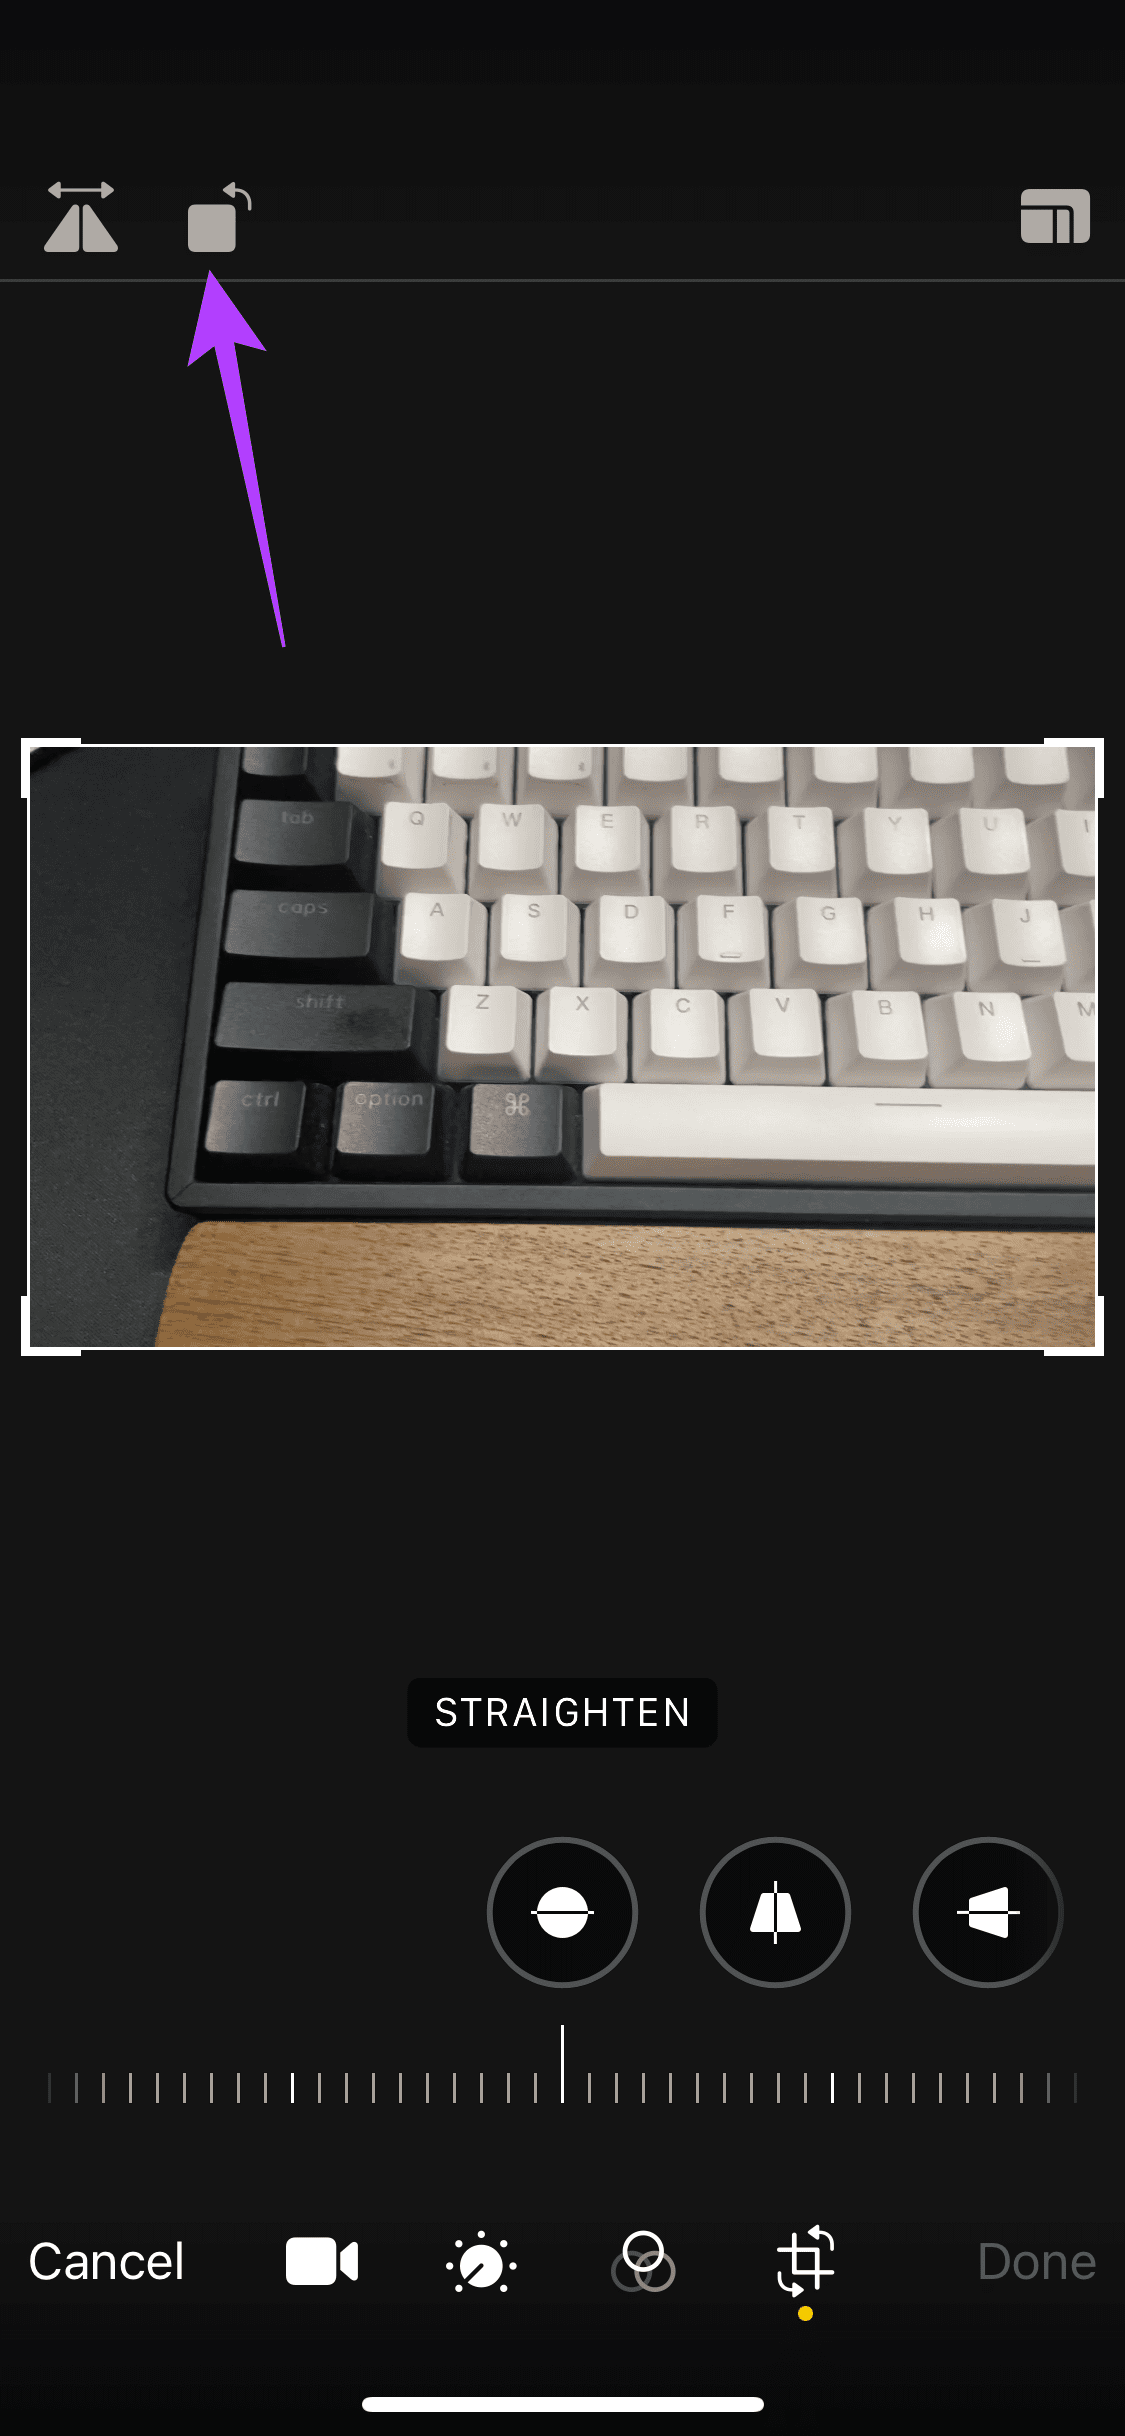
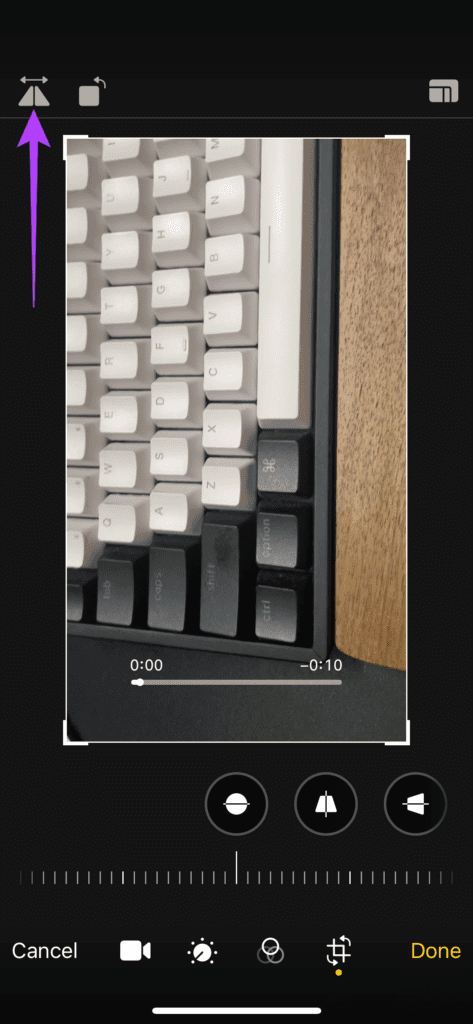
Step 4: Use the rotate button (square with an arrow) in the top-left corner to rotate the video by 90 degrees. The rotation happens in an anti-clockwise direction so keep pressing the button till your desired angle is obtained. Step 5: You can also use the flip button in the top-left corner to mirror the video.
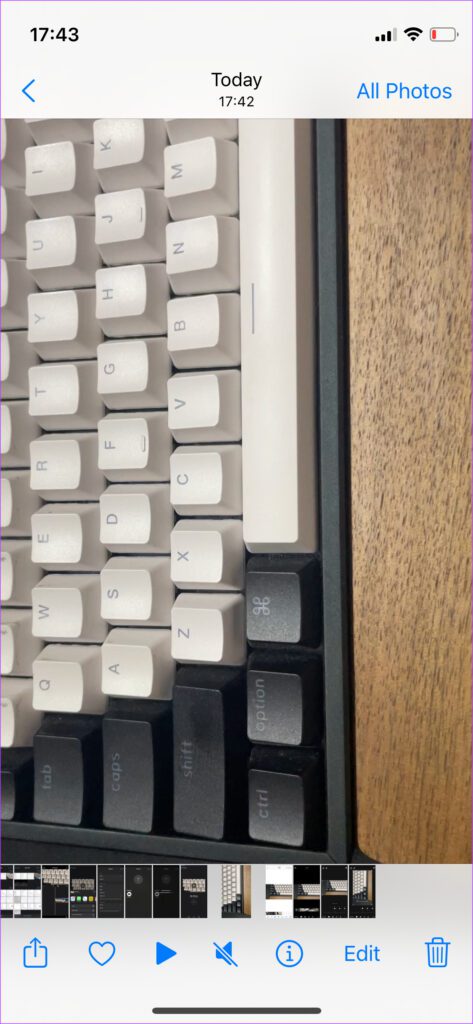
Step 6: After you’re made all the changes, tap on Done. Then iOS will save the video in the Photos app.
The video we used for this example was originally shot in the landscape orientation with a 16:9 aspect ratio. After rotating the video to a vertical position, the aspect ratio has changed to 9:16. The clip can now be uploaded as a vertical video.
However, if you want to keep the video in the horizontal orientation but only rotate the contents, you will need to use the next method.
Rotating Videos While Maintaining Same Aspect Ratio
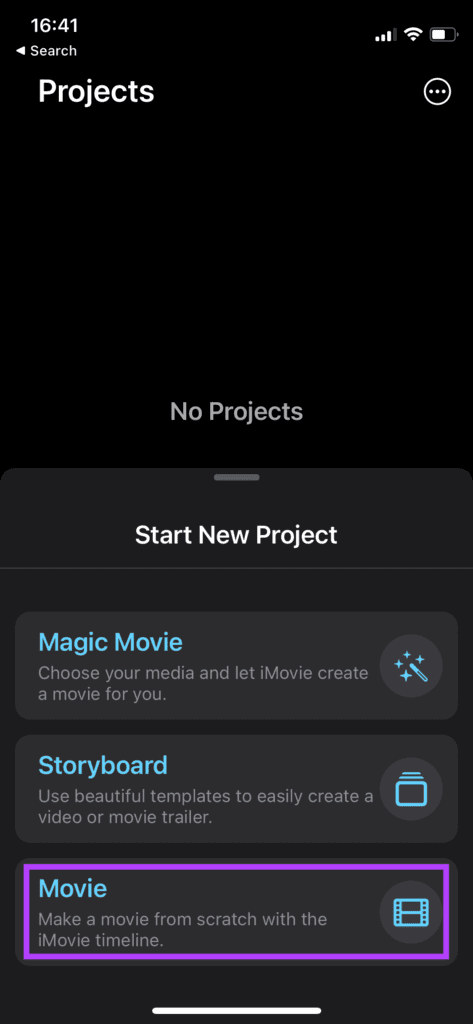
Rotating videos while maintaining the same aspect ratio cannot be done via the Photos app. For that, we’ll need to take help of the iMovie app. While it comes pre-loaded on your iPhone, you can reinstall if you have removed it. Get iMovie for iPhone Step 1: Open the iMovie app on your iPhone. Step 2: Select the Movie option under Start New Project.
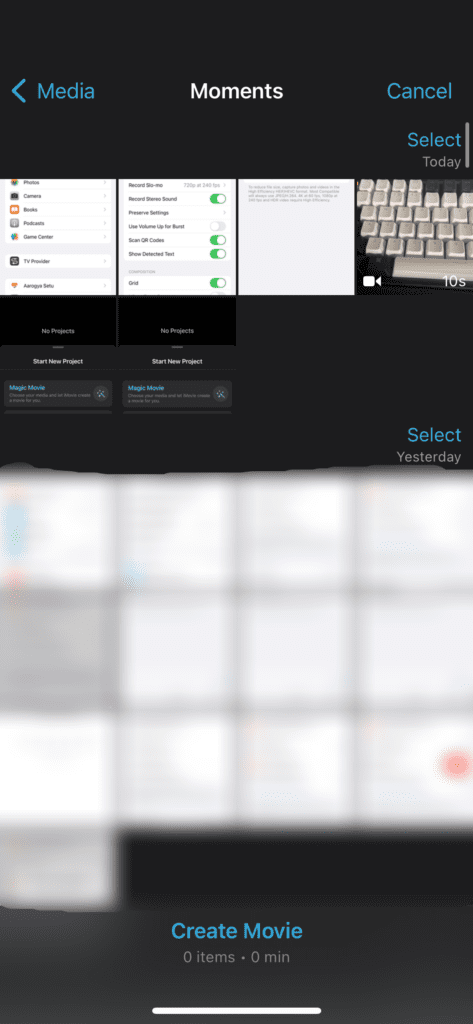
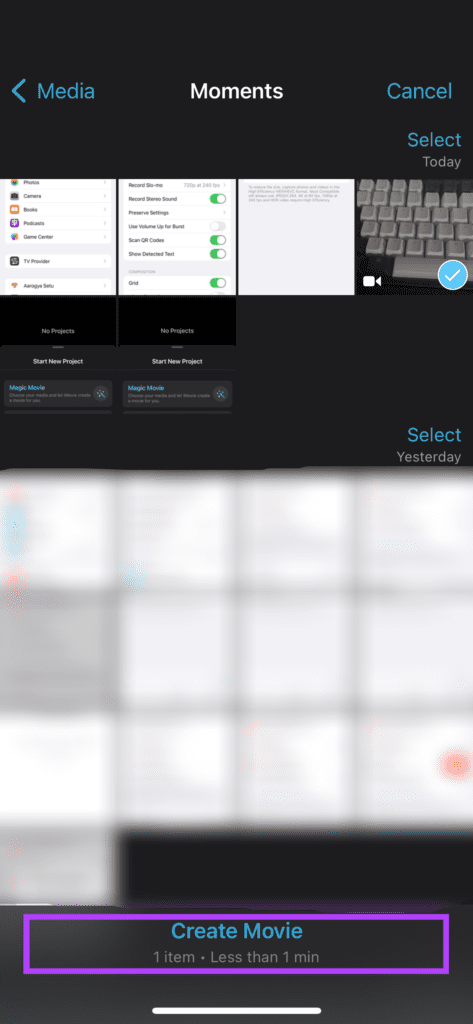
Step 3: From the list of media, select the video you want to send.
Step 4: Choose the Create Movie option at the bottom.
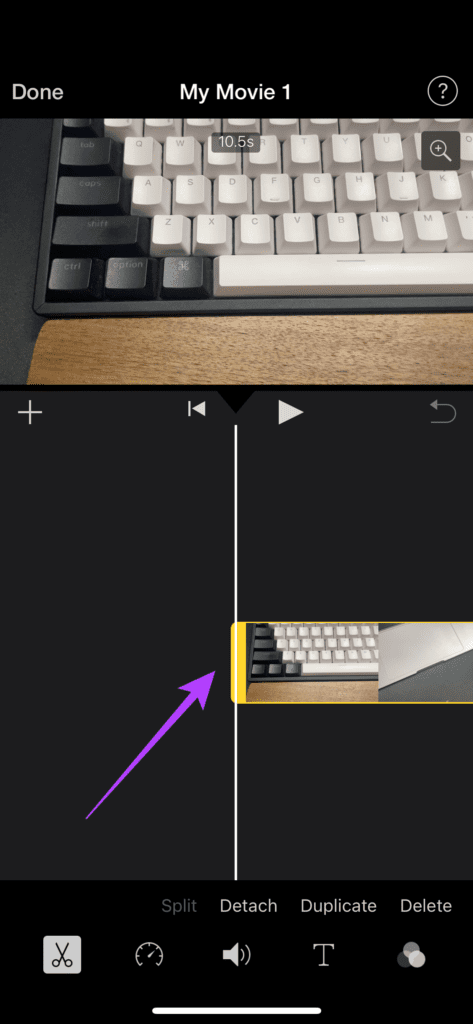
The video will appear in the iMovie app with a frame-wise timeline in the lower half.
Step 5: Tap on the timeline to select the video.
Step 6: Place two fingers on the screen in the portion where the video preview appears. Twist your fingers in the direction in which you want to rotate the video.
Step 7: You will see a rotate icon displayed when you do this. Release your fingers once you see it.
While that’ll rotate the video preview, it won’t appear in the same aspect ratio as the original clip. Luckily, you can change that.
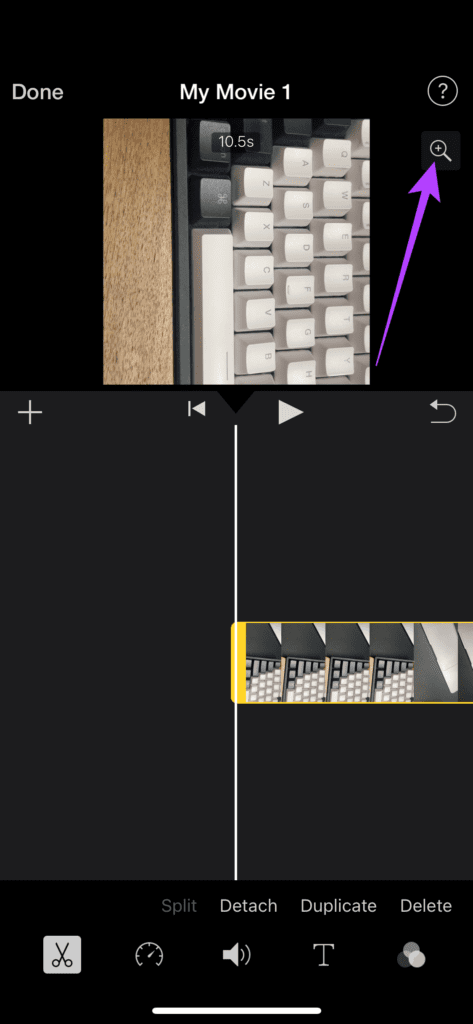
Step 8: Select the small magnification glass in the top-right corner of the video preview for activiting Pinch to zoom.
Step 9: Pinch your fingers outward to zoom into the clip. Zoom in till the area you desire becomes prominent.
Step 10: Tap on Done in the top-left corner.
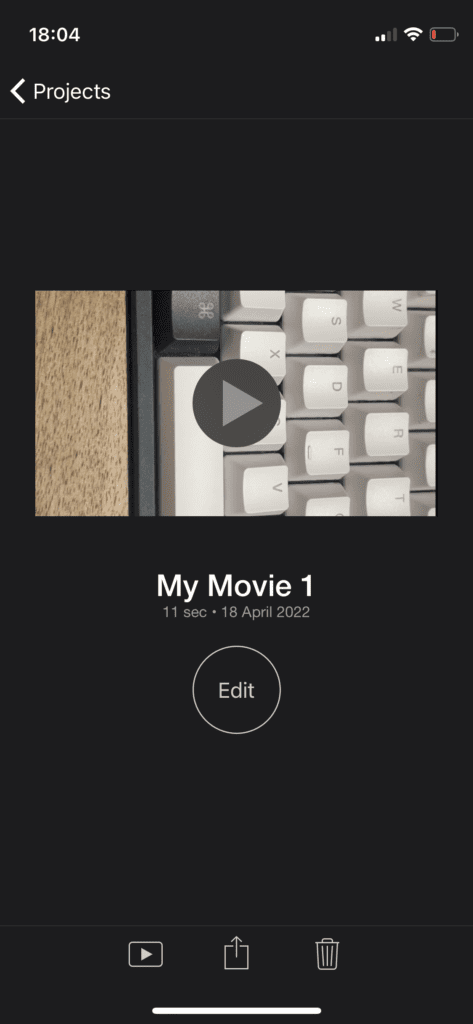
The iOS will take a second or two to save the video and will show it with default title like My Movie 1. You can hit the Edit button and change it.
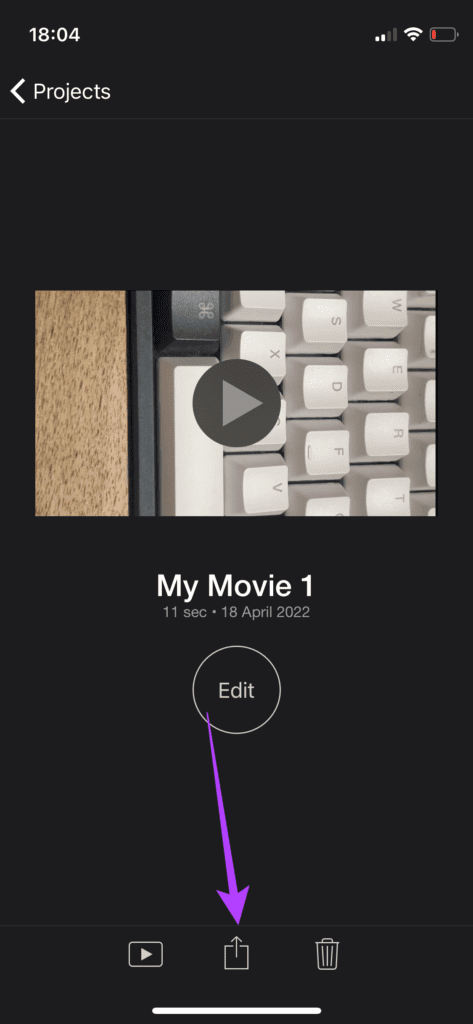
Step 11: Tap on the Share icon at the bottom.
Step 12: Select Save Video.
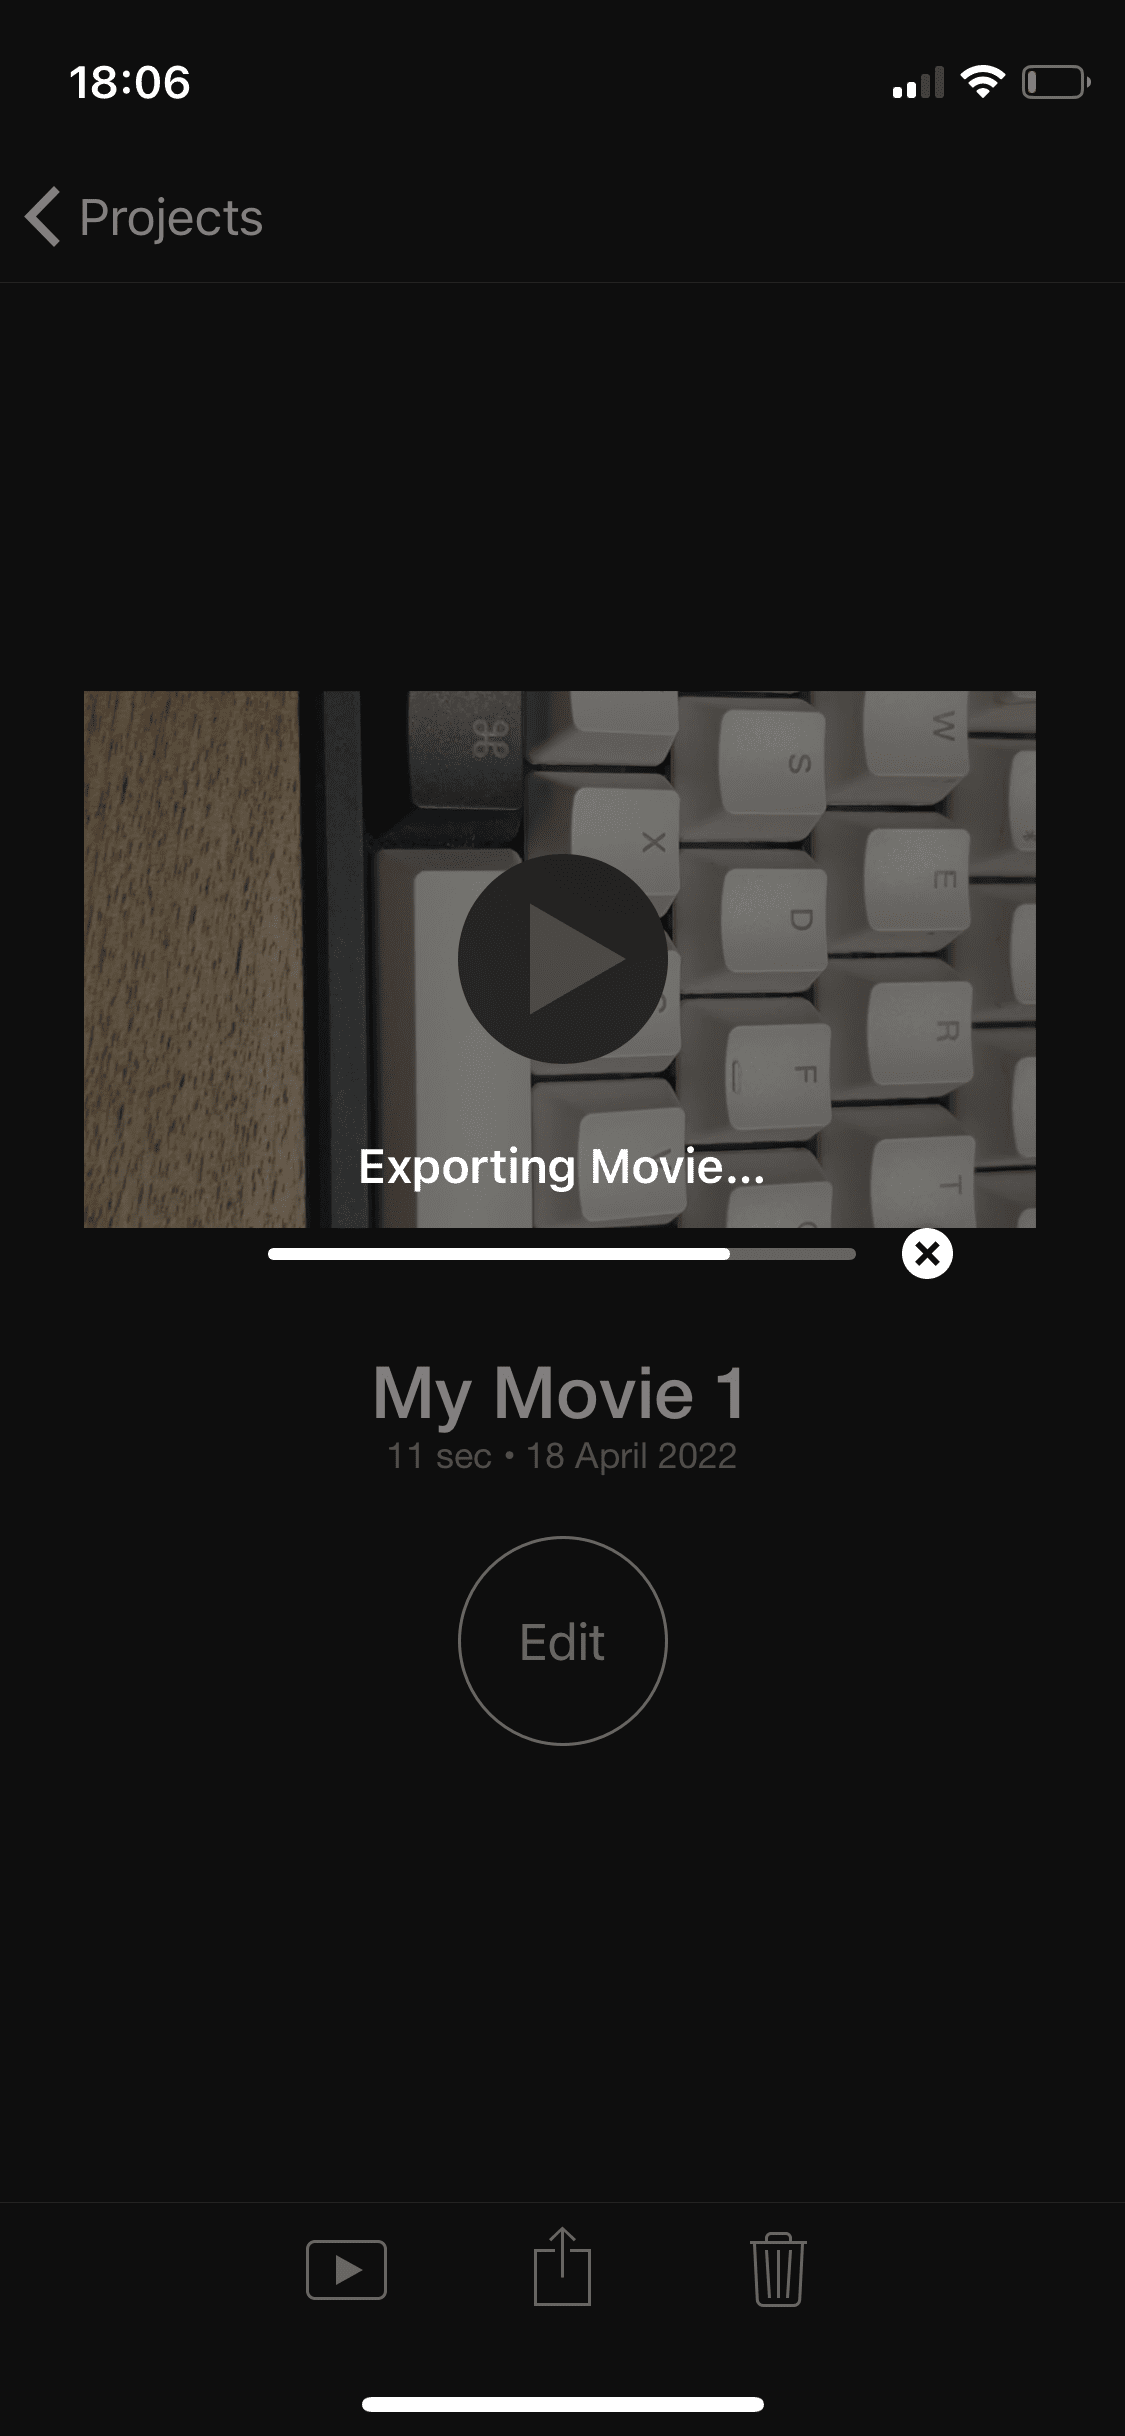
Wait for the video to export. When the process completes, select OK on the prompt. Open the Photos app and navigate to the saved video. You will see that while the contents of the video have been rotated, the video is still in the horizontal orientation with a 16:9 aspect ratio.
Rotate Videos and Share Them With Ease
You can rotate videos on your iPhone depending on how you want to do it and what for purpose. With content consumption on the rise, basic video editing skills like rotating videos are always good, especially on a device like the iPhone that you carry everywhere with you.