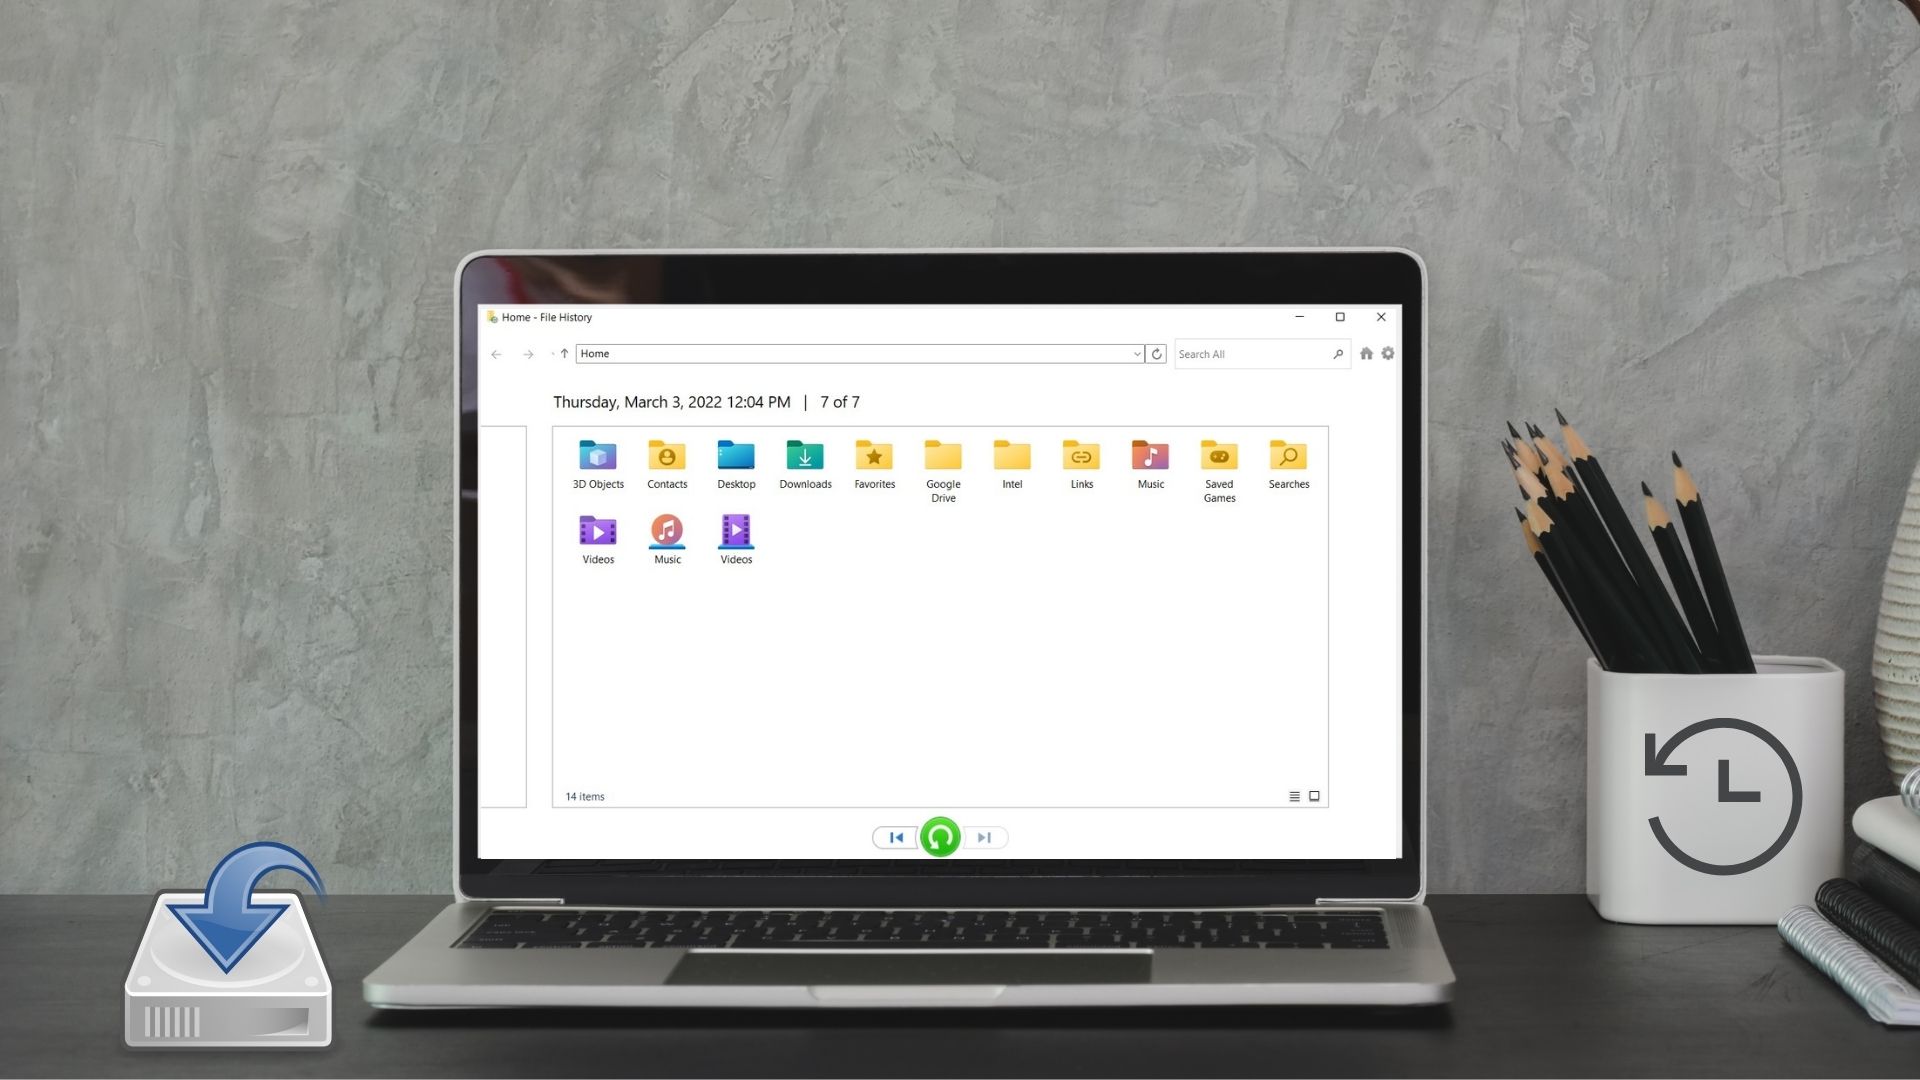
This article will show you how to set up and use File History on Windows 11 to backup and restore files.
How to Set Up File History on Windows 11
Unlike its previous iterations, Windows 11 does not allow you to access File History from the Settings app. Instead, you’ll have to use Control Panel to set up and use File History on Windows 11. Step 1: Open the Start menu, type in control panel, and press Enter.
Step 2: Change the View type to large or small icons and select File History.
Step 3: If you haven’t connected any external drive, you’ll see a ‘No usable hard drive was found’ error. Connect an external hard drive and refresh the page to continue.
Step 4: Click on the Turn on button to enable File History.
Once enabled, File History will automatically start backing up your files. Optionally, you can also choose to back up to a network location if available.
How to Use File History on Windows 11
Let’s see how you can use File History to backup files, add or remove folders, and modify the other important settings.
Backup Files with File History
By default, File History will only back up files from Libraries, Desktop, Contacts, and Favorites. However, you may add more folders as you please by following the steps below. Step 1: Locate the folder you wish to add to File History backup. Step 2: Right-click on the folder, navigate to ‘Include in library’ option, and select your preferred location.
That’s it. Since your library is already being backed up, any files or folders added there will be part of it. Likewise, if you wish to exclude some of the folders from your File History backup, here’s what you need to do. Step 1: Click the Windows Search button, type in file history, and press Enter.
Step 2: Use the left pane to select Exclude folders.
Step 3: Click on Add.
Step 4: Locate the folder or the subfolder you wish to exclude from your backup. Then click on Select Folder.
Change Backup Frequency
You can also define how often you want your files to be backed up automatically. You can set the backup frequency to every few minutes or on a daily basis provided that the external or the network drive is available. Here’s how. Step 1: In the File History window, open Advanced settings.
Step 2: Under Versions, use the drop-down menu next to ‘Save copies of files’ to select your preferred backup frequency.
Additionally, you can also define how long you wish to keep your saved versions. Once done, hit Save changes.
Select File History Drive
Depending on the number of files and the backup frequency, your external hard drive is bound to run out of space sooner or later. Thankfully, you can switch to a different drive at any point by following the steps below. Step 1: In the File History window, click on Select drive.
Step 2: Here, you’ll be shown a list of available drives. Alternatively, you can also click on Add network location option to back up your files on the network.
How to Restore Files from File History on Windows 11
In case you ever lose access to your important files, restoring them from File History is quite simple. Here’s how. Step 1: Press Windows key + S to open Windows Search. Type in file history in the box and press Enter. Step 2: Click on Restore personal files on your left.
Step 3: Here, you’ll find all your backup files with a few media controls at the bottom. Forward and backward buttons will help you scroll through various versions of your files and folders.
Step 4: Select one or multiple folders that you’d like to restore, and click on the restore button.
Once restored, you can locate the file or folder in its original location on your PC.
Backup and Restore
Although you can back up your files and folders with OneDrive, File History is a convenient option to store your files offline. Plus, you also get to restore various versions of a file with frequent backups. Will you use File History or prefer to store your files in the cloud? Let us know in the comments below.


