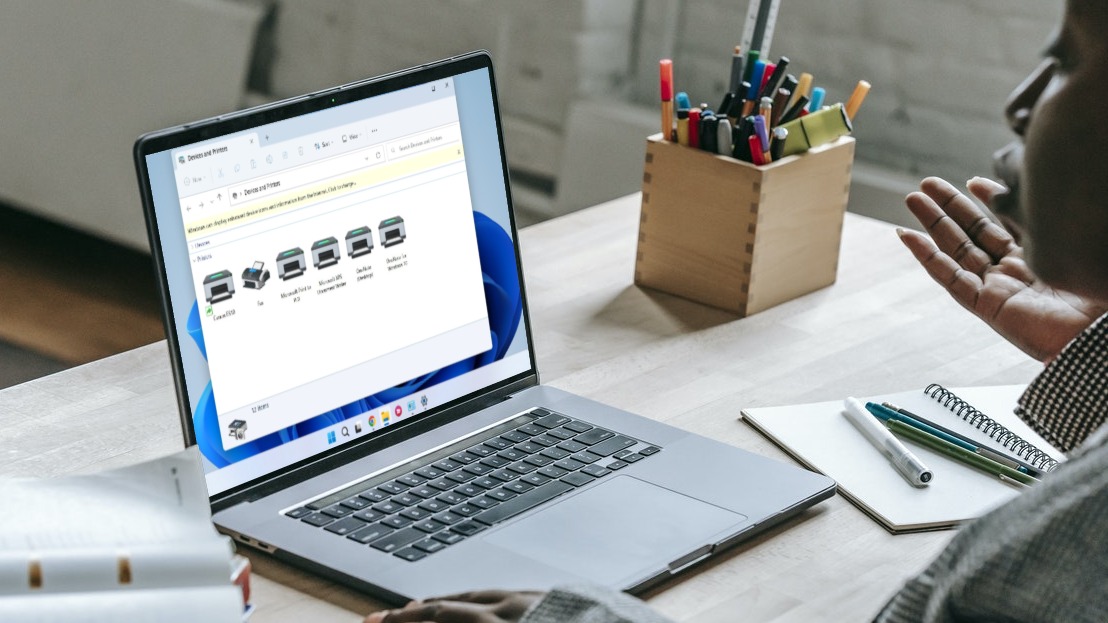
When you encounter problems while removing obsolete printers from your Windows 11 computer, this guide has troubleshooting tips that will help. So, let’s check it out.
1. Clear Print Queue
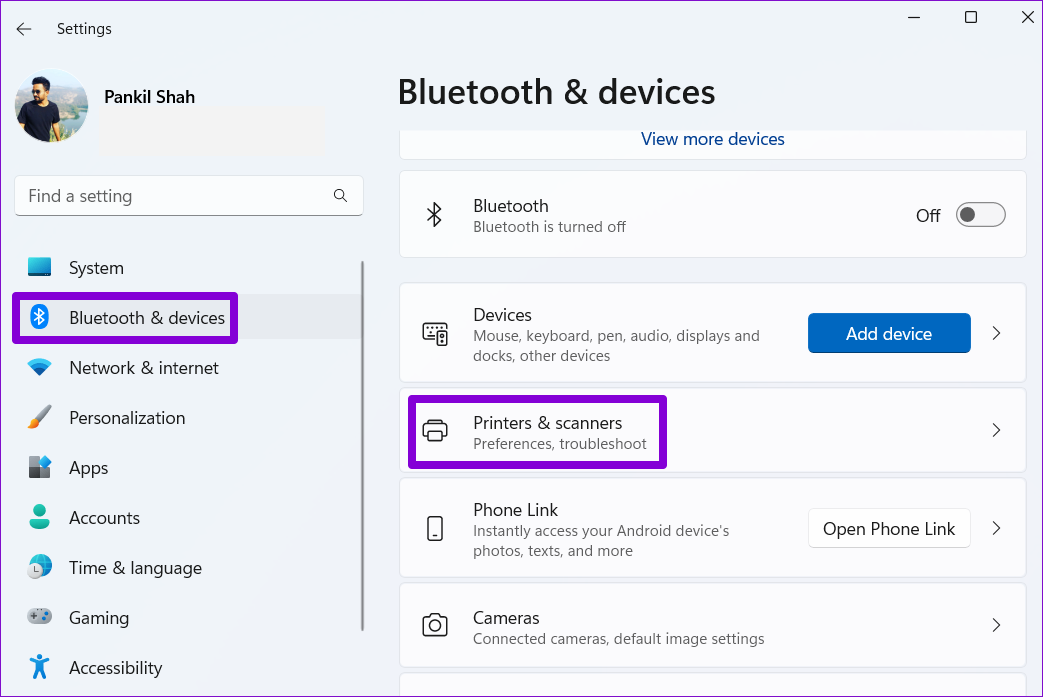
If your printer has unfinished print jobs, Windows may fail to modify or remove it. Hence, you’ll need to clear the print queue before trying again. Step 1: Press the Windows key + I to open the Settings app. In the Bluetooth & devices tab, click on Printers & scanners.
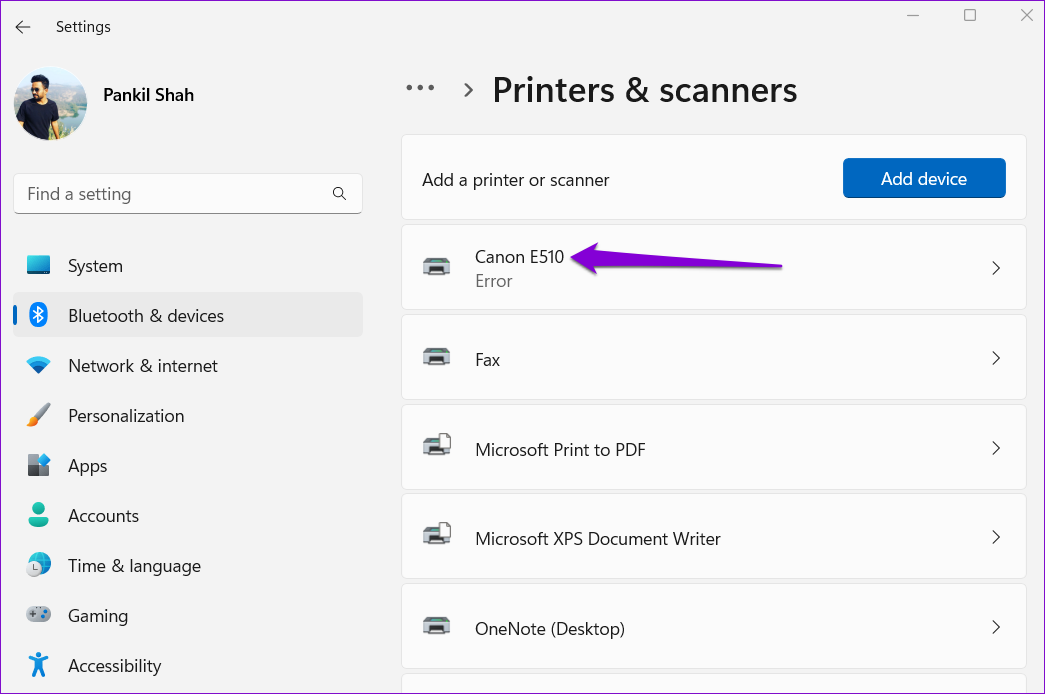
Step 2: Select the printer you want to remove.
Step 3: Click on Open print queue.
Step 4: In the Print Queue window, click the three-dot menu icon in the top right corner and select Cancel all.
After clearing the print queue, see if you can remove the printer from your PC.
2. Run Printer Troubleshooter
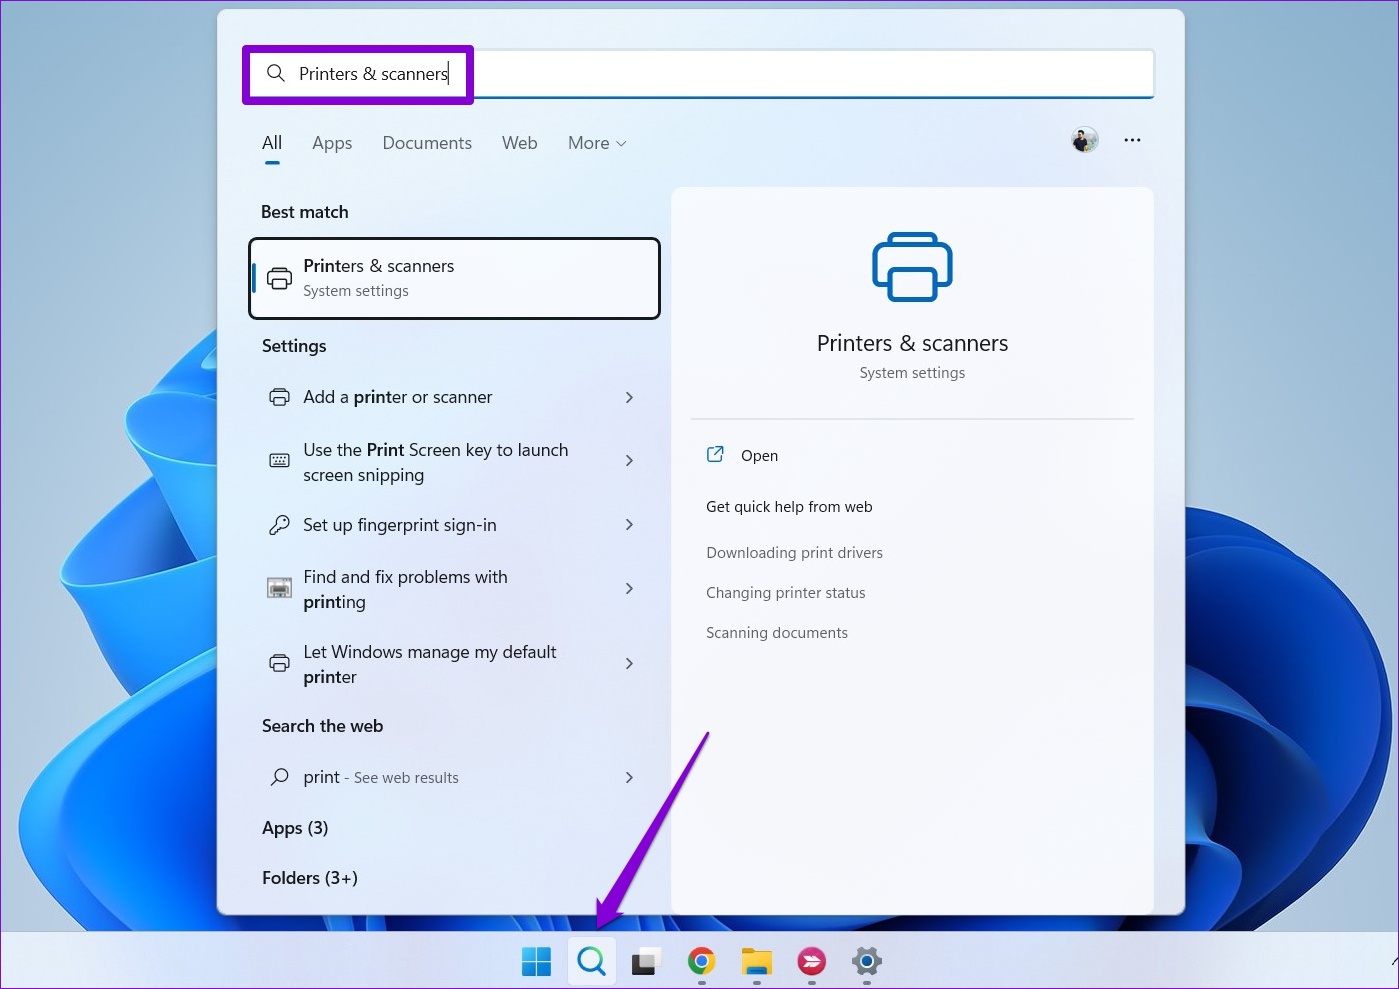
If clearing the print queue doesn’t help, you can use Windows’ built-in printer troubleshooter to detect and resolve any pending errors. Here’s how to run it. Step 1: Click on the search icon on the Taskbar, type in printers & scanners, and press Enter.
Step 2: Select your printer.
Step 3: Click on Run the troubleshooter.
Windows should automatically detect any issues with the printer and fix them. Following that, you should be able to get rid of it.
3. Remove Printer From Print Server Properties
There are several ways to remove a printer in Windows 11. So, if you cannot remove the printer from the Settings app or the Control Panel, you can try removing it from the Print Server Properties. Here’s how. Step 1: Press the Windows key + S to open the search menu. Type in printers & scanners and press Enter.
Step 2: Under Related settings, click on Print server properties.
Step 3: Under the Drivers tab, select your printer and click on Remove.
Step 4: Select ‘Remove driver and driver package’ and hit OK to confirm.
4. Stop Print Spooler Service
Print Spooler is a critical service that handles printer interactions on Windows. If that service is interfering with the removal process, you can temporarily disable it to see if it helps. Step 1: Press the Windows key + R to open the Run dialog. Type services.msc in the box next to the Open field and press Enter.
Step 2: In the Services window, scroll down to locate Print Spooler. Right-click on it and select Stop.
After stopping the Print Spooler service, try removing the printer again.
5. Uninstall Printer Driver
Device Manager is a useful tool that lets you manage and troubleshoot all your hardware devices from one place. You can also use it to delete an old printer from your PC. Here’s how. Step 1: Right-click on the Start icon and select Device Manager from the menu that pops open.
Step 2: Open the View menu at the top and select Show hidden devices.
Step 3: Double click on Print queues to expand it. Right-click on your printer and select Uninstall device.
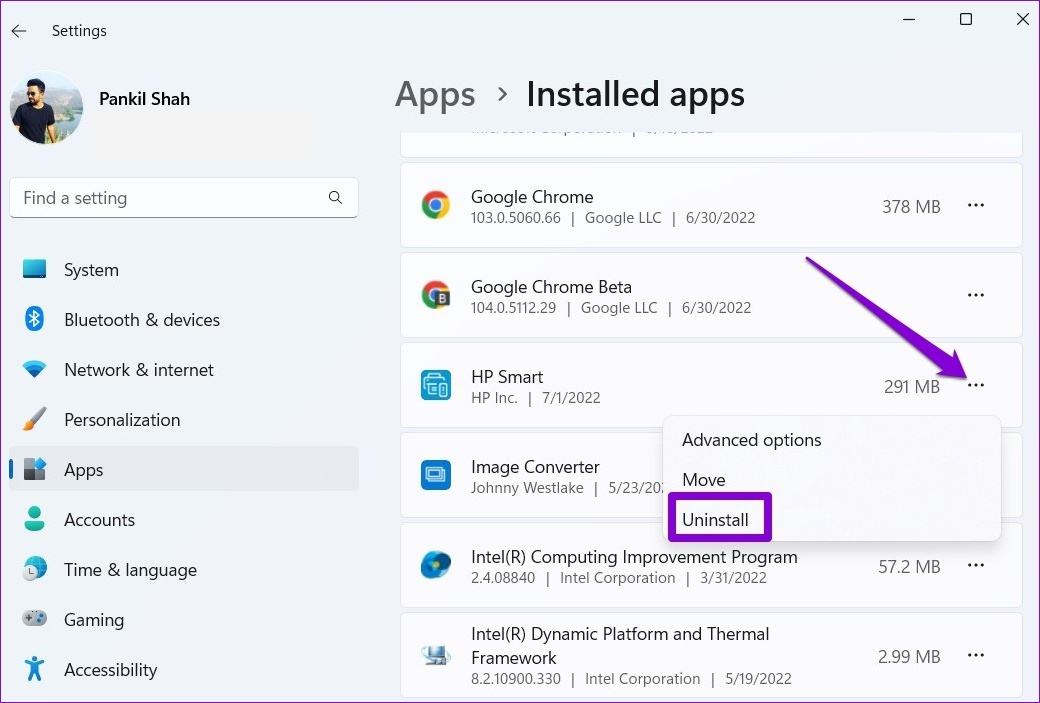
6. Remove Printer Software
If you’ve installed a dedicated app or software for your printer, it could also obstruct the removal process. To avoid this, you should first uninstall that app or software before trying again. Step 1: Right-click on the Start icon and select Installed apps from the list.
Step 2: Locate the printer app on the list. Click the three-dot menu next to it and select Uninstall.
Step 3: Click on Uninstall to confirm.
After removing the app, you should be able to remove the printer from the Settings app or Device Manager.
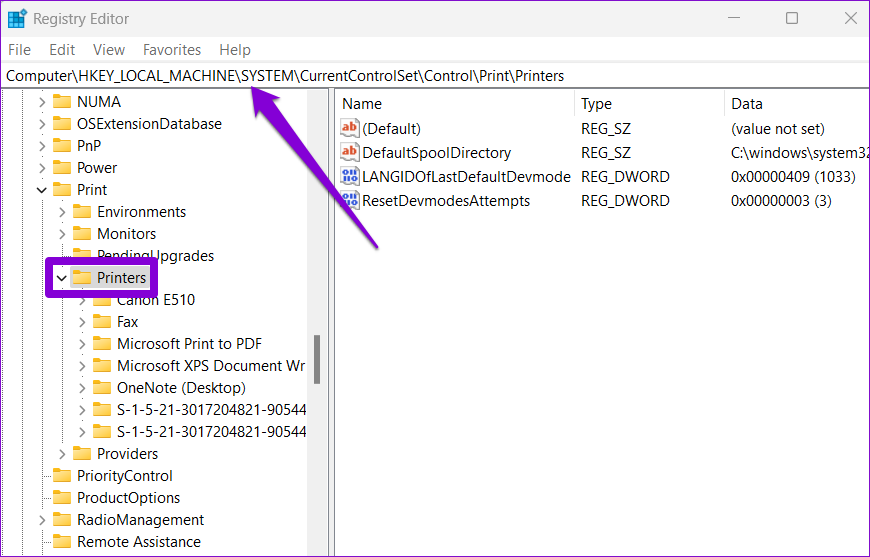
7. Use Registry Editor
If the registry keys associated with your printer are corrupted, Windows may encounter problems while modifying or removing the printer. To fix it, you can remove those corrupted registry keys by following the steps below. Do note that modifying or deleting registry keys without knowledge can cause system instability. Hence, you should only use this method after backing up your registry files. Step 1: Press the Windows key + R to launch the Run dialog. Type in regedit and press Enter.
Step 2: Paste the following path in the address bar at the top and press Enter.
Step 3: Locate the printer you wish to remove and click on Delete.
Step 4: Click on Yes to confirm.
Restart your PC after this, and you should be able to remove your printer without a problem.
Detect and Remove
Although there are no significant disadvantages to keeping old printer devices on your PC, sometimes you may want to remove and reconnect printers to troubleshoot issues. However, if Windows is not letting you remove your old printers, working through the mentioned above tips should help.